What affordable bathroom upgrades can I do myself without a full renovation?
A weekend plan for refreshing a bathroom with DIY storage, hardware, lighting, paint and texture swaps, plus a clear way to tell when a job is still a true DIY and when you should call a pro.
You can meaningfully change a bathroom in a weekend by decluttering, adding a few smart organizers and a floating shelf, swapping cabinet hardware, faucets or the showerhead, upgrading the light fixture or bulbs, painting with a mildew-resistant formula, and layering in towels, a rug and a candle. Skip anything that touches the wiring inside the wall, the plumbing behind the tile, or the exhaust duct, because those are where mistakes become expensive.
A full bathroom renovation is not the only path to a room that feels new. Industry reporting in 2026 shows most homeowners are choosing smaller refreshes over tear-outs, and most of those refreshes are realistic for a careful DIYer with basic tools and a free weekend. The trick is to focus on the surfaces and objects your hand and eye actually touch: the storage on the counter, the hardware you grab, the light over the mirror, the color on the wall, and the soft things you step on and reach for.
Start with the surfaces you see every day
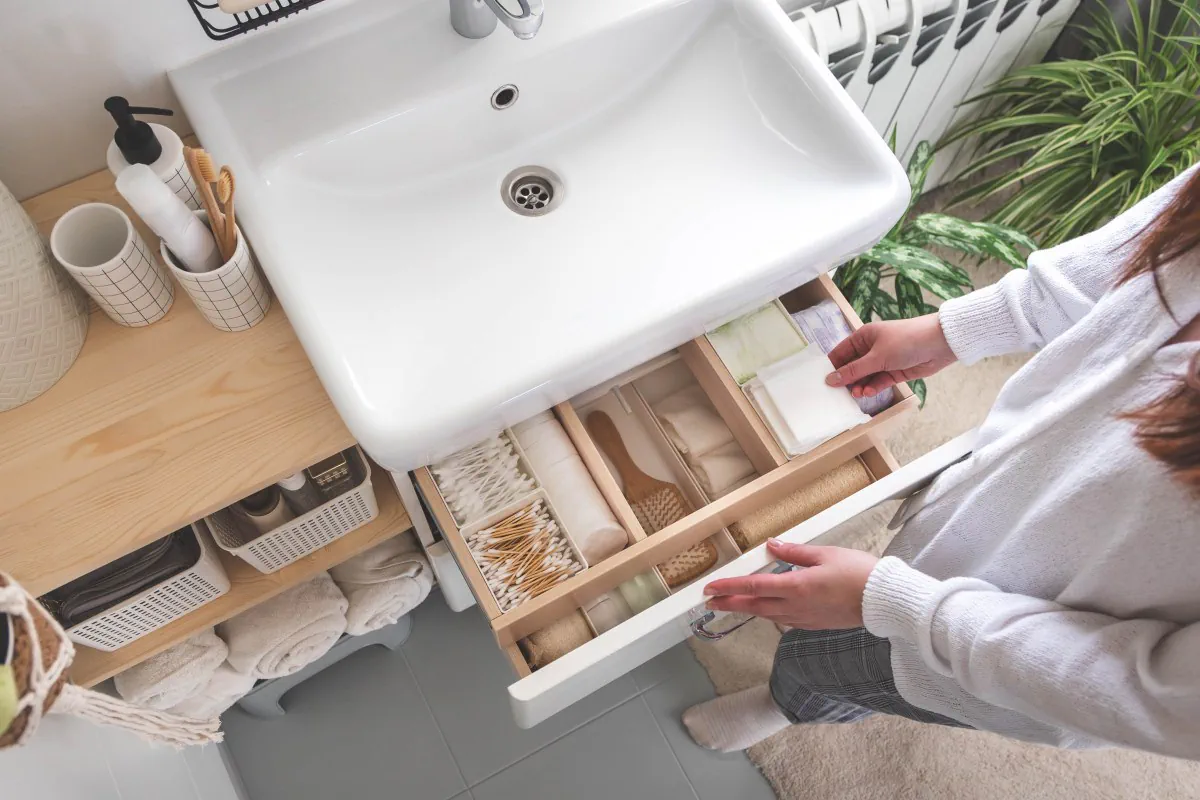
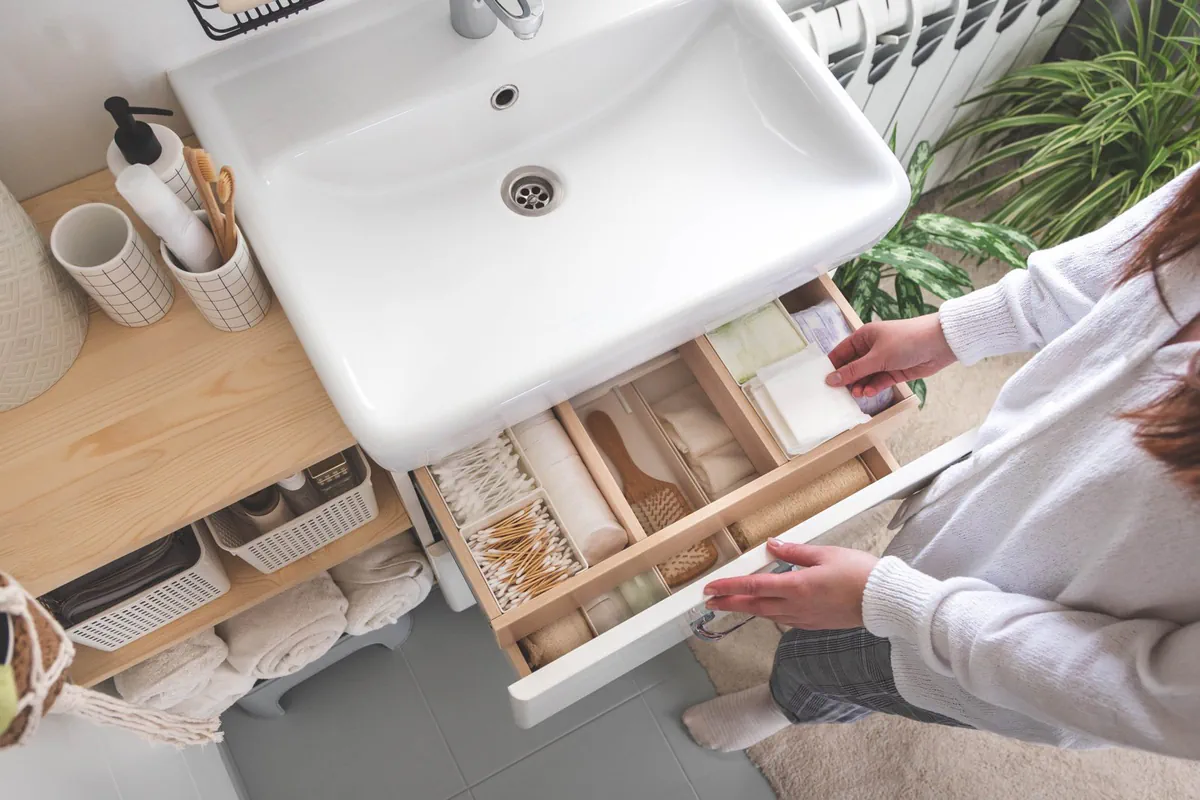
Clearing and reorganizing the vanity is the free first step that makes every later upgrade look more intentional.
Before buying anything, empty the vanity, the linen closet and the tub ledge. Painters and remodelers consistently point to decluttering as the single biggest visual upgrade, because empty counters and neatly folded towels make a small room read as calm and intentional. Then add one or two organizers inside the vanity drawer and over the toilet. A pair of floating shelves above the toilet is the most efficient storage you can add in a small bathroom, because it uses wall space that is otherwise dead.
Surface and storage checklist
✓
Clear every horizontal surface
Keep only what you use daily in view; store the rest behind a door or in a drawer organizer.
✓
Add drawer and cabinet organizers
Tension rods, small bins and tiered trays turn a chaotic vanity into a usable one for a modest spend.
✓
Install one or two floating shelves
Above the toilet or beside the mirror, they add display space without eating floor area.
✓
Refold and display towels
Folding towels neatly on a bar or ladder is a free visual reset.
Swap the small metal things
Cabinet knobs, drawer pulls, towel bars, the faucet and the showerhead are the metal finishes that quietly set the room's style. Replacing them with a coordinated finish such as brushed nickel or matte black is one of the highest-impact changes per dollar, because guests' eyes go to the hardware before they register the tile. Keep the finish consistent across the room so it reads as a deliberate choice.
A safe order for swapping hardware and fixtures
01
Photograph and measure everything
Note the center-to-center distance on pulls and the thread size on the shower arm so replacements actually fit.
02
Start with cabinet hardware
It needs no tools beyond a screwdriver, so you can confirm your finish choice before touching plumbing.
03
Replace the showerhead next
Unscrew the old head by hand or with pliers wrapped in a rag, wrap the new threads with plumber's tape, and screw on the replacement. Do not use thread sealant paste on showerhead threads.
04
Swap the faucet only if it is a like-for-like
If the spread, hole pattern and supply lines match, this is a manageable DIY. If anything is corroded or you need to cut into the valve, call a plumber.
05
Finish with towel bars and hooks
Mount into studs or use anchors rated for the load, especially for grab-bar-style hooks.
Fix the lighting without re-wiring
Bathrooms are usually underlit at the mirror and overlit by a single ceiling fixture. You can change the mood by swapping bulbs to a higher color-rendering index in the 90s, switching to a warmer color temperature around 2700K to 3000K, and adding a plug-in or hardwired sconce on a switch you already have. Replacing a vanity light bar is usually a DIY job as long as the wiring, switch and junction box are intact and the new fixture is rated for damp locations.
Paint, then layer texture and scent
A fresh coat of paint in a mildew-resistant bathroom formula is the classic low-cost upgrade. Plan on a weekend: one day to tape, patch and prime, and a second to cut in and roll two finish coats. After the paint cures, bring in texture with a new bath mat, a fabric shower curtain, a small stool or basket, and a candle or reed diffuser. These soft layers carry most of the perceived change in photos, which is why staging advice focuses on them.
What you can DIY vs. what to leave to a pro
Project
Realistic DIY?
Why
Declutter, add organizers, floating shelves
Yes
Surface-mounted, no wiring or plumbing changes
Cabinet knobs, pulls, towel bars
Yes
Screwdriver-level work, easy to undo
Showerhead swap
Yes
Hand tools, plumber's tape, no valve work
Faucet swap, like-for-like
Usually
Only if holes, spread and supplies match
Vanity light fixture swap
Yes
Only if wiring stays put and fixture is damp-rated
Add a new electrical circuit or switch
No
Permit and code work, GFCI/AFCI rules
Repipe behind the wall
No
Valve and supply work belongs to a licensed plumber
Exhaust fan replacement
Sometimes
Same-size swap is feasible; new duct runs are not
Tile, tub or shower pan replacement
No
Waterproofing failures are expensive to fix later
A realistic weekend timeline
Two days, in order
Shop and stage
Order hardware, showerhead, light fixture and paint. Empty the vanity and linen closet.
Paint first
Patch, prime spots, and cut in. Roll walls while doors and trim stay off.
Swap hardware and showerhead
While paint dries, change knobs, towel bars and the showerhead. Mount floating shelves.
Lighting and organizers
Replace the vanity fixture if planned, drop in new bulbs, install drawer organizers.
Reset the soft layers
Bring in new towels, mat, curtain, and a candle. Style the floating shelves.
Budget signals that keep it affordable
Where the money goes
Paint and supplies usually consume the biggest share of a refresh budget.
Coordinated hardware in a single finish is cheaper than mixing two finishes that almost match.
A quality showerhead with a WaterSense label pays back through lower water bills.
Higher color-rendering index bulbs cost more than standard bulbs but make skin tones and tile look correct.
Soft layers, like a new mat and towels, deliver most of the visible 'new room' effect for the least money.
SUMMARY
The bottom line
Treat the refresh as a layered project: clear and organize first, swap hardware and the showerhead next, change the light, then paint, then finish with soft layers in a coordinated palette. Stay on the surface of the wall so the work stays safe and reversible. The moment a project needs new wiring behind the tile, new plumbing behind the valve, or new ductwork for the fan, call a licensed trade professional and treat it as a separate, planned expense rather than a DIY weekend job.
Common questions
Before you move on
How much can a DIY bathroom refresh realistically cost?+
Most weekend refreshes land in the low hundreds to around one thousand dollars, with paint and supplies as the largest line item. The cost rises quickly if you add a new light fixture, a higher-end showerhead, or multiple coordinated hardware pieces.
Do I need a permit for any of these upgrades?+
Generally no for surface work like paint, hardware, shelves, organizers and a same-size showerhead. Permits are usually required when you add or alter electrical circuits, move plumbing, or change the exhaust duct. When in doubt, check with your local building department before starting.
What is the single best upgrade for the least money?+
A coordinated set of cabinet hardware plus a fresh coat of paint. Together they reset the room's style at a small cost and set the finish you can match other metal pieces to later.