Skip prep and the paint will telegraph every flaw, peel early, and force you to repaint sooner. Prep creates a clean, smooth, solid surface so the paint bonds properly, lays on evenly, and lasts. The core steps are: clean, repair, sand, dust, prime, and protect the surrounding area with tape and drop cloths.
Paint is forgiving on a well-prepared wall and unforgiving on a sloppy one. Dust, grease, hairline cracks, and old glossy paint all break the bond between the new coating and the wall, which is what causes peeling, flashing, and visible patches months later. The fix is almost always more prep, not more paint.
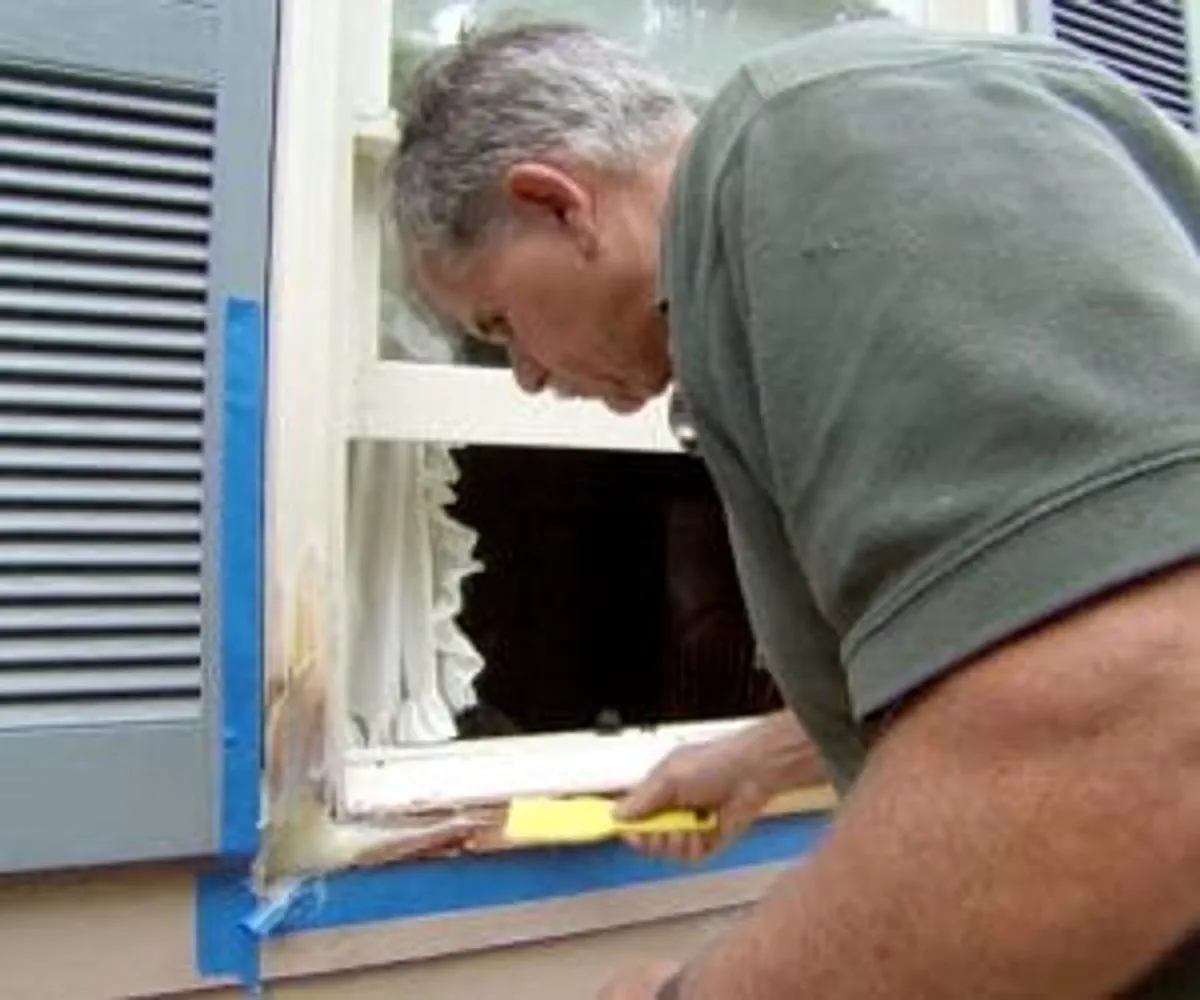
A painter prepping a glossy casing shows the gap between a sanded, dust-free surface and one that will reject fresh paint.
What prep actually does
Prep turns a real wall into a paintable surface. Cleaning removes oils and dust that block adhesion. Sanding knocks down high spots and gives the new coat something to grip. Patching fills holes and cracks so they don't show through. Priming seals the surface so the topcoat covers evenly. And taping plus drop cloths stop the job from bleeding into trim, floors, and furniture.
The core prep sequence
Prep a room for paint, in order
01
Clear and protect the room
Move furniture out if you can. Anything that stays goes to the center of the room and gets covered in plastic. Lay canvas drop cloths on floors, not plastic, because canvas absorbs drips instead of letting them puddle under your feet.
02
Clean the surface
Vacuum dust and cobwebs, then wash the walls with an appropriate cleaner to cut grease, soap film, and grime. Let everything dry completely before moving on. For dusty plaster or soft new walls, a vinegar-water solution (about 1 pint vinegar per gallon of water) can firm up the surface.
03
Scrape and sand
Scrape loose or flaking paint. For previously painted glossy surfaces, sand to a dull finish so the new coat has tooth. Use a tack cloth to pick up the fine dust.
04
Patch and repair
Fill nail holes and small cracks with spackle, slightly overfilling because spackle shrinks as it dries. For deeper dents in woodwork, a two-part auto-body putty sets hard and won't pop out later. Sand patched areas smooth when dry.
05
Tape and prime
Run painter's tape along trim, ceilings, and any color break, pressing the edge firmly so paint can't bleed under it. Spot-prime bare patches, stained areas, and any place you sanded to bare substrate, plus the whole wall when switching from dark to light.
06
Test the color first
Paint a small inconspicuous spot, let it dry per the label, and check adhesion and color before committing to the whole room. This catches compatibility problems and lets you live with the color for a day before you commit.
Quick pre-paint checklist
✓
Walls cleaned and fully dry
Skipping the dry time traps moisture under the paint and causes bubbling.
✓
Loose paint scraped off
Anything peeling now will peel the new paint with it.
✓
Holes and cracks filled and sanded
Overfill spackle; it shrinks as it cures.
✓
Glossy surfaces deglossed
Sand to a dull finish so the new coat can bond.
✓
Dust removed, then removed again
Brush the area, then wipe with a tack cloth right before priming.
✓
Tape edges sealed
Press the edge down firmly or paint will bleed under the tape.
✓
Primed where needed
Bare wood, patched spots, stain blocks, and dark-to-light transitions all need primer.
Prep varies by surface
What changes by surface
Surface
Key prep moves
Bare wood
Fill holes with patching paste, sand smooth, remove dust with tack cloth, prime all bare wood and patches, then a semi-gloss or gloss topcoat.
New drywall
Confirm panels are secured, tape and mud all joints, sand smooth once dry, wipe dust, then prime and finish with a latex topcoat.
New plaster
Wait until plaster is fully cured. Treat soft or powdery plaster with a vinegar-water solution, rinse, let dry, then prime.
Wallpaper
Always remove wallpaper first, then wash off all old adhesive and let the wall dry before priming.
Previously painted walls
Wash off dirt and grease, scrape loose paint, patch cracks, sand glossy areas to dull, dust, and spot-prime bare patches.
Exterior wood and siding
Sand exposed wood, patch with exterior filler, prime patches, and avoid painting in high humidity or below about 50°F unless the product allows it.
Masonry, concrete, block
Allow new surfaces to cure (often around 30 days), strip release agents, patch cracks, then prime.
Vinyl siding
Wash with soapy water and rinse. Never go darker than the original color, since darker colors can cause the siding to warp.
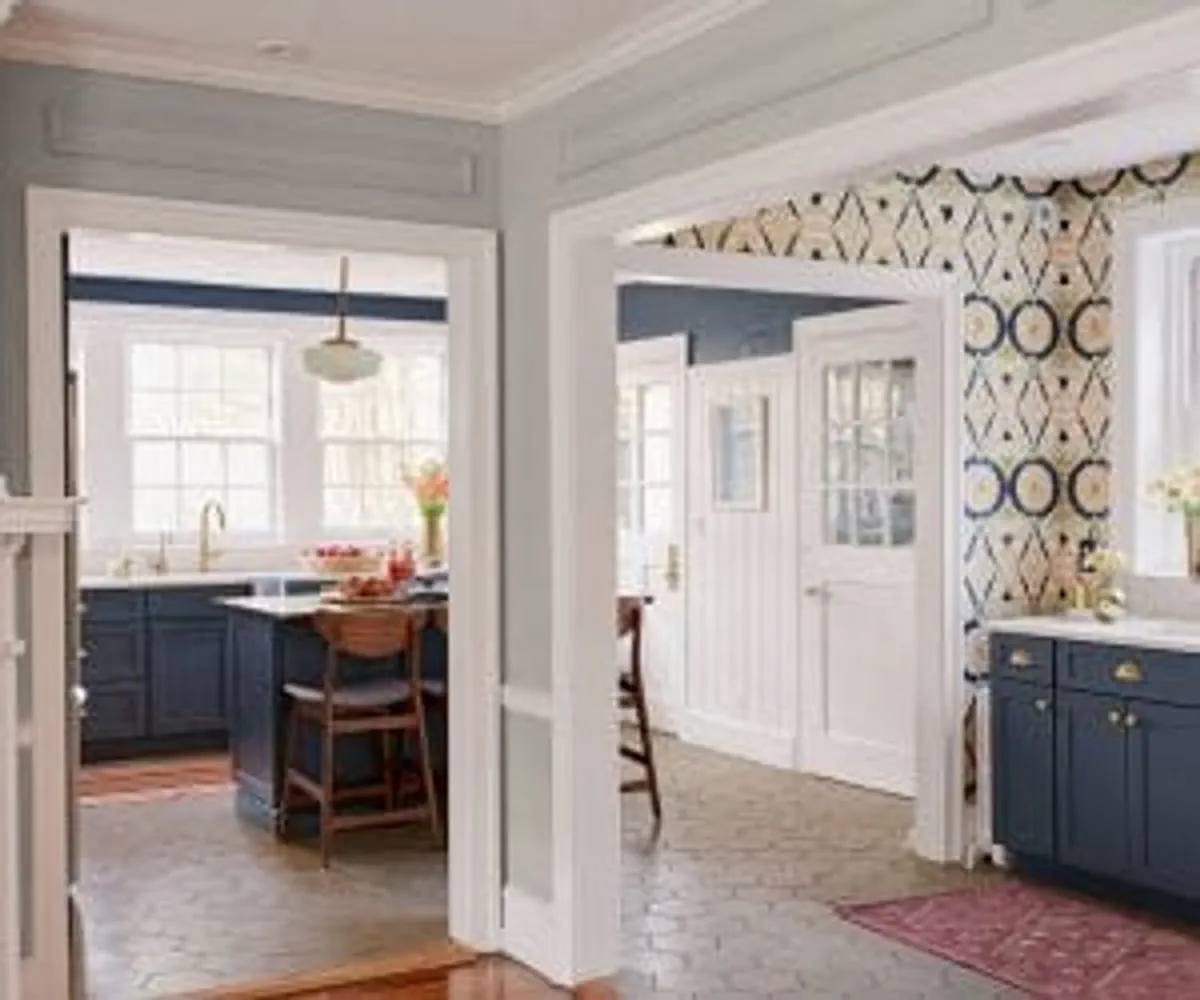
Multiple doorways in one room multiply the trim and taping work, a good reminder that prep scales with the room's complexity.
Conditions that change the plan
When the standard sequence isn't enough
Dark color to light color: prime the whole wall, not just patches, or the old color will show through unevenly.
Stains, smoke, or odors: use a stain-blocking primer so marks don't bleed through the topcoat.
Glossy or nonporous paint: scuff-sand to dull or use an abrasive cleanser, then rinse and dry.
Humid or rainy weather outdoors: wait for dry conditions and temperatures typically above 50°F, unless the product is rated for cooler use.
Old paint that may contain lead: sanding and scraping can release hazardous dust. Use a properly fitted respirator and containment, and check local guidance for homes built before 1978.
SUMMARY
The bottom line
A paint job is only as good as the wall underneath it. Clean, scrape, patch, sand, dust, tape, and prime in that order, and the topcoat will go on easier, look better, and last years longer. If you only have time for one of those, choose cleaning and dust removal, since paint won't stick to a dirty surface no matter how good it is.
Common questions
Before you move on
How long should paint prep take?+
For a typical room, expect prep to take 75% of the total project time. A one-day paint job is usually a one-day prep plus a half-day of actual painting.
Do I really need to prime if the old paint is in good condition?+
Not always. If the existing color is close to the new color and the surface is clean and matte, you can often skip primer. Prime when you are going from dark to light, covering bare wood or drywall, blocking stains, or painting over glossy surfaces.
Can I paint over wallpaper?+
It's not recommended. Removing the wallpaper and washing off all the old adhesive gives you a stable, paintable surface. Paint applied over wallpaper tends to peel where the seams are and can trap moisture.
What's the difference between canvas and plastic drop cloths?+
Canvas absorbs drips and stays put underfoot, and it is reusable. Plastic is cheaper but lets drips pool on top, which then get stepped around the room. Use canvas on floors and thin plastic sheeting over furniture that can't be moved.
How do I test a paint color before committing?+
Paint a small, inconspicuous area, let it dry for the full label-recommended time, and check it in different light. Look for adhesion problems and color compatibility before rolling it across the whole wall.