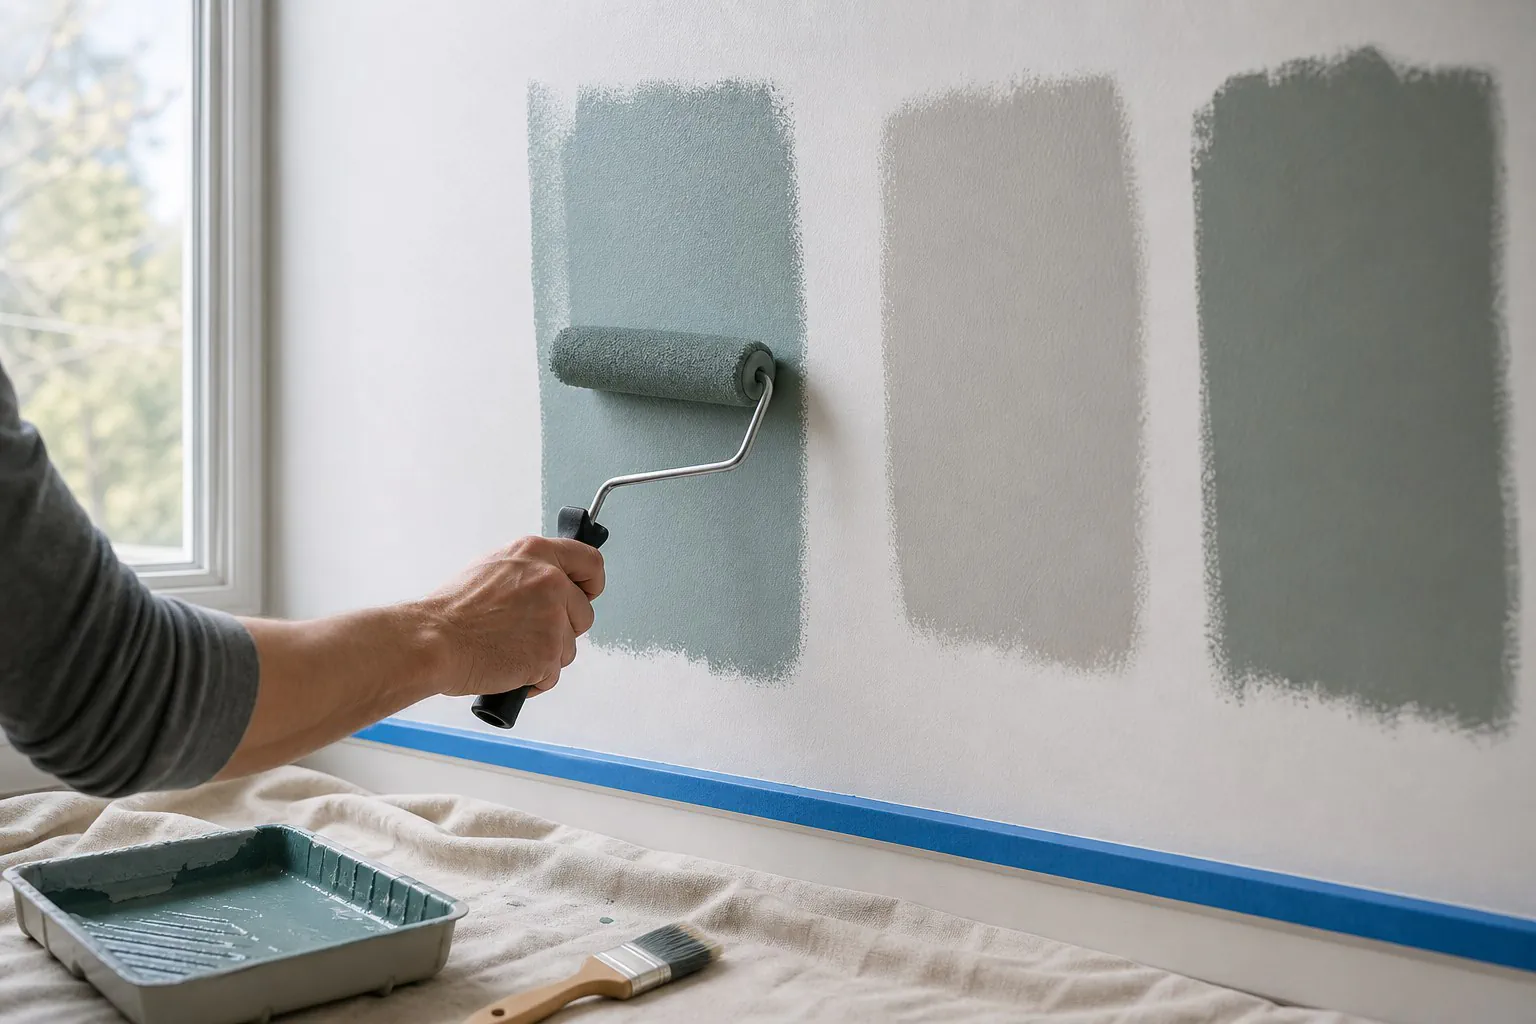
Spend roughly three-quarters of your total project time on preparation: clean, repair, sand, dust, prime, and protect the room. Then test your color on a real section of wall and live with the swatch for a day or two before committing to the whole room.
Professional painters consistently describe prep as the largest part of the job. One veteran quoted by This Old House puts a number on it: about 85 percent of a painting project lives in the prep work, and surface prep alone can eat 75 percent of the total time. Treat that ratio as your planning anchor. If you have a free weekend, reserve only the last third of it for actually rolling paint on the wall.
Set up the room before you touch a brush
Prep is about the room, not just the wall. Move what you can: one pro estimates that clearing furniture takes 15 to 30 minutes longer than sliding it to the center, but it makes every later step easier. For pieces that stay, group them in the middle and drape them in plastic. Lay canvas drop cloths on floors rather than thin plastic sheeting, because canvas absorbs drips instead of letting them pool and track across the room.
Room-protection checklist
Clear small items, wall hangings, and window treatments entirely from the room.
Cluster remaining furniture in the center and cover with plastic.
Cover floors with canvas drop cloths and tape them down so they don't shift.
Apply painter's tape to trim, window glass, and ceiling lines, pressing the edge firmly to seal against bleed.
Mask or remove outlet covers, switch plates, door hardware, and light fixtures you can't tape around.
Clean and repair the walls
Paint fails first where the surface was dirty, glossy, or uneven. Start by vacuuming or dry-dusting the walls to remove cobwebs and grit. Then wash with an appropriate cleaner to cut grease, soap film, and grime, especially in kitchens and bathrooms, and let the surface dry fully.
Surface prep by wall type
01
Previously painted walls
Wash off dirt, grease, and soap residue. Scrape or sand any loose or peeling paint. Patch holes and cracks with spackling or patching compound, let dry, then sand smooth. For glossy or nonporous finishes, scuff to a dull surface with sandpaper or an abrasive cleanser so the new coat can grip. Prime any bare patches so they don't flash through the topcoat.
02
New drywall
Confirm panels are firmly nailed or glued. Make sure every joint is taped and bedded with joint compound. Once the compound is fully dry, sand smooth, wipe off dust, and prime the whole wall before topcoating.
03
New plaster
Wait until the plaster is clean and fully cured. If the surface is soft, powdery, or porous, harden it by wiping with a solution of one pint household vinegar to one gallon of water, repeating until firm, then rinsing with clear water and letting it dry. Thin your primer about 10 percent with water for the first coat.
04
Bare wood
Fill nail holes, joints, and cracks with patching paste. Sand smooth and remove the dust with a tack cloth. Prime all bare wood and patched spots, then finish with an easy-clean latex semi-gloss or gloss.
05
Wallpaper
Always remove wallpaper first, using a chemical remover or a rented steamer if needed. Wash off all old adhesive, rinse with clean water, and let the wall dry before priming.
After sanding, dust the wall one more time before priming, even if it already looks clean. One contractor describes this as a reflex: brush the section softly with a wide brush, then go over it with a tack cloth so no grit gets trapped under the primer.
Prime with intention
Primer is not optional on bare patches, patched drywall, or stains. Skipping it is what causes visible "spot" areas where the topcoat looks duller or uneven. Use a full coat of primer on any of these surfaces: new drywall, repaired areas, surfaces switching from dark to light colors, stains or odors you need to seal, and porous materials like bare wood or masonry.
Prime if any of these apply
✓
New or patched drywall
Prevents joint compound from flashing through the topcoat and creates an even sheen.
✓
Going from dark to light
Cuts down the number of finish coats needed for true color.
✓
Stains, smoke damage, or odors
Seals the surface so marks don't bleed back into the new paint.
✓
Bare wood, masonry, or metal
Gives the topcoat something to bond to and blocks tannin bleed on wood.
✓
Glossy or nonporous surfaces
Roughed-up gloss plus primer prevents peeling.
Test color on the actual wall, not just in the store
Chip cards and fan decks lie in two ways: they don't match the light in your room, and they don't match the texture of your wall. The fix is to test the real paint, on the real surface, in the real room.
How to run a reliable color test
01
Pick two or three finalists
Narrow your fan deck to a short list. Don't try to choose between eight swatches on the wall; you will lose track of which is which.
02
Use the same primer and sheen you plan for the final job
Color shifts noticeably between flat, eggshell, and semi-gloss. A swatch in flat will look lighter and chalkier than the same color in semi-gloss on the wall.
03
Paint a 2-by-2-foot section on an inconspicuous wall
Prep and prime that test patch the same way you prepped the rest of the wall. Let it dry for the full label-specified time; wet paint always reads darker and cooler than the cured film.
04
Look at it in morning, afternoon, and evening light
North-facing rooms push colors cool and blue. South-facing rooms warm them up. Artificial light shifts color further, so check at night under the bulbs you actually use.
05
Live with the swatch for at least a day
Colors that feel exciting in the store can feel loud at 7 a.m. on a Tuesday. If you stop noticing the test patch in a positive way after a day, you have your answer.
06
Watch for adhesion or compatibility problems
If the test patch peels, bubbles, or shows uneven sheen over the old surface, that is information. Fix the prep or the product before you paint the whole room.
Match the conditions to the product
Paint chemistry cares about temperature and humidity. Ventilate the room, avoid painting on humid days, and follow the label's temperature range. For exterior work, the rule of thumb is no painting right after rain, during fog, or below about 50 degrees Fahrenheit unless the product is specifically formulated for cooler conditions. New masonry and concrete usually need around 30 days to cure before paint goes on; if you cannot wait, a minimum of seven days plus a compatible primer is the fallback.
Plan your tools and your timeline
Cheap tools show up in the finish. Use quality painter's tape that seals well, durable drop cloths that don't shift, and a range of sandpaper grits so you can move from coarse shaping to fine smoothing. Work in sections so you can keep a wet edge, and respect the dry time the manufacturer lists between coats. Rushing the second coat is the most common reason DIY jobs look streaky at the end.
A realistic single-room prep timeline
Clear and protect the room
Move furniture, lay canvas drop cloths, mask trim and fixtures with painter's tape.
Spot-prime repairs and roll 2-by-2-foot color samples on an inconspicuous wall.
Inspect test patches in daylight
Confirm adhesion and color. Re-prime if any patched area flashes through.
First finish coat
Cut in edges, then roll the walls in sections, keeping a wet edge throughout.
Second finish coat and tape removal
Apply the final coat, then pull tape while the last pass is just dry to the touch for clean lines.
Where to spend and where to save
Category
Worth paying for
Fine to economize
Surface prep
Quality spackle, patching compound, and a range of sandpaper grits
Generic cleaning rags and household vinegar for plaster hardener
Coverage
Quality painter's tape and canvas drop cloths
Thin plastic sheeting for furniture covers, since plastic on floors is the problem
Primer
A primer matched to your surface, especially over stains or bare drywall
Using a budget primer only if you are repainting a similar color on a previously painted wall
Topcoat
A quality paint matched to the room's wear and tear
Bargain brushes only for one-time touch-ups, not full walls
Color testing
Real paint samples from the actual product line, not chip cards
Small sample-size containers rather than buying full gallons for tests
SUMMARY
The bottom line
Treat prep as the project. Clean, repair, sand, dust, and prime every wall you plan to paint, then test your color on the actual wall in the actual room before committing. If you do those two things well, the painting itself is the easy part.
Common questions
Before you move on
How long should I wait between coats of paint?+
Follow the dry time printed on the label, not the time it takes for the surface to feel dry to the touch. Rushing the second coat is the most common cause of streaky or uneven DIY finishes.
Do I really have to prime if the old paint is in good condition?+
Not always. If you are repainting a similar color on a previously painted wall in sound condition, you can often skip primer. Prime any patched area, any bare drywall or wood, any stain, and any surface where you are switching from dark to light.
Can I paint over wallpaper instead of removing it?+
Best practice is to remove it. Paste, seams, and texture tend to show through paint over time. Use a chemical remover or a rented steamer, then wash off old adhesive and let the wall dry before priming.
What is the cheapest part of the job to skip?+
Nothing in prep is safe to skip, but you can economize on plastic sheeting for furniture covers and on sample-size paint cans for color testing rather than full gallons.