Quick Facts
- Difficulty Level: Intermediate (requires patience and precision)
- Time Commitment: 2–4 hours (including drying time)
- Budget: Approximately $12 per shade
- Cost Savings: Over 85% compared to designer versions (typically $80–$200)
- Eco-Impact: Upcycling thrifted frames reduces household decor waste and breathes new life into outdated pieces.
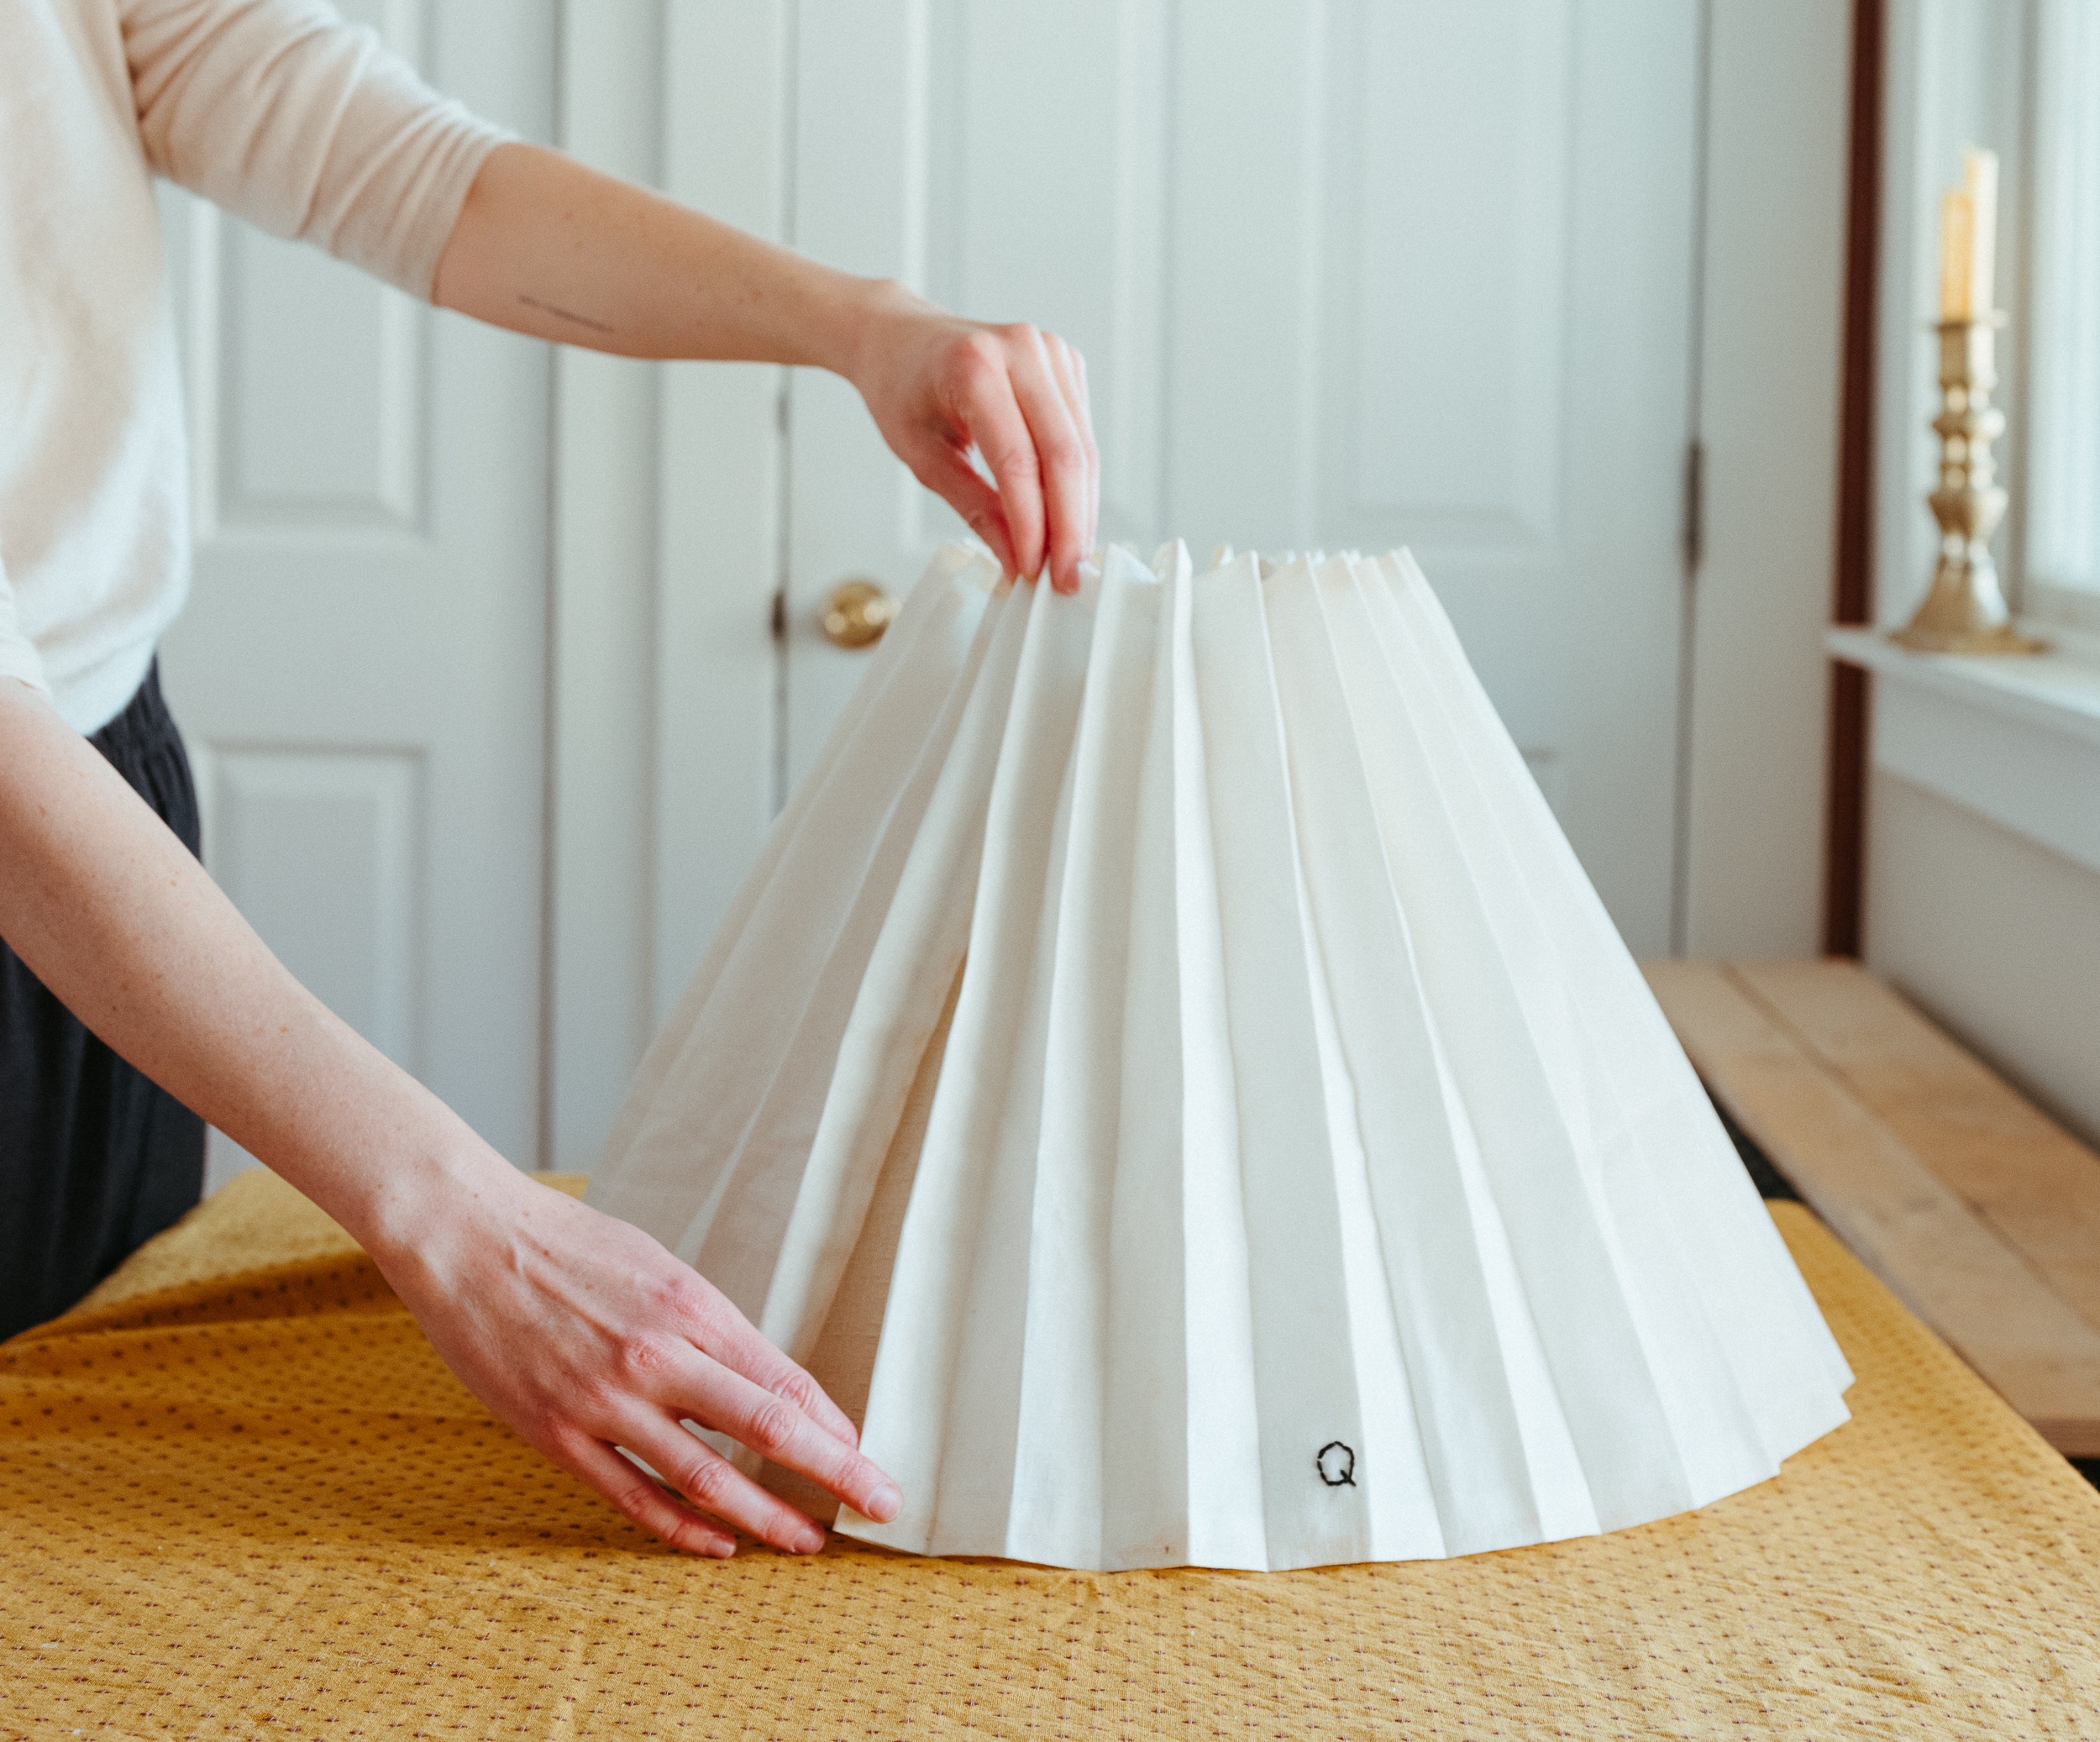
We have all seen them—those perfectly crisp, knife-pleated lampshades gracing the pages of high-end interior design magazines and high-street boutiques. They offer an instant elevation to any room, blending traditional charm with a modern, textural edge. However, seeing a price tag of $150 for a small accent shade can quickly dampen your DIY spirit. The good news? You don't need a designer’s budget to achieve this look. In fact, by repurposing a thrifted base or an old, plain shade, you can master the DIY pleated lampshade for under $12.
Whether you are looking to refresh a bedside table lamp or want to add a pop of pattern to your living room, this guide will walk you through the nuances of fabric selection, the secret to those razor-sharp pleats, and the finishing touches that make a DIY project look like a professional heirloom.
Choosing Your Materials: Fabric vs. Paper
The success of your pleated lampshade hinges entirely on the weight and texture of your chosen material. Not all fabrics are created equal when it comes to holding a fold.
Best Materials for Success For the most professional results, we recommend using a mid-weight cotton fabric or 3-ply paper napkins. Cotton is the gold standard for beginners because it takes starch well and maintains a "memory" once ironed. Avoid heavy canvases or upholstery fabrics, as they become too bulky at the top of the shade, and steer clear of slippery silks or polyesters which will fight your attempts to create consistent folds.
If you are working on a smaller "candle" shade or a mini accent lamp, high-quality paper napkins are a fantastic, budget-friendly alternative. They often come in designer patterns (think Block Print or Chinoiserie) that would be expensive to buy in yardage. Because they are thin, they allow a beautiful glow to pass through when the lamp is switched on.
Essential Supplies Checklist
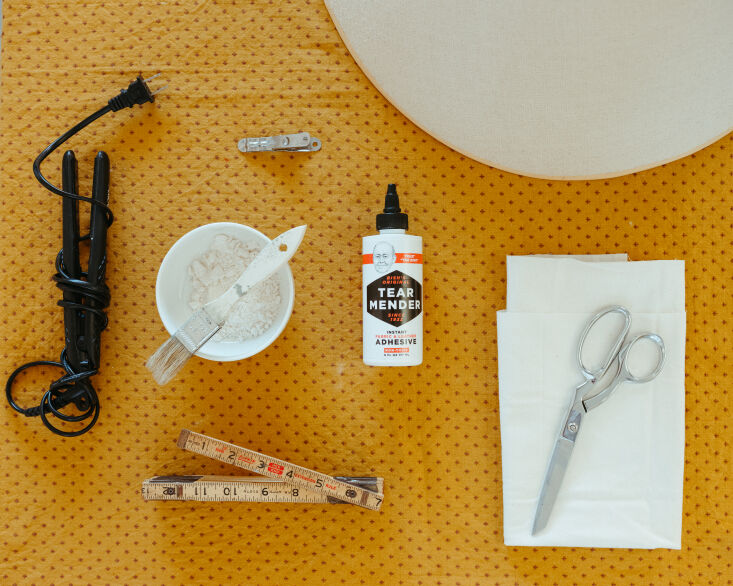
- [ ] A plain white lampshade (new or thrifted)
- [ ] Mid-weight cotton fabric (approx. 1/2 yard) or 3-ply napkins
- [ ] Fabric glue (we love Tear Mender or Elmer’s Craft Bond)
- [ ] High-output spray starch (or a homemade flour-and-water mixture)
- [ ] Professional fabric scissors or a rotary cutter
- [ ] Measuring tape and a pencil
- [ ] Small binder clips or clothespins
- [ ] A clothes iron or a hair straightener
Preparation: Measuring for the Perfect Fit
The biggest mistake DIYers make is underestimating how much fabric a pleat actually consumes. Unlike a flat-wrapped shade, a pleated version requires a significant amount of "overlap" to create depth.
To calculate your fabric quantity, use this simple formula: Measure the diameter of the bottom of your lampshade and multiply it by 3 or 4. For example, if your shade is 10 inches wide at the base, you will need a fabric strip between 30 and 40 inches long. Using 4 times the diameter results in deeper, more luxurious "knife pleats," while 3 times gives a softer, more relaxed accordion look.
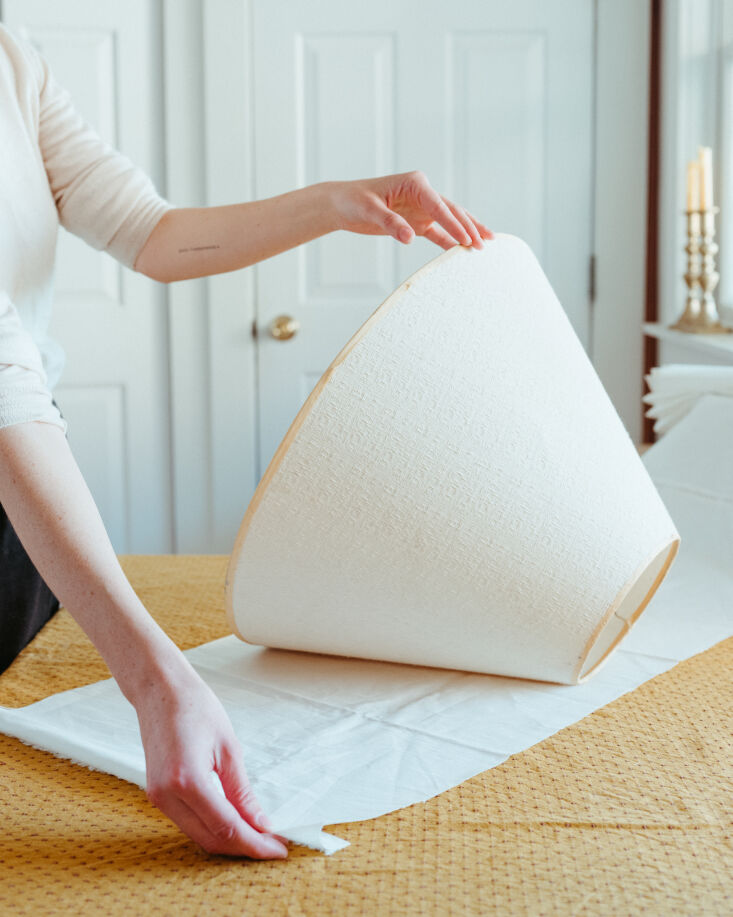
As for the height, measure the vertical slope of your shade and add 2 inches. This "overhang" (one inch at the top and one at the bottom) is crucial. It gives you enough material to wrap over the wire rings and secure it to the inside, hiding the raw edges for a clean finish.
The Secret to Crisp Pleats: The Starch Method
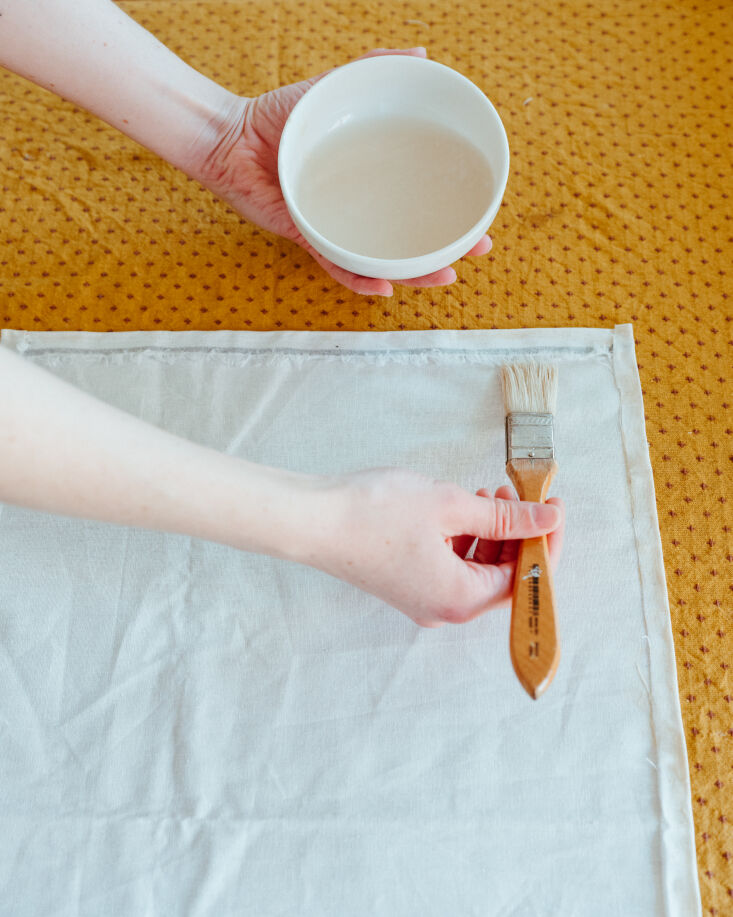
Have you ever tried to fold a piece of fabric only for it to bounce back into a limp, wrinkled mess? That is where the starch method comes in. To get those designer-quality edges, you need to "stiffen" the fabric before you ever touch the shade.
If you’re using fabric, lay it flat on your ironing board and saturate it with spray starch. If you prefer a more traditional, extra-stiff finish, you can dip your fabric into a homemade mixture of 1 tablespoon of cornstarch dissolved in 2 cups of water. Let it air dry until it is just slightly damp, then iron it on a high heat setting. This process transforms the cotton into a paper-like consistency that is incredibly easy to manipulate.
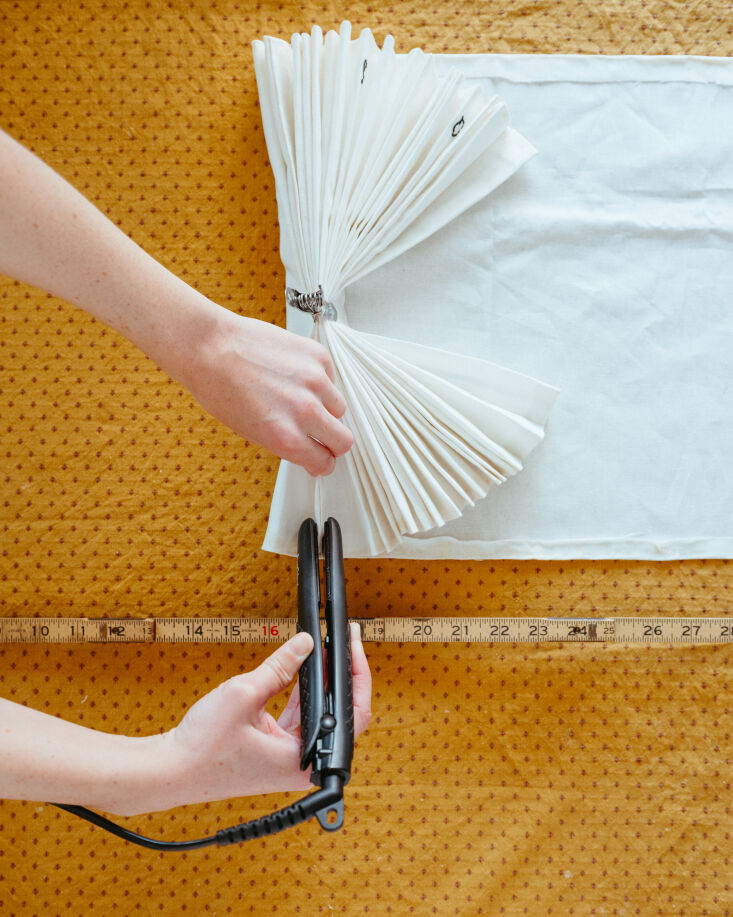
Clara’s Pro-Tip: If you are working on very narrow pleats or a small shade, a standard clothes iron can be a bit clumsy. Use a hair straightener (flat iron) instead. It allows you to clamp down on each individual pleat with high heat and pressure, ensuring the crease is permanent and sharp.
Method 1: The Traditional Fabric Pleated Shade
Once your fabric is prepped and starched, it’s time for the "construction" phase. This is the most rewarding part of the process, where you see the texture begin to take shape.
- Hem the Edges: Start by folding over and gluing a 1/2 inch hem on the two short ends of your fabric strip. This ensures that when you finally join the ends together, there are no fraying threads.
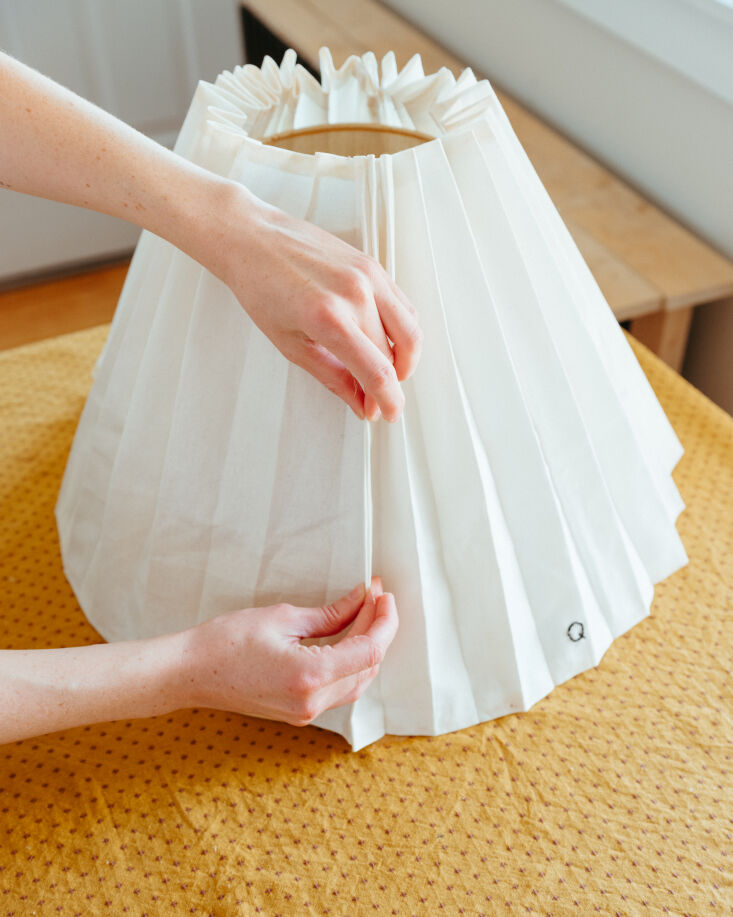
- The Accordion Fold: Lay your fabric horizontally. Starting from one end, create 1-inch folds. Use a ruler to keep them consistent. As you make each fold, press it firmly with your iron or hair straightener.
- Secure the "Fan": Once the entire strip is folded, it should look like a tight paper fan. Use binder clips at the top and bottom to hold the stack together while it cools.
- Attaching to the Shade: Apply a thin bead of fabric glue along the top wire rim of your lampshade. Carefully press the top edge of your pleated fabric onto the glue, spacing the pleats evenly as you go around. Use clothespins to hold the fabric in place while the glue sets. Repeat this process for the bottom rim.
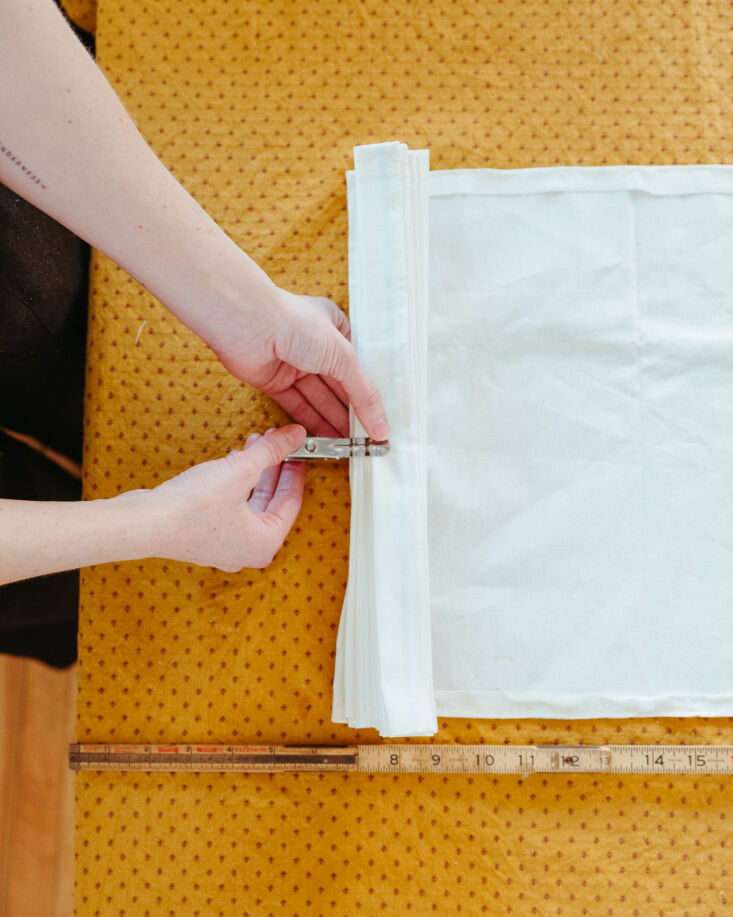
During the folding process, you might find that your fabric strip isn't long enough to go all the way around. Don't panic! Simply prep another strip, hem the edge, and overlap it with the previous piece inside one of the pleat folds. When done correctly, the seam is completely invisible to the naked eye.
Method 2: The $12 Paper Napkin Transformation
If the thought of ironing and starching feels too daunting, the paper napkin method is your best friend. This is specifically designed for shades that already have pleats (you can find these at Target or thrift stores for just a few dollars).
Start by taking a 3-ply paper napkin and carefully peeling away the two white back layers, leaving only the thin, patterned top layer. Cut the napkin into strips that match the width of the existing pleats on your shade. Apply a light layer of glue-stick or a very thin bead of craft glue to the face of the existing pleats, then carefully press the napkin strip onto it.
The beauty of this method is that the napkin is so thin it "melts" into the existing structure of the shade, making it look like the pattern was printed directly onto the fabric. It’s an incredibly effective way to get a custom designer look for the price of a pack of napkins.
Professional Finishing: The Bias Tape Secret
Even with the most careful gluing, the top and bottom edges of your shade where the fabric meets the wire can sometimes look a little "raw." Professional shade makers hide this using bias tape.
Standard fabric strips cut straight across the grain will buckle and pucker when you try to wrap them around the curved rim of a lampshade. Bias tape, however, is cut at a 45-degree angle. This gives the fabric a natural stretch, allowing it to hug the curves perfectly.
You can make your own bias tape from the same fabric as your shade or use a contrasting color for a "designer" pop. Simply glue the tape over the top and bottom rims, sandwiching the raw edges of your pleats inside. It covers up messy glue spots and gives the project a polished, boutique finish.
| Feature | Fabric Method | Paper Napkin Method |
|---|---|---|
| Difficulty | Intermediate | Easy |
| Best For | Large floor lamps, custom patterns | Small accent lamps, candle shades |
| Time | 3-4 Hours | 1-2 Hours |
| Light Diffusion | Soft, diffused glow | Brighter, punchy glow |
| Durability | High (can be dusted easily) | Moderate (delicate surface) |
Safety and Styling
Before you rush to plug in your new creation, let's talk about safety. Because we are using fabric glue and starched materials, heat management is essential. Always use LED bulbs in your DIY lampshades. LED bulbs produce significantly less heat than traditional incandescent bulbs, eliminating the risk of melting your glue or creating a fire hazard. Plus, they are better for the environment and your electricity bill.
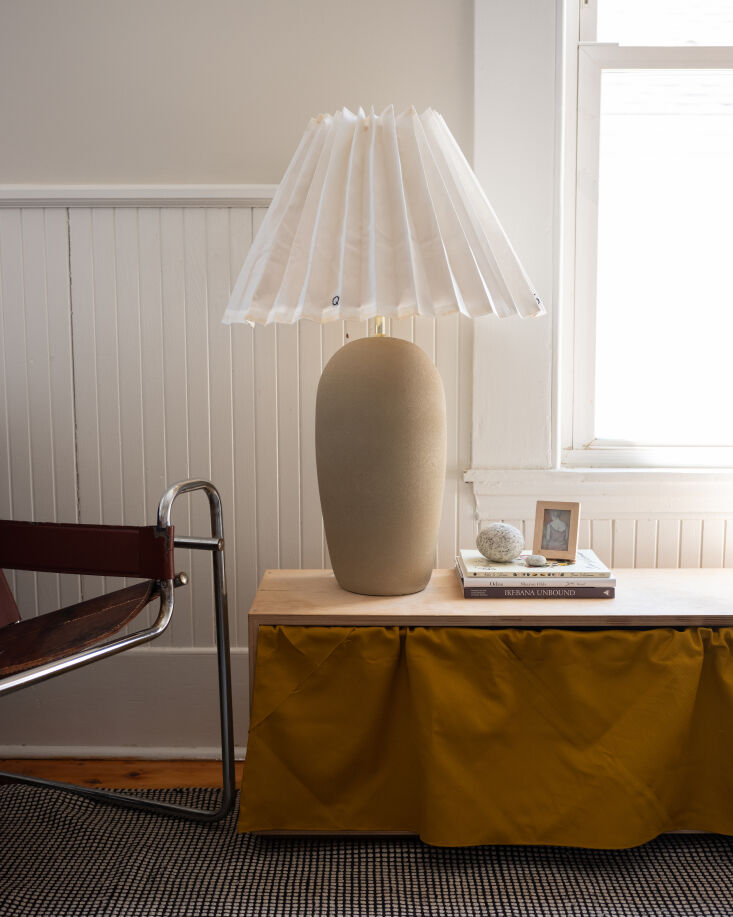
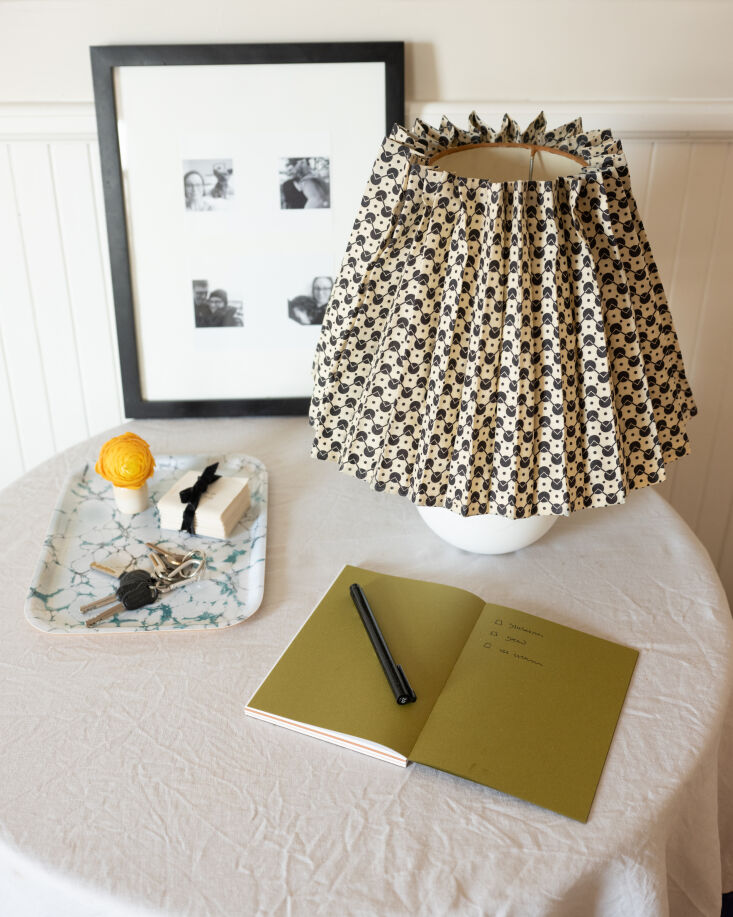
When it comes to styling, a pleated shade is a versatile beast. If you've used a classic floral print, pair it with a heavy ceramic or stone base found at a thrift shop to lean into the "Grandmillennial" aesthetic. If you’ve gone with a crisp white or a bold solid color, a sleek metal floor lamp will give it a more contemporary, architectural feel.
By taking the time to upcycle an old frame, you’re not just saving $70; you’re keeping a perfectly good item out of a landfill. Most thrifted shades are discarded simply because they are stained or outdated, but as long as the wire structure is sound, they are the perfect canvas for your DIY journey.
FAQ
Q: Can I use a dark-colored fabric for my pleated shade? A: You certainly can, but keep in mind that darker fabrics will "block" more light. This creates a moody, atmospheric glow (great for libraries or bedrooms) rather than providing functional task lighting. If you want the room to stay bright, stick to lighter tones or thinner cotton.
Q: My pleats keep popping open at the bottom. What am I doing wrong? A: This usually means the starch wasn't strong enough or the glue didn't have time to set. Make sure you use binder clips to hold the pleats in place for at least 30 minutes after gluing. If the fabric feels too springy, give it another pass with a hot iron before attaching it to the frame.
Q: How do I clean a DIY pleated lampshade? A: Because of the folds, these shades are dust magnets! Use a clean, dry paintbrush or a can of compressed air to gently whisk away dust from the crevices. Avoid using water or liquid cleaners, as they can soften the starch and cause your pleats to lose their shape.
Ready to transform your space? Grab your starch and your favorite fabric scrap, and let’s get folding. Don't forget to share your finished projects with our community—there’s nothing quite as satisfying as a $12 upgrade that looks like a million bucks.