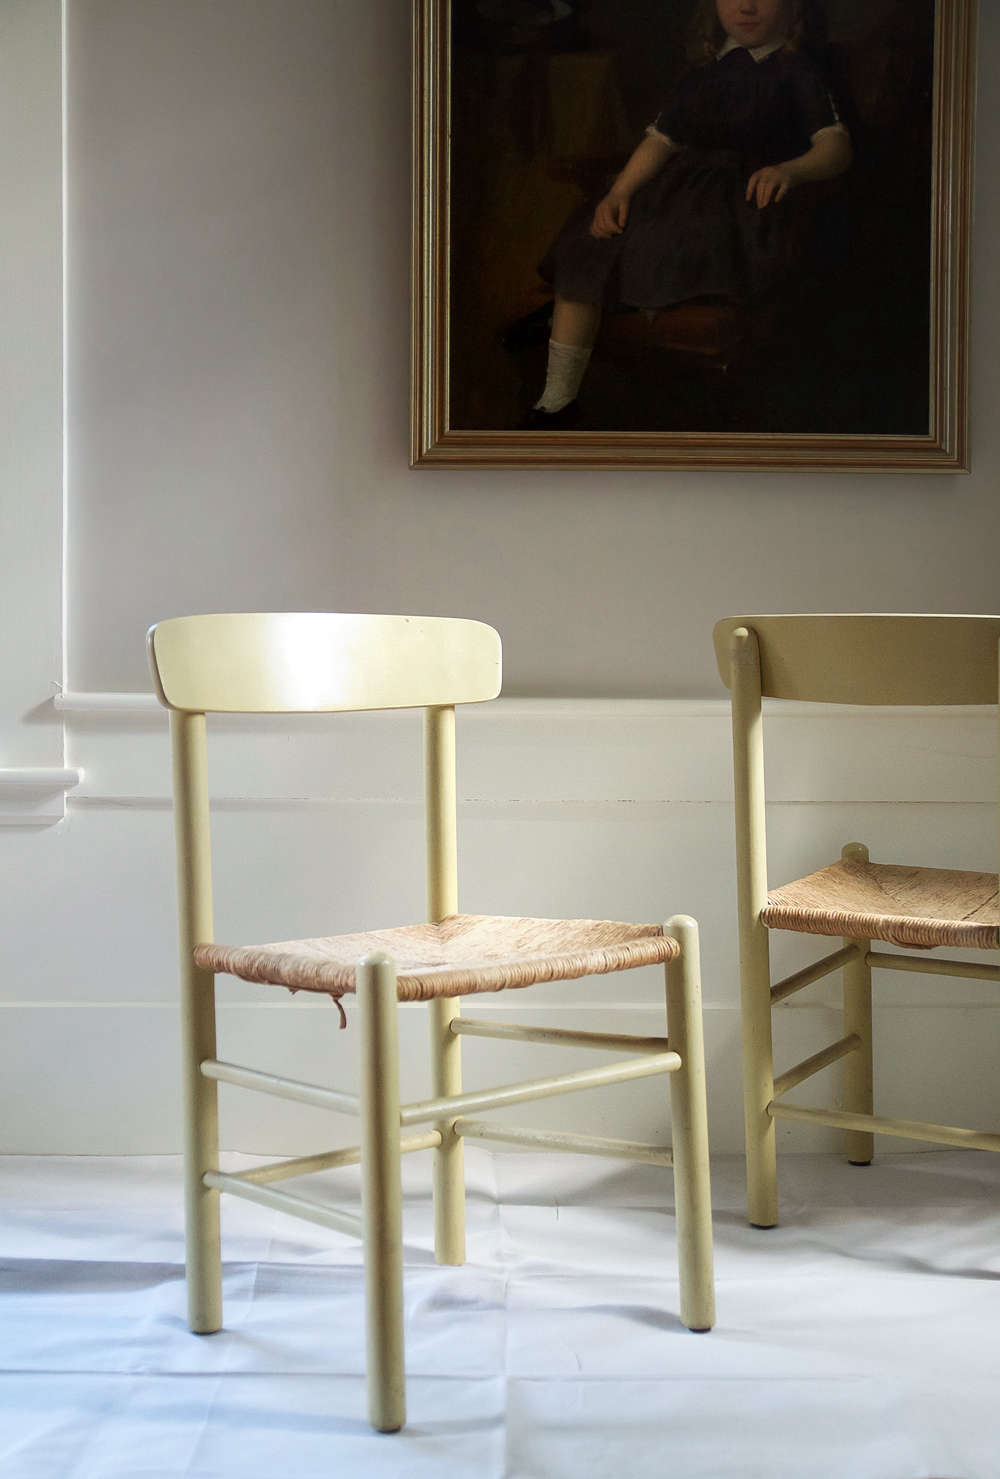
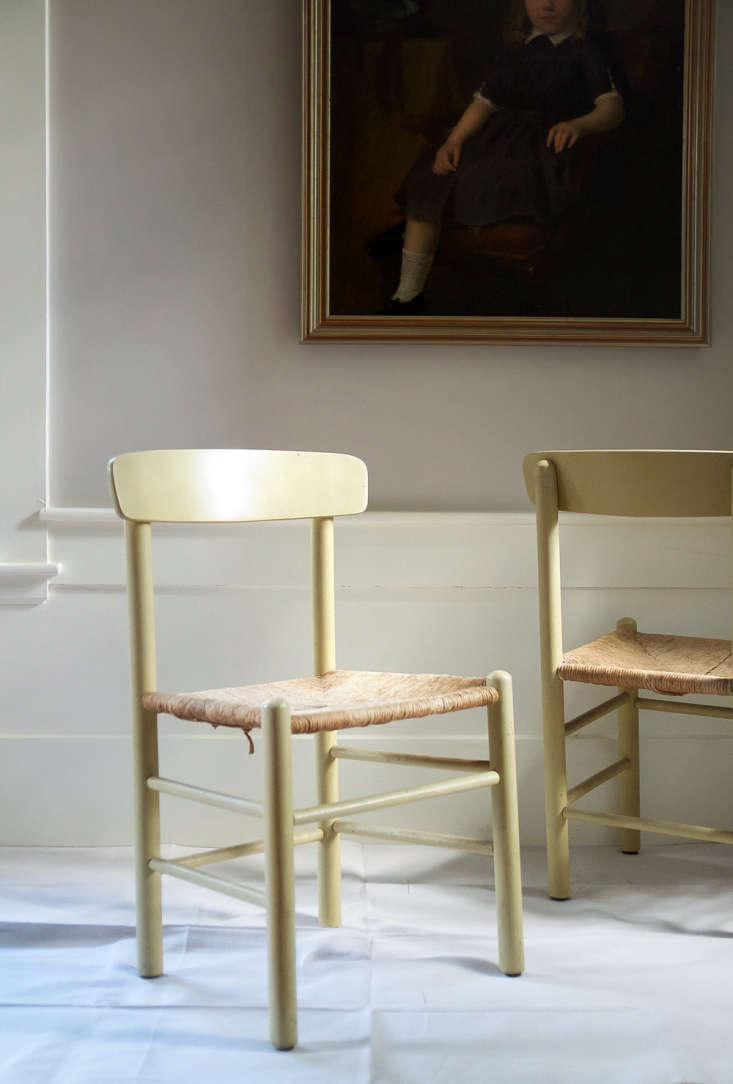
We’ve all been there: standing in the middle of a crowded thrift store, eyeing a chair that’s covered in a layer of grime and wrapped in a fabric that hasn't been fashionable since the disco era. To most, it’s a piece of junk destined for the landfill. But to a DIYer with a bit of vision, it’s a "Score!" waiting to happen. I remember finding my first set of mid-century dining chairs for just $35 each. They were a hideous "puce green," but the bones were solid.
Transforming thrifted chairs like a pro isn't about rushing to the finish line; it’s about a disciplined, three-phase approach: meticulous preparation (sanding and cleaning), professional-grade priming and painting using multiple thin coats, and finishing with 2026-trend upholstery like high-performance fabrics. By doing it yourself, you aren't just being creative—you're being savvy. Refurbishing a thrifted dining set costs an average of $175 in materials, which represents a staggering 85% savings compared to purchasing new mid-century modern designer sets.
Step 1: Meticulous Preparation (The 'Zen' of Sanding)
If there is one thing I’ve learned the hard way over the years, it’s this: your final finish is only as good as the surface beneath it. You might be tempted to slap on some "all-in-one" paint and call it a day, but that’s how you end up with peeling paint six months down the line. To get a professional result, you need to "Get Your Inner Zen On" and embrace the prep work.
The goal isn't necessarily to strip the wood down to its raw state (unless you’re staining), but rather to "scuff sand." This creates a "tooth" for the new primer to grab onto. I recommend starting with a medium-grit sandpaper (around 120) to break through the old varnish, followed by a fine-grit (220) to smooth things over. For flat seats, an orbital sander is your best friend, but for those tricky rungs and spindles, you’ll be doing some old-fashioned hand-sanding.
Your Prep Checklist:
- [ ] Drop cloth (don’t ruin your floors!)
- [ ] Orbital sander & hand-sanding blocks
- [ ] Sandpaper (120 and 220 grit)
- [ ] Tack cloths (essential for dust removal)
- [ ] Denatured alcohol or a TSP substitute (for degreasing)
- [ ] Dust mask and safety goggles
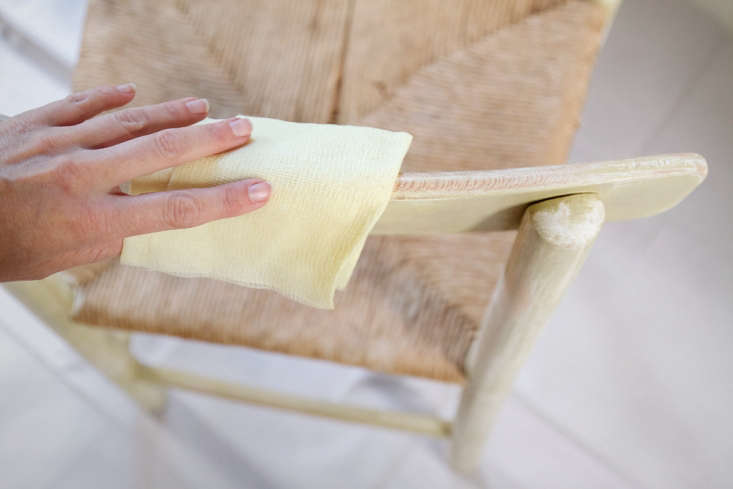
Once you’ve finished sanding, the cleaning protocol is non-negotiable. I use a vacuum with a brush attachment first, followed by a tack cloth to pick up every microscopic speck of sawdust. If you leave dust behind, it will create tiny bumps in your paint that will haunt you every time the light hits the chair.
Step 2: The Professional Paint Job
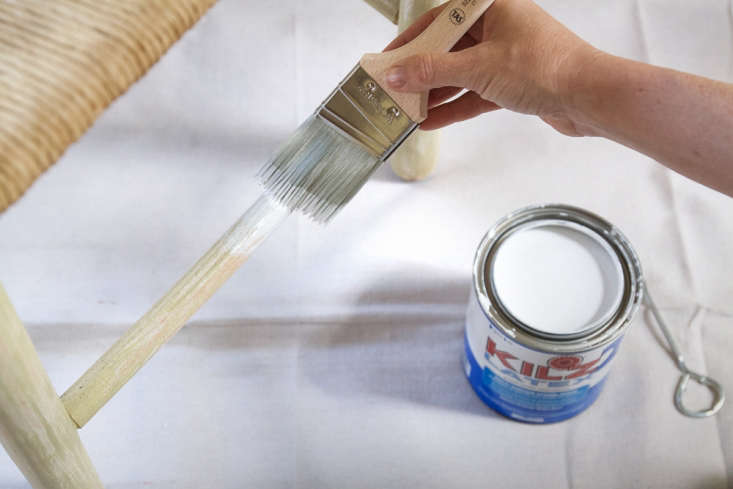
Now for the part where the magic happens. To achieve that "factory-finished" look, we have to move away from the "one thick coat" mentality. Experts recommend a "Pro Formula" of one high-quality stain-blocking primer followed by 4-5 incredibly thin layers of latex paint.
Why the stain-blocking primer? Old furniture often has tannins or mahogany dyes that will bleed through your beautiful new white or grey paint, turning it a muddy pink or yellow within days. A shellac-based primer like Zinsser B-I-N is my "holy grail" for this—it seals in everything from old smells to stubborn stains.
The 'Overnight Rule'
This is where most DIYers lose their patience. For the most durable finish, you must allow your paint to dry completely between coats. While the can might say "dry in 2 hours," the paint is still soft. I follow the "Overnight Rule": apply one thin coat, then walk away. Letting the paint cure for 12-24 hours between layers allows it to reach maximum hardness. It’s the difference between a chair that chips when a vacuum hits it and a chair that lasts for a decade.
When it comes to tools, anatomy matters. For flat seats, a small foam roller provides a smooth, texture-free finish. For rungs, spindles, and intricate carvings, a high-quality synthetic brush (like a Wooster or Purdy) is essential. Always brush in the direction of the wood grain, and keep a "wet edge" to avoid visible lap marks.
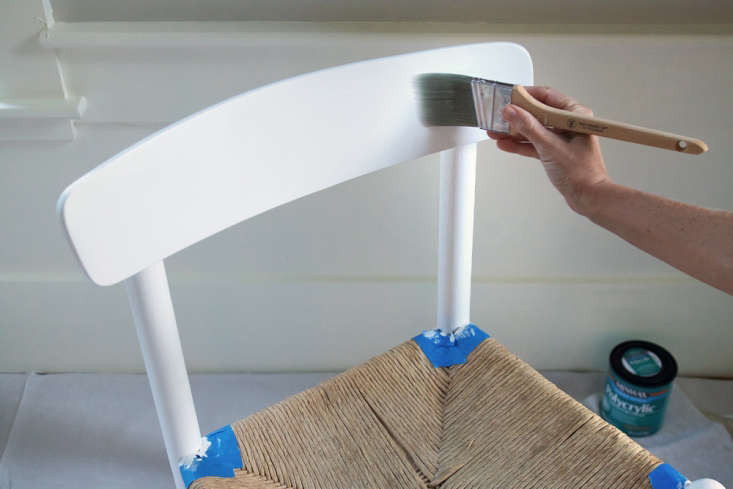
Finally, protect your hard work. For chairs, which take a lot of physical "abuse," I always recommend a water-based polycrylic sealer. Unlike traditional oil-based polyurethanes, water-based versions won't yellow over time, keeping your colors crisp and bright.
Step 3: Re-Upholstering with 2026 Trends
The final step is where you can truly inject some 2026 "Quiet Luxury" into your piece. We are seeing a massive shift in homeowner priorities; according to 2026 interior design forecasts, 78% of homeowners now prioritize 'performance textiles' over traditional fabrics for DIY projects. Why? Because these fabrics can increase the furniture's lifespan by up to 300% while offering stain resistance that was once only available in commercial settings.
When choosing your material, consider the "Decision Matrix" below to ensure you’re getting the right balance of aesthetics and durability.
| Fabric Type | Durability | Aesthetic | Best For... |
|---|---|---|---|
| Performance Fabric | Extremely High | Clean, Modern | High-traffic dining rooms & kids |
| Bouclé | Medium-High | Textured, Cozy | Accent chairs & "Quiet Luxury" looks |
| Velvet (Polyester) | High | Glamorous, Deep | Formal dining or moody bedrooms |
| Organic Cotton | Medium | Natural, Soft | Eco-conscious homes (needs sealing) |
DIY Upholstery Basics
Upholstery is much less intimidating than it looks. Most thrifted dining chairs have a "pop-out" seat secured by four screws. Once the seat is out:
- Strip or Layer: If the old foam is crumbling, replace it. If it’s firm, you can often just go right over it with a new layer of batting.
- The "North-South-East-West" Staple: Place your fabric face down, put the seat on top, and pull the fabric taut. Place one staple in the center of each side (North, South, East, West).
- Tucking and Folds: Work your way toward the corners. For corners, I like the "gift-wrap" fold—neat, flat pleats that minimize bulk.
- The Staple Gun: Use a heavy-duty manual or electric stapler. Don’t be stingy—staple every inch to ensure the fabric stays taut for years to come.
Expert Troubleshooting: Repair vs. Replace
Before you invest $175 in materials, you need to know if the chair is worth the effort. In my experience, a "wobbly leg" isn't a dealbreaker—it usually just means the old hide glue has dried out. You can easily disassemble the joint, scrape off the old glue, and re-glue it with a modern wood glue and a clamp.
However, if the wood itself is "punky" (rotting) or has major structural cracks across the grain, it might be time to move on. We want to be sustainable, but we also want to be safe. Speaking of sustainability, if you're an eco-conscious DIYer, look into "Mushroom Leather" or organic hemp-based textiles which are making huge waves in the 2026 market as alternatives to animal leather and synthetic polyesters.
FAQ
What is the difference between performance and regular fabric? Performance fabrics (like Crypton or Sunbrella) are engineered at the fiber level to be water-repellent and stain-resistant. Unlike regular fabric with a spray-on coating, performance fabrics won't lose their protective qualities after a few cleanings. They are the gold standard for 2026 DIY projects.
How do I handle scratches from pets on painted furniture? The best defense is a good offense. By using multiple thin coats and a polycrylic sealer, you create a much harder shell. If a scratch does occur, keep a small "touch-up" jar of your paint and a tiny artist’s brush handy for quick fixes.
Which primer is best for old, dark wood stains? Always go for a shellac-based or high-quality oil-based primer. Water-based primers often won't stop the "tannin bleed" from woods like cherry or mahogany. Zinsser B-I-N is widely considered the pro choice for blocking old stains and odors.
Ready to start your own transformation? I’d love to see your progress! Share your "Before & After" photos with our community on social media using #ClaraLinDIY or subscribe to our newsletter for more 2026 home upgrade guides delivered straight to your inbox.