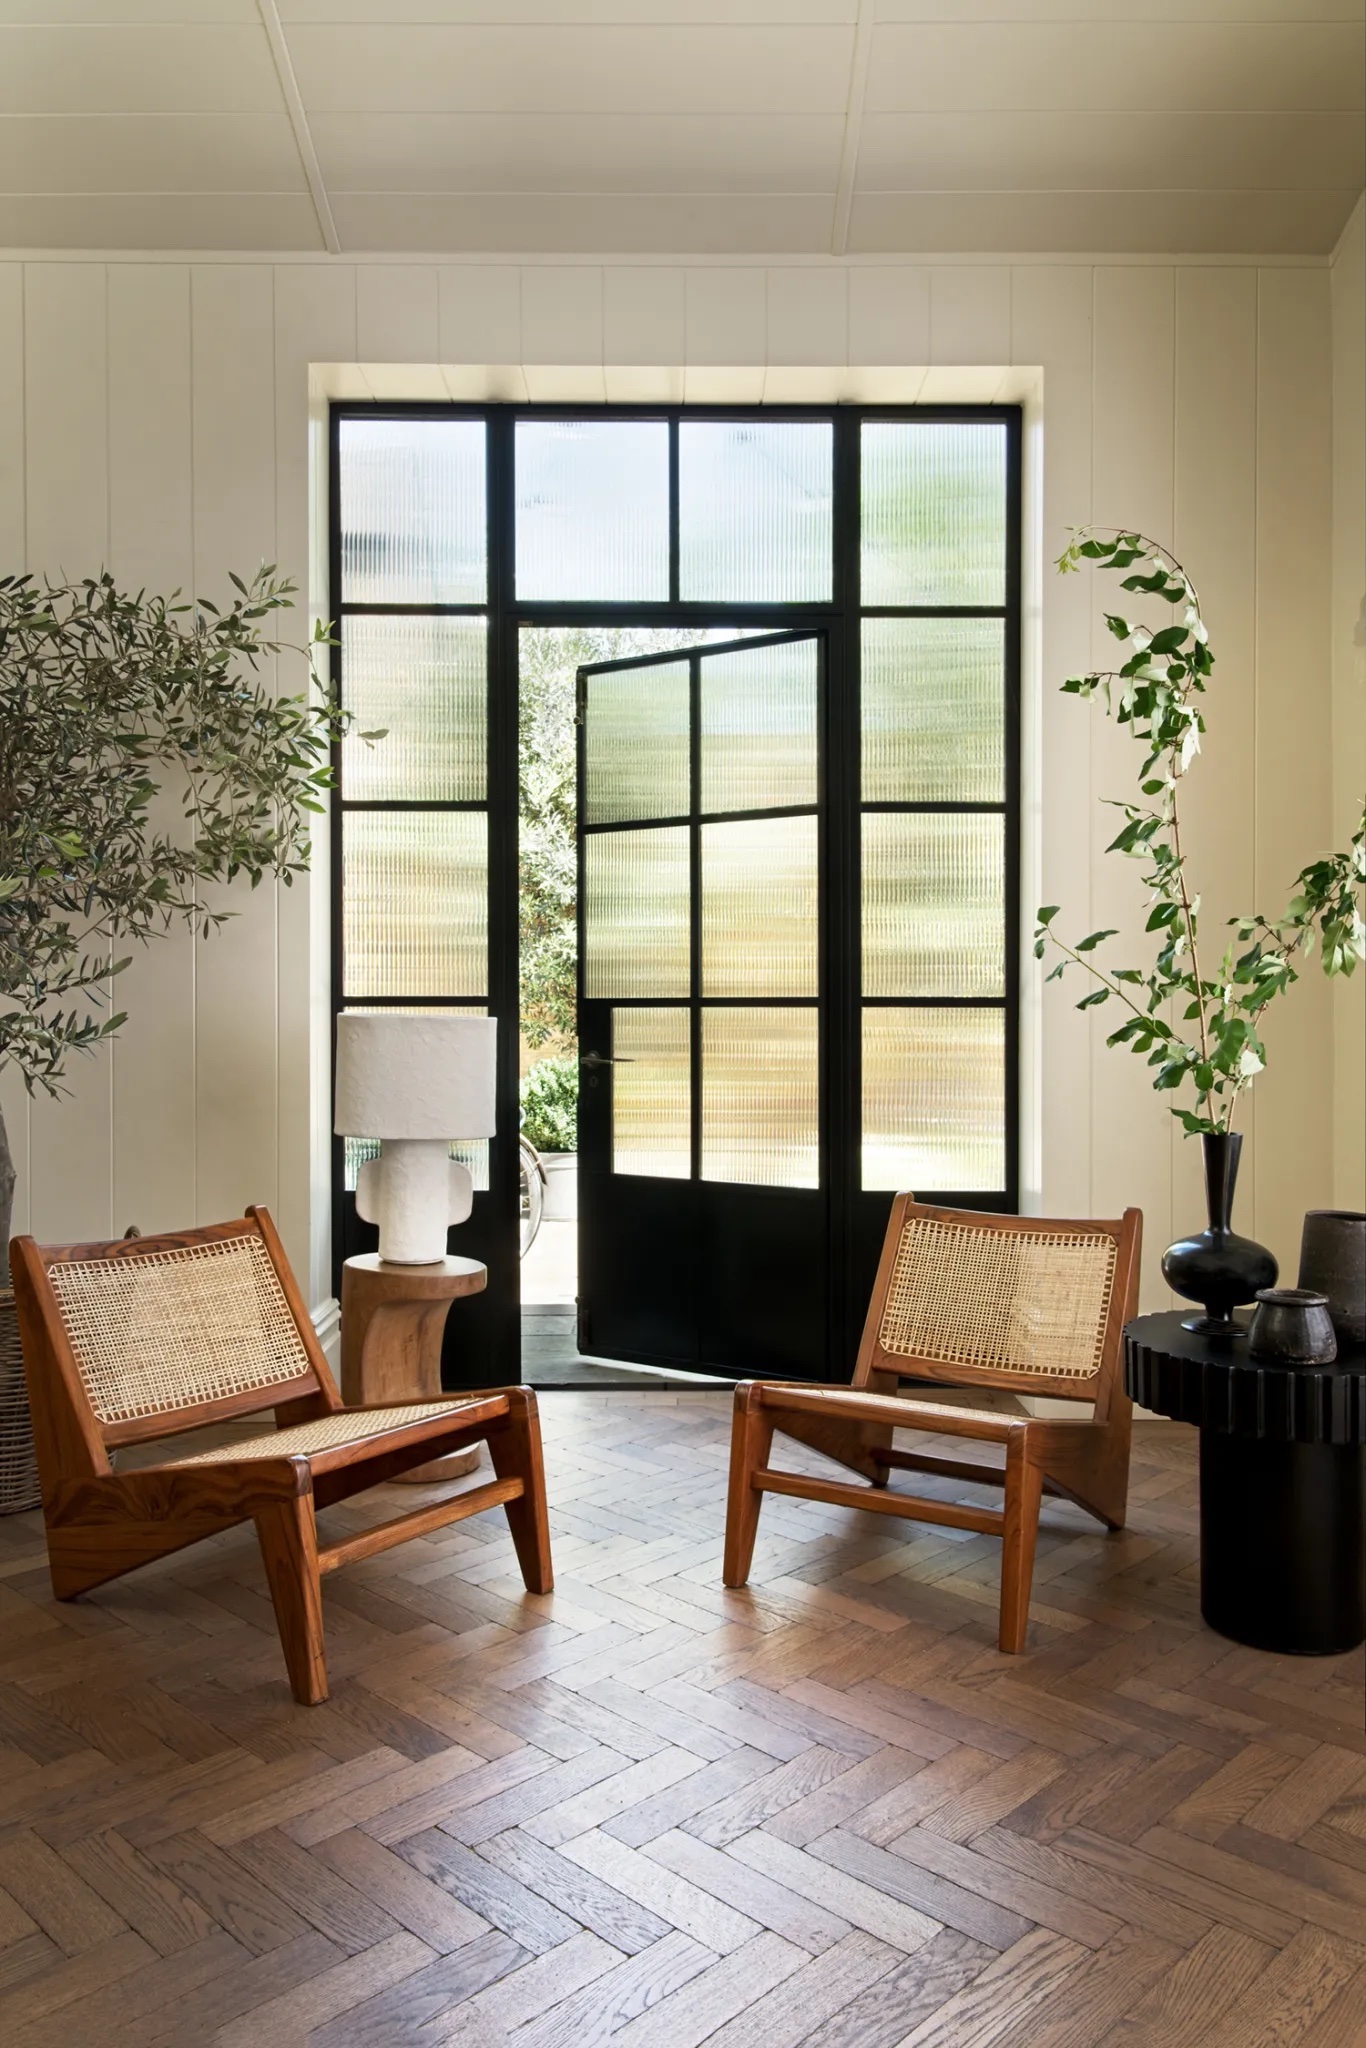
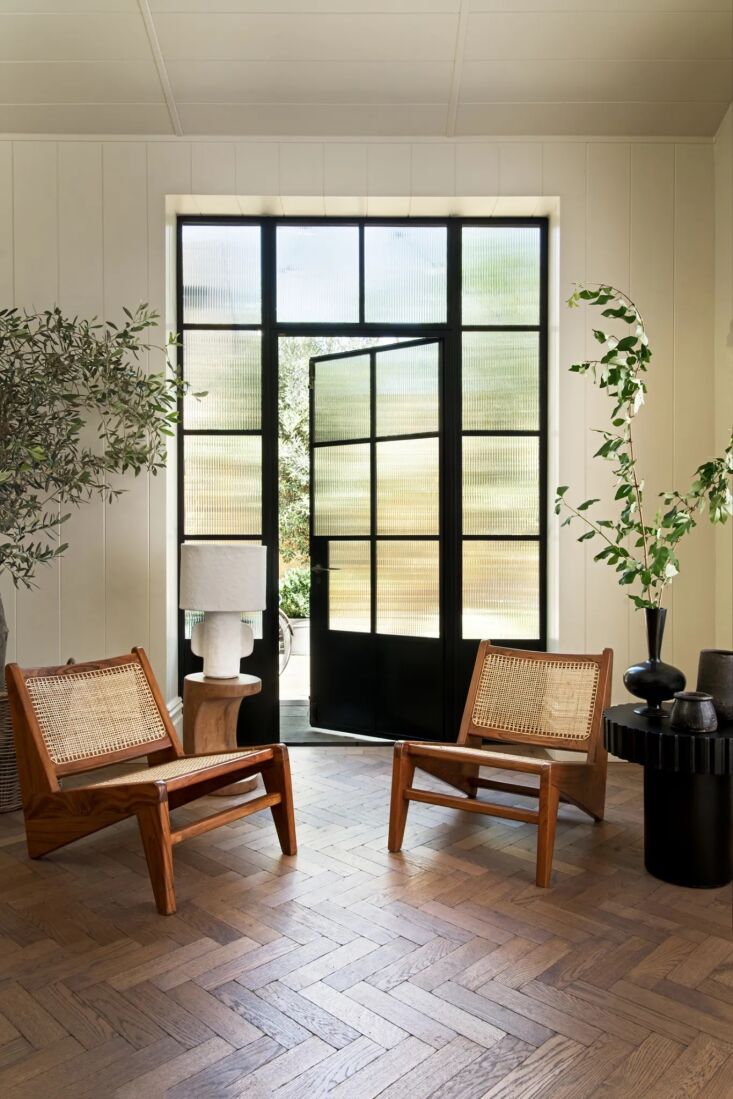
If you’ve been scrolling through interior design feeds lately, you’ve likely seen the resurgence of fluted glass. Whether it’s in a sleek mid-century modern partition or a sophisticated bathroom cabinet, that textured, linear look is everywhere. But here’s the reality check: custom reeded glass is expensive, and for renters or budget-conscious homeowners, replacing a whole window pane simply isn't an option.
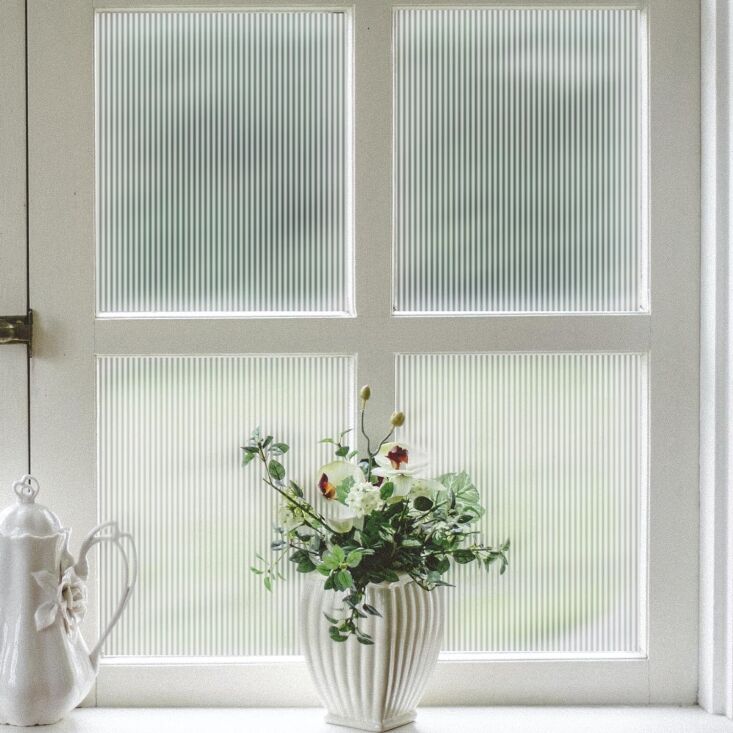
That is where reeded glass window film comes in. This DIY-friendly, cost-effective solution is a self-adhesive or static-cling material that mimics the high-end look of fluted glass. It offers the perfect balance of privacy—obscuring the view from the street or the next room—while still allowing a flood of natural light to enter your space. As a DIY editor, I’ve found that this is one of the most transformative "weekend warrior" projects you can take on. It requires no power tools, costs less than a dinner out, and is completely reversible.
Benefits of Reeded Window Film
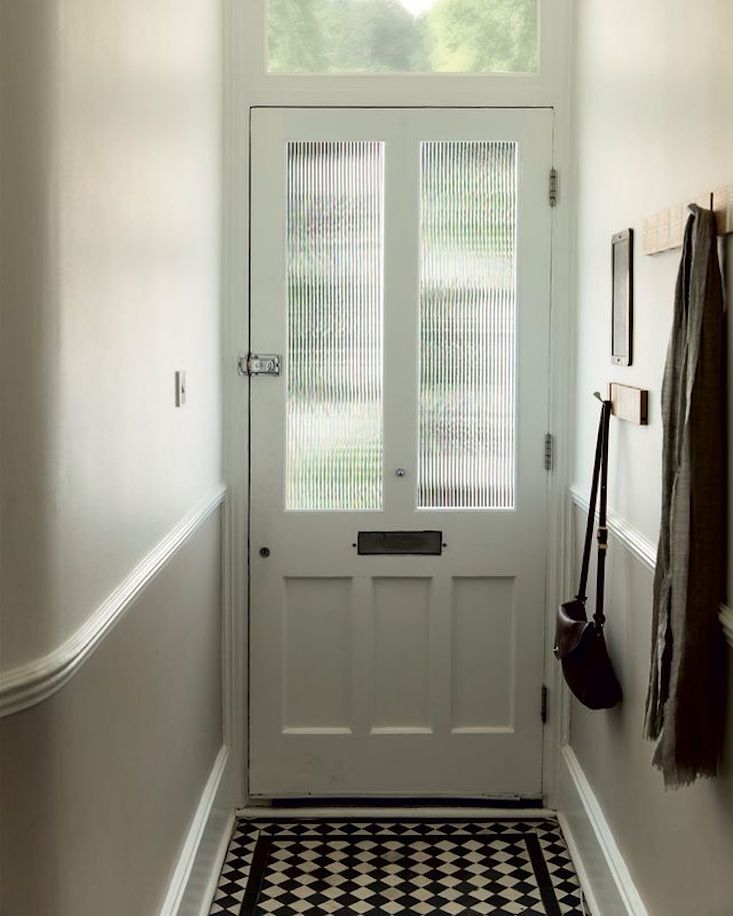
The most obvious draw of reeded film is its visual appeal. It adds a layer of architectural interest to flat, boring glass, instantly elevating a room’s "designer" feel. However, the benefits go far beyond just looking pretty. From a practical standpoint, it is a privacy powerhouse. Because of the vertical "reeds" or ribs in the pattern, the film distorts the view from the outside without darkening your room, making it ideal for street-level windows, bathroom glass, or even glass-fronted kitchen cabinets that hide a bit of clutter.
In today’s world, we are also looking at our homes through the lens of sustainability. Modern window films have evolved significantly. By 2026, advanced nano-ceramic reeded films have become the standard, capable of reducing solar heat gain by up to 50%. This means your home stays cooler in the summer, reducing your reliance on air conditioning. Furthermore, these films provide 99% UV blocking capabilities. This protects your skin and prevents your expensive furniture and flooring from fading under the sun’s harsh glare, all while maintaining high visible light transmission (VLT) so you don’t feel like you’re living in a cave.
Essential DIY Tool Kit
Before you peel back that liner, you need the right tools. I always tell my readers: your finish is only as good as your prep. Do not try to "wing it" with a kitchen sponge and a dull utility knife. You want a professional finish that lasts for a decade, not something that peels at the corners in two weeks.
Your Professional Checklist:
- A Professional Squeegee: Look for one with a felt edge to avoid scratching the film.
- 12-Point Snap-off Trimming Knife: You need a fresh, razor-sharp tip for every single cut.
- Spray Bottle: Must have a fine mist setting.
- 'Green Card' Squeegee: This is a stiff, triangular tool used for pushing water out of the very edges and gaskets.
- Glass Scraper: A simple razor blade scraper to remove invisible paint flecks or grit.
The Secret Sauce: The most important "tool" is your installation fluid. Skip the expensive pre-mixed bottles. The gold standard is a DIY mixture of 1 part washing-up liquid (dish soap) to 20 parts water. This specific ratio provides the perfect amount of "slip," allowing you to slide the film into place before it bonds.
Step 1: Preparation and Measurement
Timing is everything. I recommend installing window film on a mild day. If the glass is too hot from direct afternoon sun, your installation fluid will evaporate too quickly, causing the film to "grab" before you’re ready. If it’s freezing, the adhesive may not cure properly.
Start by measuring your glass panes. Here is my pro tip: Always add a 20mm 'buffer zone' to your measurements. Do not try to cut the film to the exact size of the window on your cutting mat. It is much easier to apply a slightly oversized piece and trim it perfectly against the window frame.
Cleaning is the step where most DIYers fail. Even a tiny speck of dust will create a visible bubble. Use your soapy water and a lint-free cloth to clean the glass twice. Then, run your razor scraper across the surface. You’ll be surprised at the "crunch" of invisible debris you’ll pick up. One final mist and a wipe with a squeegee, and you’re ready.
Step 2: Preparing the Film
Now, let's talk about handling the film. Reeded film is thicker than standard tint, making it easier to handle, but it can still be prone to static. Before you touch the film, mist your hands with your soapy water solution. This prevents you from leaving oily fingerprints on the adhesive side.
To separate the clear liner from the film, use the "masking tape tab" trick. Stick a piece of tape on the front and another on the back in one corner, then pull them apart. The liner should peel right off. As you peel, have a partner mist the exposed adhesive side of the film liberally. In the world of window film, "Wetter is Better." You cannot use too much fluid; it acts as a lubricant that prevents the film from sticking to itself or creasing.
Step 3: The Installation Process
Once the glass and the film are both soaking wet, pick up the film by the top corners and lay it onto the glass. Because of the soapy water, the film should "float." You can slide it around until the vertical reeds are perfectly straight.
Pro Tip: The T-Seal Technique. To lock the film in place, use your squeegee to create a 'T' shape. Start at the top middle and stroke firmly to the top left, then the top right. Then, stroke straight down the center. This anchors the film so it won't shift while you work on the rest of the window.
Working from the center outward, use firm, overlapping strokes to push the water out to the edges. You want to see that "water wave" moving toward the frame. For reeded film, pay special attention to the direction of the pattern; ensure the lines are square with your window frame to maintain that professional, architectural look.
Step 4: Trimming and Precision Edging
This is the moment of truth. To get a factory-finish edge, take your 'Green Card' (or a stiff credit card) and press it firmly into the corner where the glass meets the window gasket. Use your 12-point snap-off knife to cut along the edge of the card.
The Diagonal Corner Cut: When you reach a corner, make a tiny 45-degree snip toward the glass. This prevents the film from "bunching up" in the corner, which is the leading cause of edge-peeling. Once trimmed, use a paper towel wrapped around your squeegee to "bump" the edges, absorbing the final 5% of moisture.
Aftercare and Maintenance
Once the film is up, patience is required. You might notice a slight haze or tiny water bubbles in the first few days—don't panic! This is part of the 30-day curing period. As the moisture evaporates through the film, these imperfections will disappear.
For long-term maintenance, treat your filmed windows with care. Never use ammonia-based cleaners (like original Windex), as they can break down the adhesive over time. A simple wipe with a damp microfiber cloth is all you need. With proper care, high-quality reeded films have a lifespan of 10 to 20 years.
Top Reeded Window Film Brands to Consider
Not all films are created equal. If you want a result that doesn't look like cheap plastic, I recommend sticking to industry leaders who specialize in architectural finishes.
- 3M (Glass Finishes Line): The gold standard for durability and clarity. Their "Fasara" line offers stunning reeded patterns that are used in commercial offices but work beautifully in homes.
- Eastman (LLumar/Vista): Known for their high-performance coatings. If you are specifically looking for that 99% UV protection and heat reduction, this is your brand.
- Kehui: A fantastic option for those looking for advanced nano-ceramic technology at a slightly more accessible price point.
- Velimax: A favorite for renters. They offer excellent static-cling (non-adhesive) options that are incredibly easy to remove when your lease is up.
FAQ
Q: Can I install reeded film on double-paned (IGU) windows? A: Yes, but you must ensure the film is "safe for IGU." Most decorative reeded films are safe because they don't absorb excessive heat, but always check the manufacturer’s specifications to avoid the risk of thermal glass breakage.
Q: Which way should the "reeds" run? A: Traditionally, reeded glass runs vertically to elongate the window and provide better privacy for people standing. However, running them horizontally can create a modern, "shutter" vibe. It’s entirely up to your aesthetic preference!
Q: Is it easy to remove? A: Absolutely. Static-cling films simply peel off. Adhesive films may require a bit of heat from a hairdryer and some soapy water to remove any leftover residue, making them perfect for renters.
Ready to transform your space? Grab your spray bottle and give your windows the upgrade they deserve. You’ll be amazed at how a little bit of texture can completely change the mood of your home.