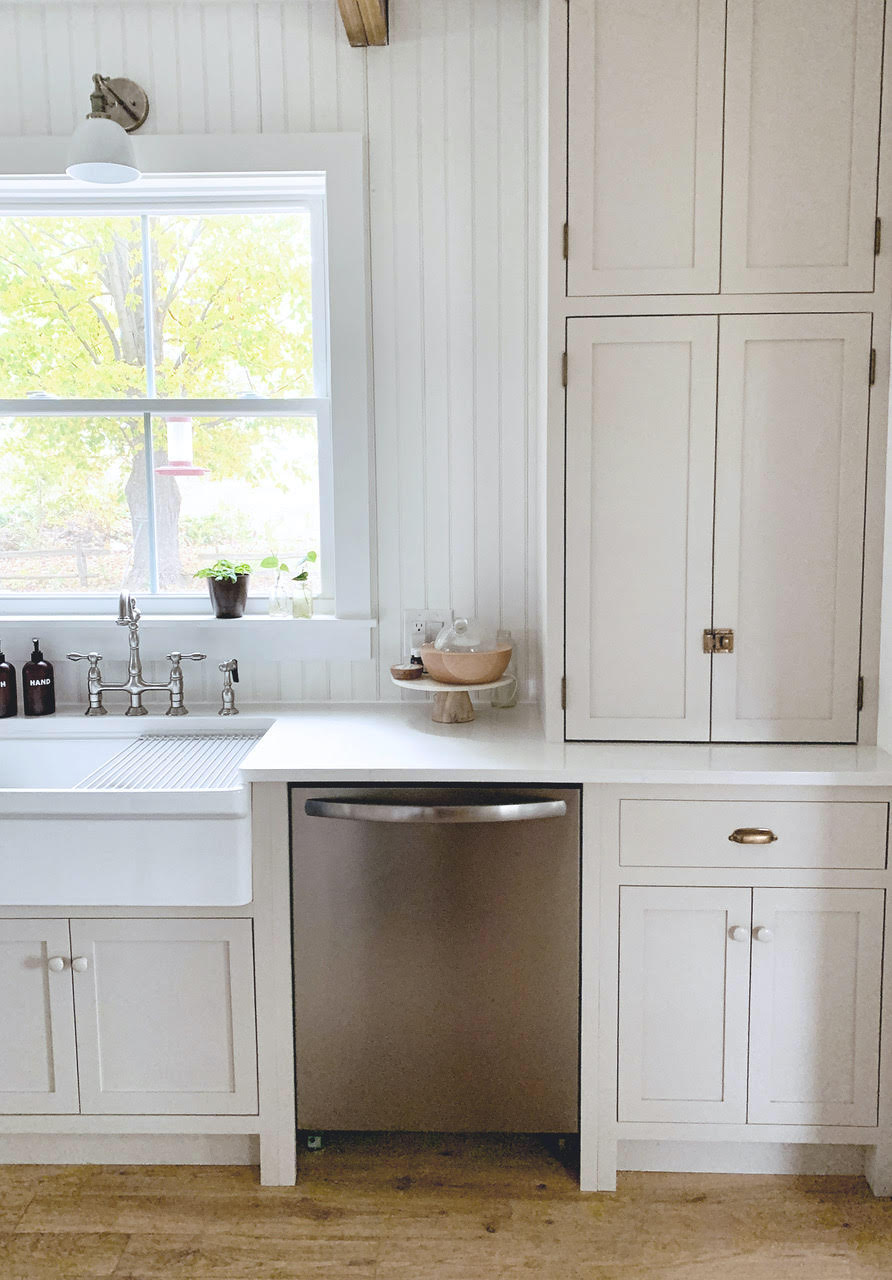
There is a specific kind of quiet heartbreak that happens when you finish a beautiful kitchen renovation—the marble is honed, the cabinets are a perfect mushroom-taupe—and then you slide in a hulking, brushed-metal dishwasher that sticks out like a sore thumb. For years, the "integrated look" was a luxury reserved for those with five-figure appliance budgets. But as someone who has spent a decade helping homeowners bridge the gap between "builder grade" and "bespoke," I can tell you that a seamless kitchen is within your reach.
Whether you are looking to retrofit your current machine or are shopping for the best 2026 models, mastering the art of the camouflage is the key to a cohesive aesthetic. To camouflage a standard dishwasher, you can fabricate a matching plywood and pine panel that mirrors your kitchen cabinetry, then attach it using alignment brackets and screws after pre-drilling to prevent wood splitting. If you're looking for a professional integrated finish from the start, the 2026 market is dominated by Miele for cleaning power, Bosch for drying innovation, and SKS for sheer reliability.
I. Standard vs. Panel-Ready: Knowing Your Starting Point
Before you pick up a saw, you need to understand the mechanical reality of your appliance. Most American dishwashers are designed to be "standard fit," meaning they have a finished front and a door that is meant to be seen. These units typically stick out "proud" of the cabinets.
A true "panel-ready" dishwasher, however, is designed with a recessed door and heavy-duty hinges capable of supporting the weight of a custom wood panel. If you are DIY-ing a camouflage panel for a standard unit, your biggest challenge will be depth. You must ensure your dishwasher is pushed back as far as the plumbing allows to avoid a chunky, oversized profile.
Pro-Tip: The Vent Test Before covering any dishwasher, check where it vents. If your unit vents steam from the front or bottom, a DIY panel could trap moisture and lead to wood rot or mold. Only camouflage units with top-control interfaces and side or rear venting.
II. DIY Guide: Camouflaging a Standard Dishwasher
If your budget doesn't allow for a $1,500 integrated machine, you can create a high-end look for under $500 with some patience and a few trips to the lumber yard.
Tools and Materials Needed
- Lumber: 1/2-inch finish-grade plywood and 1/4-inch pine lattice (for Shaker styling).
- Adhesion: Heavy-duty double-sided mounting tape (the automotive grade works best) and wood glue.
- Hardware: Alignment brackets, wood screws, and your chosen cabinet pull.
- Safety Gear: Eye protection and a dust mask for sanding.
Step 1: Fabricating the Panel
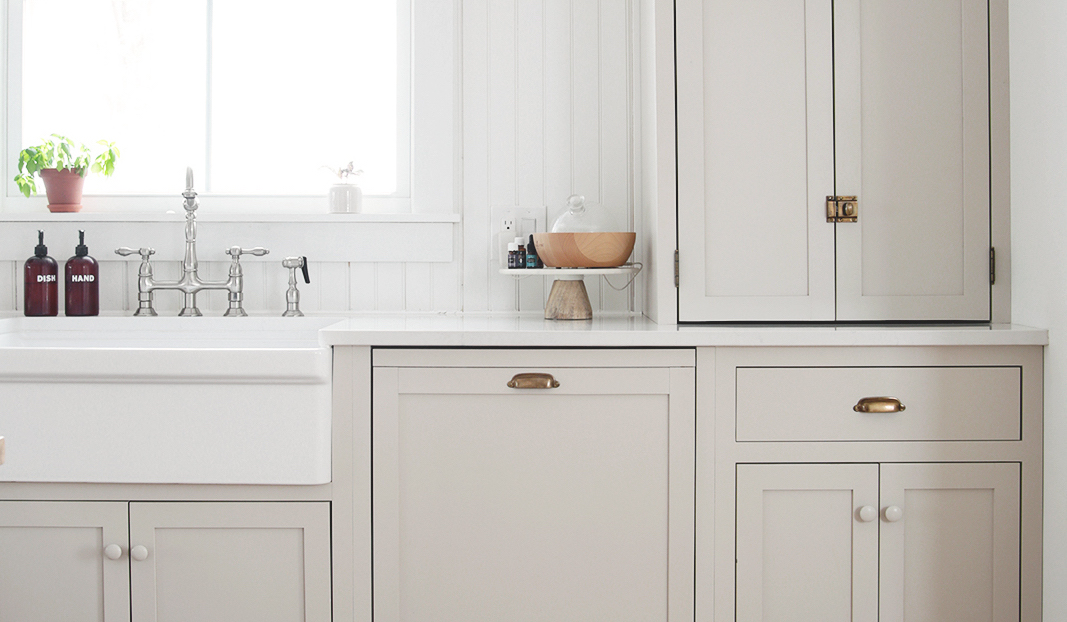
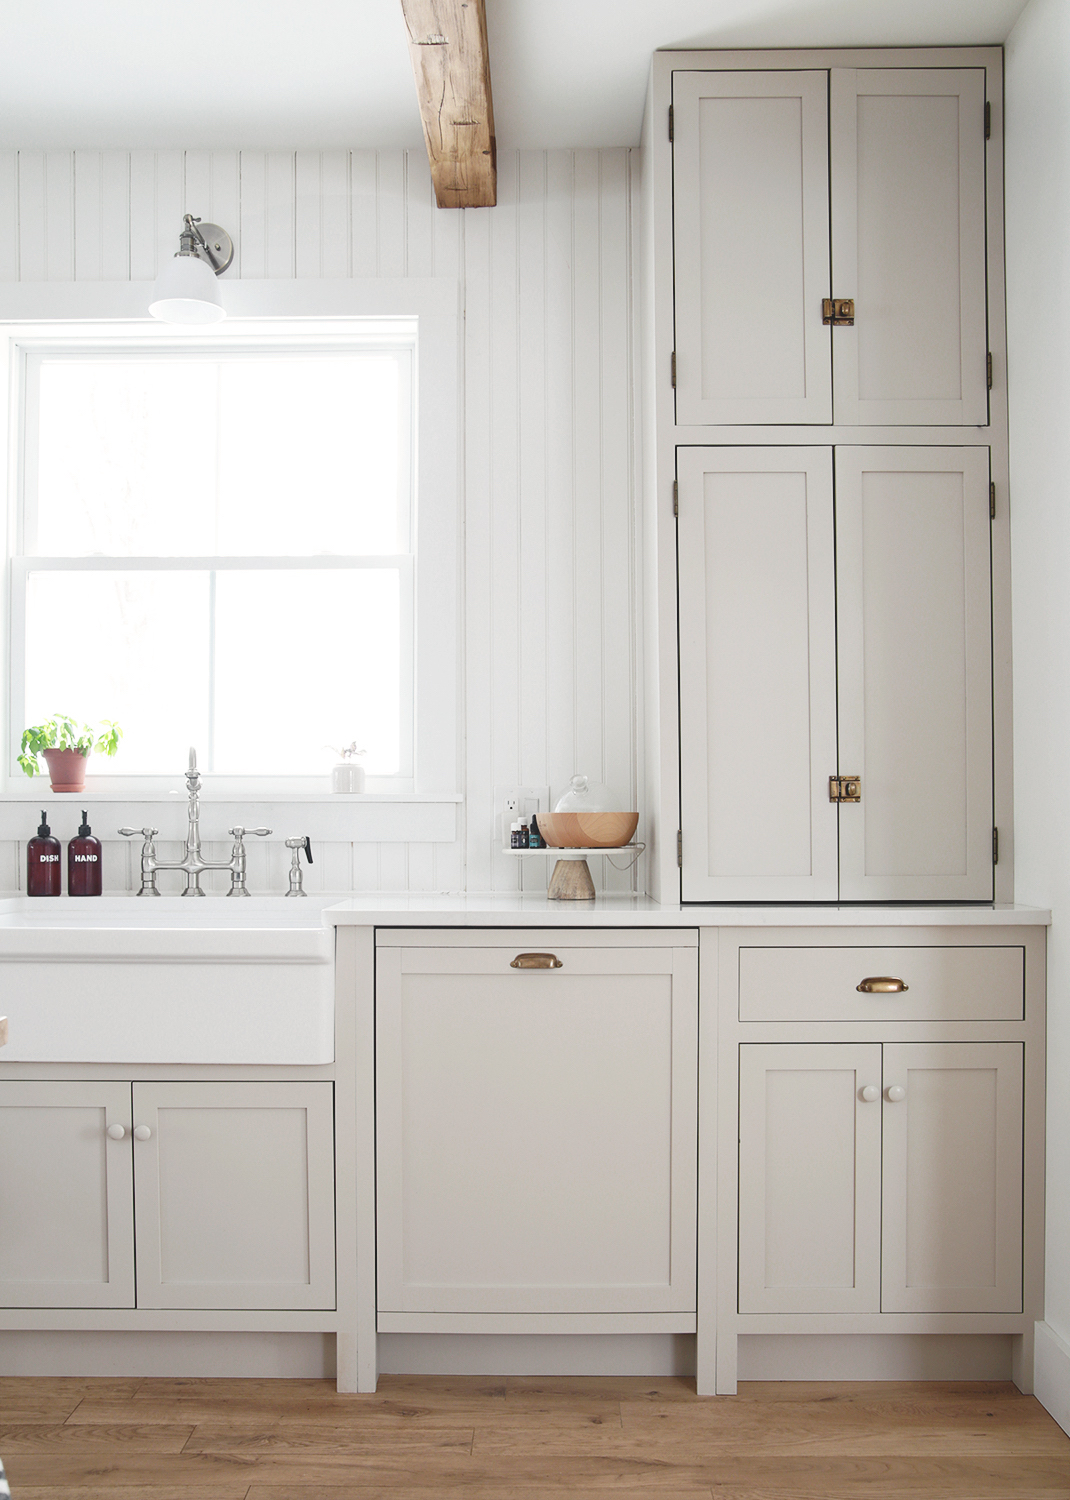
Your goal is to mirror your existing cabinetry exactly. Measure the door of your dishwasher, but don't just copy those dimensions. Look at the surrounding cabinets. To achieve a professional "built-in" look, follow the 1/8-inch gap rule: the space between your custom panel and the neighboring cabinet doors should be exactly 1/8 of an inch on all sides.
Cut your plywood base to size and use the pine strips to create the Shaker frame. Sand the edges until they are buttery smooth. If you are painting, use a high-quality primer to protect the wood from the kitchen's fluctuating humidity.
Step 2: Hardware Installation
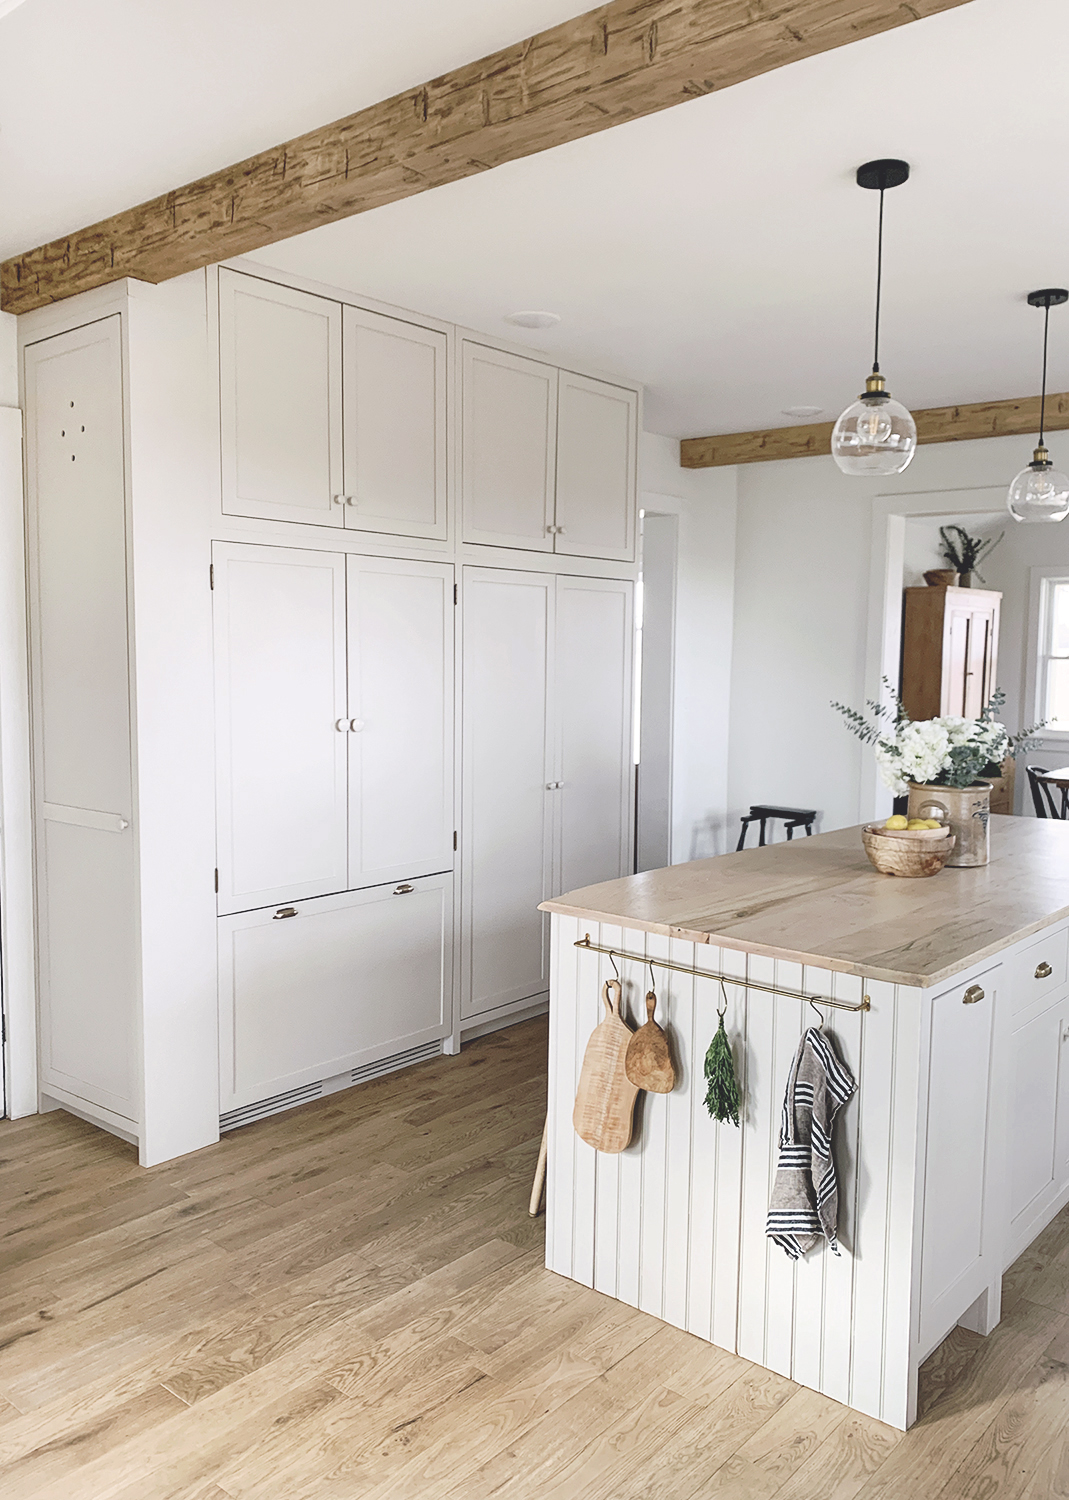
This is where many DIYers stumble. When you are ready to attach your cabinet pull to the new panel, step away from the power drill for the final tightening.
Clara’s Safety Advice: Use a manual screwdriver to install your hardware. Electric drills can easily over-torque, stripping the soft heads of unlacquered brass screws or cracking the finish on your newly painted panel. Hand-tightening ensures the screw heads remain pristine and the hardware sits perfectly flush.
Step 3: Secure Attachment
To attach the panel to the dishwasher door, you’ll want to use a combination of mechanical fasteners and adhesive. First, pre-drill your pilot holes through the dishwasher’s inner metal liner (being careful not to hit any internal components). Pre-drilling is non-negotiable; it prevents the wood from splitting as the screw enters the panel from the back.
Cost Breakdown: The $480 Luxury Look
| Item | Estimated Cost |
|---|---|
| Finish-grade Plywood & Pine | $65 |
| High-end Cabinet Pull (Brass) | $45 |
| Paint/Primer/Finish | $50 |
| Mounting Brackets & Tape | $30 |
| Total DIY Project Cost | $190 |
| Compare to: New Panel-Ready Unit | $1,200 - $2,500 |
By choosing this DIY path, you can achieve a "Real Shaker" look for a fraction of the price of a high-end integrated unit.
III. The 2026 Pro Upgrade: Best Panel-Ready Dishwashers
If you are in the middle of a full kitchen gut-renovation, investing in a panel-ready unit is often the smartest move for long-term home value. As we look toward 2026, four brands stand out for their ability to disappear into your design while performing like workhorses.
SKS (Signature Kitchen Suite) – The Reliability Champion
If your primary concern is "set it and forget it," SKS is the brand to watch. Based on data from over 33,000 professional service calls, SKS has been ranked as the most reliable panel-ready brand on the market. Their 2026 model, the SKSDW2402P ($1,799), offers incredibly high build quality and a PowerSteam feature that eliminates the need for pre-rinsing.
Bosch 800 Series – Best for Drying Plastics
Bosch remains the gold standard for quiet performance. Their 800 Series units operate at an ultra-quiet 42 decibels—so quiet they have to project a light on the floor to let you know they’re running. The standout feature for 2026 is CrystalDry technology, which uses natural minerals to transform moisture into heat, getting even your plastic Tupperware bone-dry.
- Price Range: $1,214 - $1,399.
Miele G 7000 Series – Top Cleaning Performance
For those who host large dinner parties, the Miele G 7186 SCVi ($1,999) is the ultimate tool. Its AutoDos system with integrated PowerDisk automatically dispenses the exact amount of detergent needed based on the soil level. It’s expensive, but it offers a level of automation that matches a high-end lifestyle.
Fisher & Paykel – Design Innovator
For galley kitchens or smaller urban spaces, the Double DishDrawer is a revelation. Because it operates as two independent drawers, you can panel them to look like a set of standard kitchen drawers, making the appliance completely invisible to the untrained eye.
2026 Reliability & Performance Comparison
| Brand | Model | Noise Level | Key Advantage | Service Rate (1st Year) |
|---|---|---|---|---|
| SKS | SKSDW2402P | 44 dB | Reliability | ~3.5% |
| Bosch | 800 Series | 42 dB | Drying (CrystalDry) | ~7.2% |
| Miele | G 7186 SCVi | 43 dB | Auto-Dosing | ~8.1% |
| F&P | DishDrawer | 44 dB | Space Saving | ~11.5% |
IV. The 5-Minute Makeover: Magnetic Stainless Steel Skins
I realize that not everyone is ready to pick up a circular saw. If you are a renter or simply need a quick visual refresh, magnetic skins are your best friend. Modern magnetic covers have moved beyond the cheap-looking patterns of the past.
You can now purchase "non-brushed" magnetic skins that mimic the look of high-end, smudge-proof stainless steel or even matte black finishes. They apply in seconds, can be trimmed with a utility knife, and provide an instant facelift for a scratched or dated dishwasher front.
V. Installation Pitfalls to Avoid
As an editor who has seen a thousand DIY projects, I can tell you that the difference between "bespoke" and "broken" is in the measurements.
- Avoiding the 'Cabinet Hat': One of the most common mistakes is not accounting for the dishwasher tub depth. To ensure your custom panel sits flush with your other cabinets, your dishwasher tub depth must be 21 13/16 inches or less. Any deeper, and the door will protrude beyond your cabinet line.
- The Toe-Kick Clearance: Before you permanently mount your panel, do a test swing of the door. If your panel is too long, it will hit the toe-kick at the bottom, preventing the dishwasher from opening fully. You may need to bevel the bottom edge of your panel to allow for a full 90-degree swing.
FAQ
Q: Can I put a wood panel on a dishwasher that isn't panel-ready? A: Yes, but with caveats. You must ensure the unit doesn't vent from the front, and you must use high-strength adhesives or brackets. Be aware that adding a heavy wood panel can strain the door springs of a standard dishwasher, causing it to drop more quickly when opened.
Q: Does camouflaging my dishwasher void the warranty? A: If you drill into the door's frame or internal components, yes. However, using mounting tape or existing screw holes usually keeps your warranty intact. Always consult your manual before drilling.
Q: How much space do I need for a flush-mount look? A: For a true integrated look, you need a cabinet opening that is at least 24 inches wide and a depth that allows the appliance tub to sit behind the face frame of your cabinets.
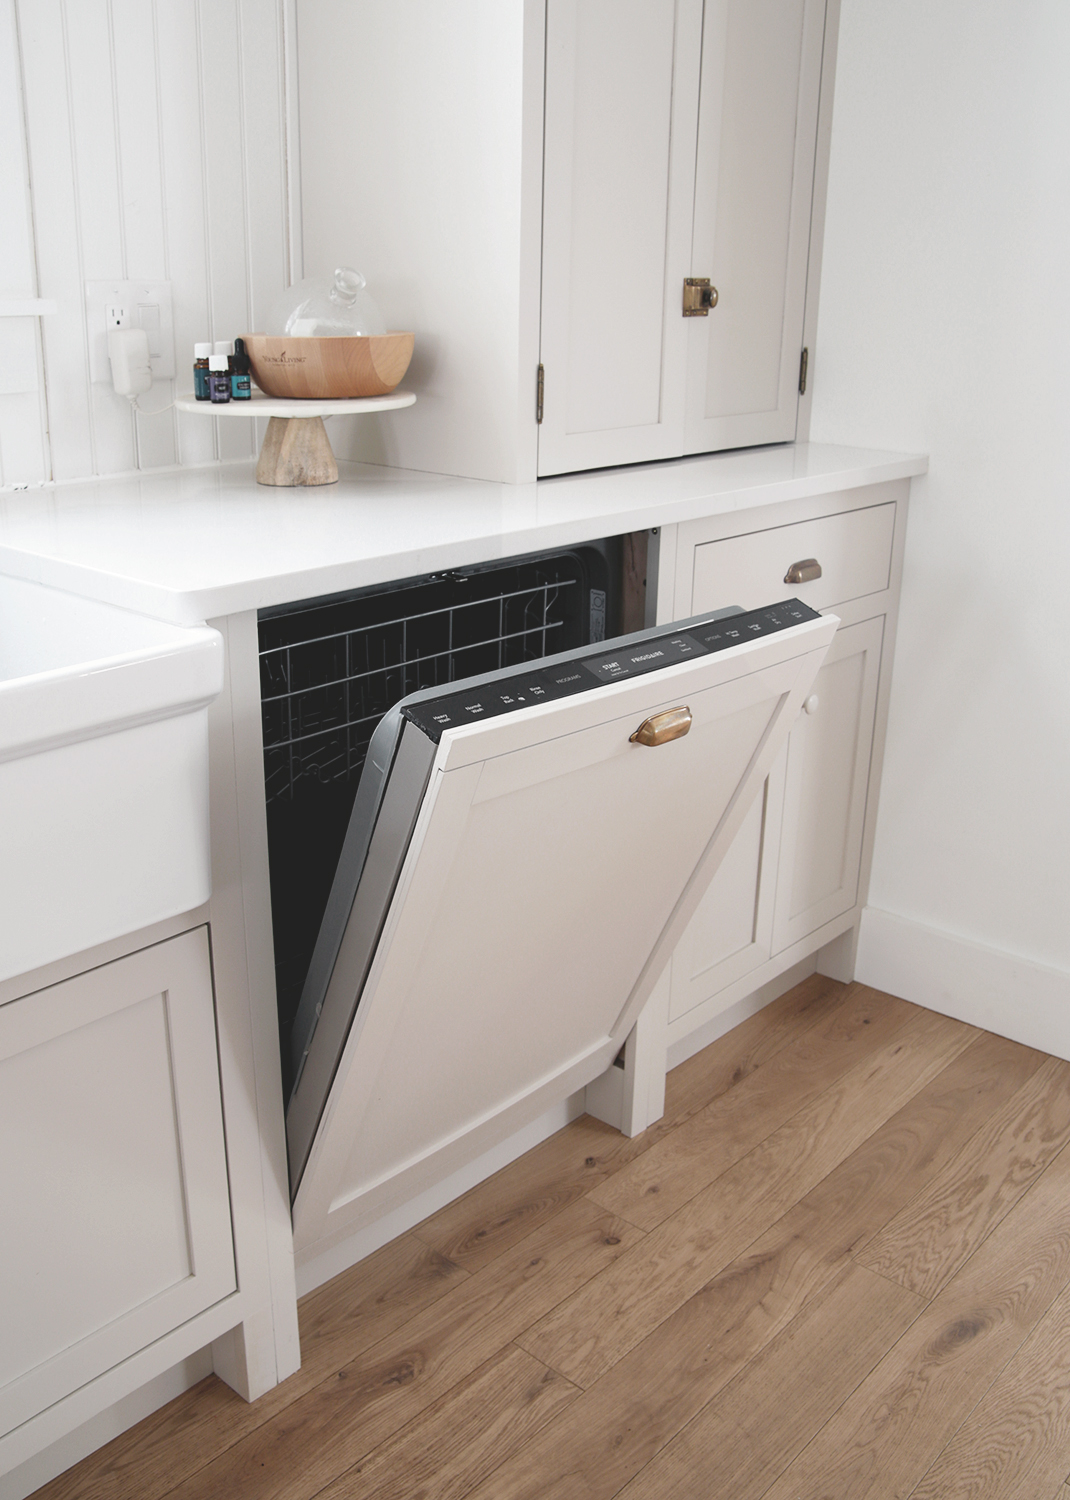
Whether you choose the hands-on DIY route or invest in a top-tier 2026 model like the Bosch 800 or the SKS, the goal remains the same: a kitchen that feels like a sanctuary, not a showroom for appliances. Take your time, measure twice, and don't be afraid to customize. Your dream kitchen is waiting just behind that hidden door.