Quick Facts
- The Challenge: 1970s ranch kitchens are often characterized by "suffocating" dark wood cabinetry, low ceilings, and poor lighting.
- The Lighting Hack: Use Sigma outdoor metal lamp holders ($3.28+) for a minimalist industrial indoor look.
- The Cabinet Solution: Refinish rather than replace. Nuvo and Rust-Oleum kits offer professional finishes for under $150.
- Cost Savings: DIY updates can save homeowners over 95% compared to a full professional remodel.
- Trend Forecast: Moving away from "millennial gray" toward warm earthy tones and mixed metals for 2026.
The 1970s Ranch Kitchen Dilemma
If you’ve stepped into a 1970s ranch-style kitchen recently, you know the feeling. It’s often a combination of heavy oak cabinets, dim fluorescent lighting, and a layout that feels oddly confined despite the open-concept potential of the era. These kitchens were built for utility, but decades later, they often feel like time capsules that swallow light and energy.
When I consult on these spaces, the first instinct for many homeowners is to "gut it all." But as a DIY editor focused on budget-friendly upgrades, I’m here to tell you that you don't need a $30,000 demolition budget to create a high-end, modern aesthetic. The bones of these kitchens—solid wood frames and straightforward layouts—are actually a DIYer's dream.
By leaning into a "Commercial Minimalist Chic" style, we can modernize 1970s ranch kitchens using clever hacks that prioritize high visual impact over high cost. The goal isn't just to make it look "better," but to make it look intentional, expensive, and ready for the design trends of 2026.
The $5 Designer Lighting Hack: Outdoor Fixtures for Indoor Style
One of the biggest hurdles in a ranch kitchen is the lighting. Often, you’re dealing with a single, dated flush-mount fixture or, worse, a massive fluorescent lightbox. Standard "designer" industrial pendants can easily run $150 to $300 per piece. However, there is a "Designer’s Secret" hidden in the electrical aisle of your local hardware store.
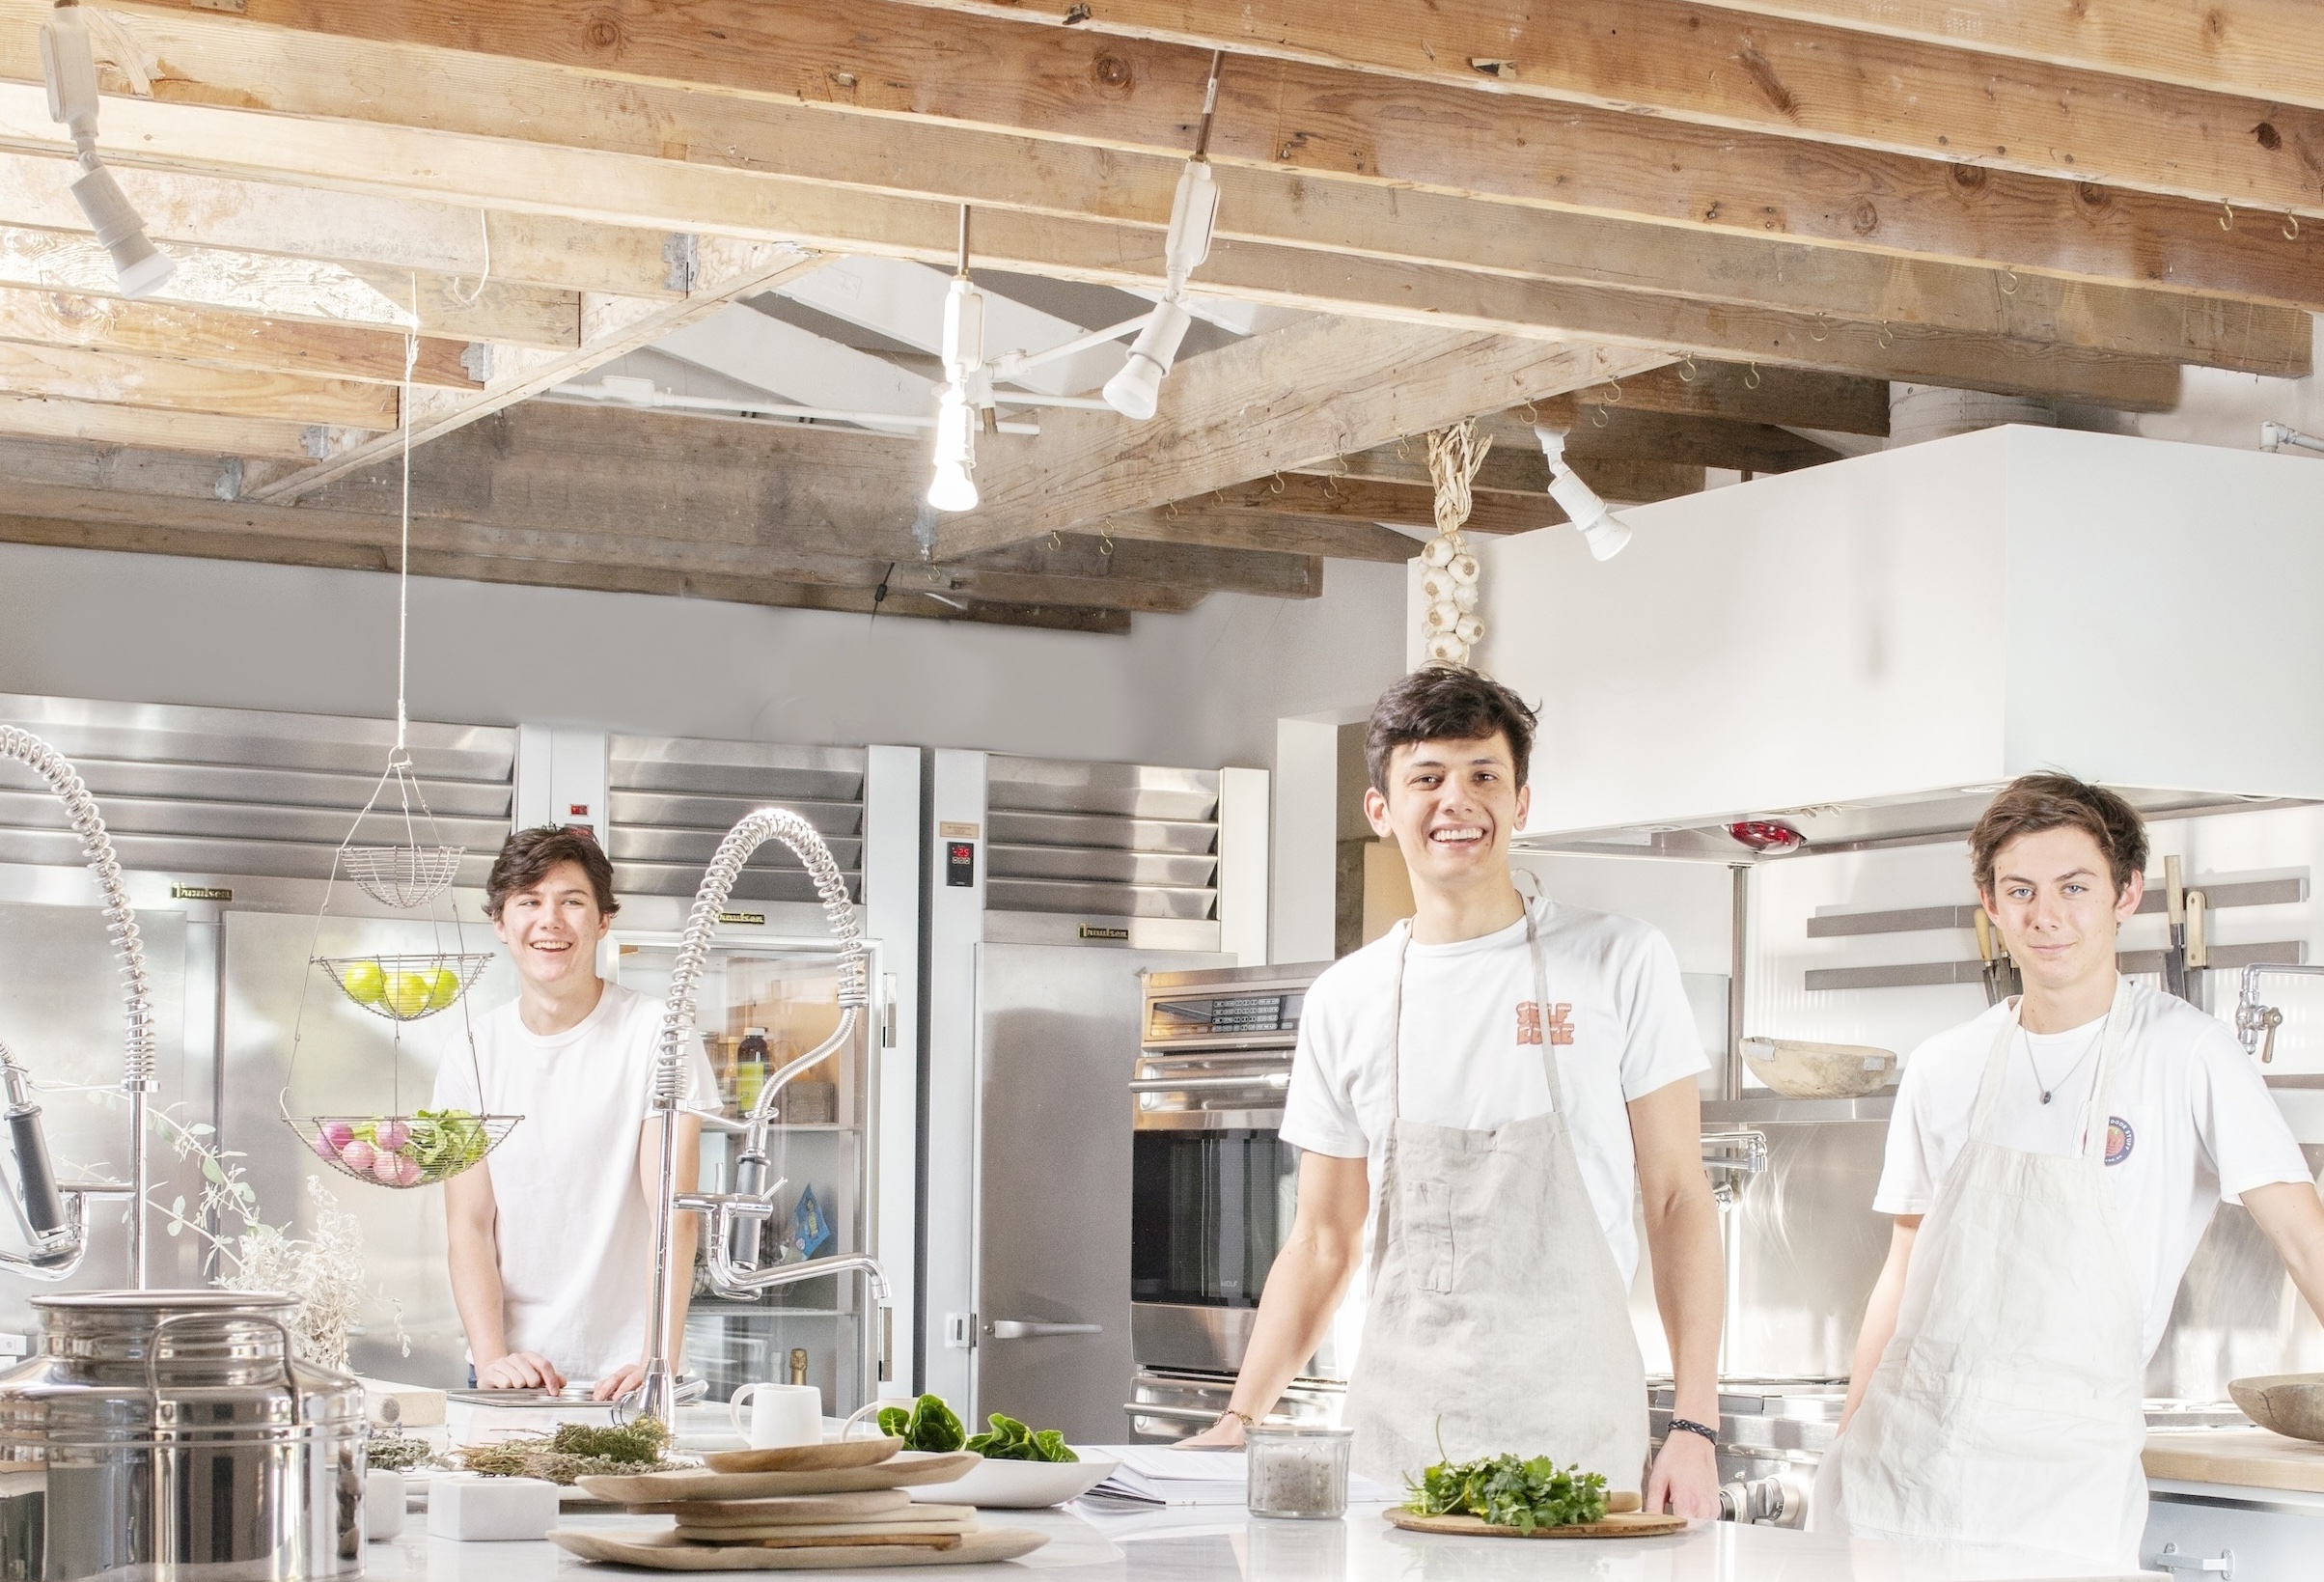
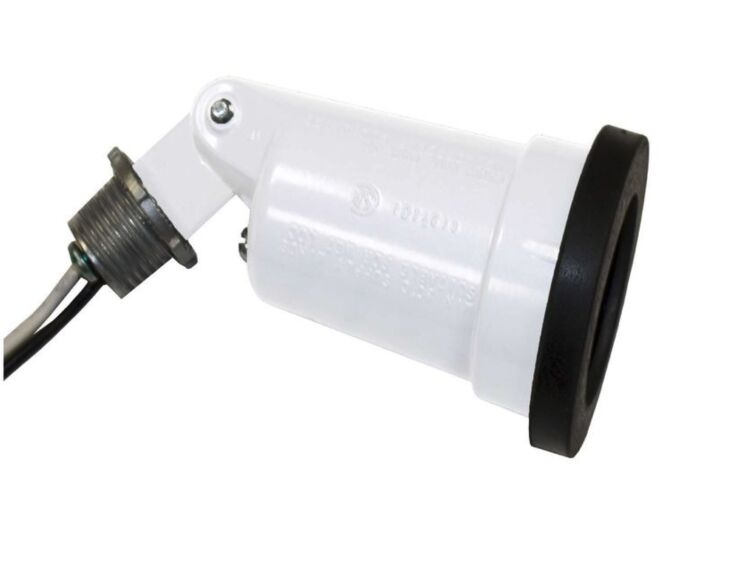
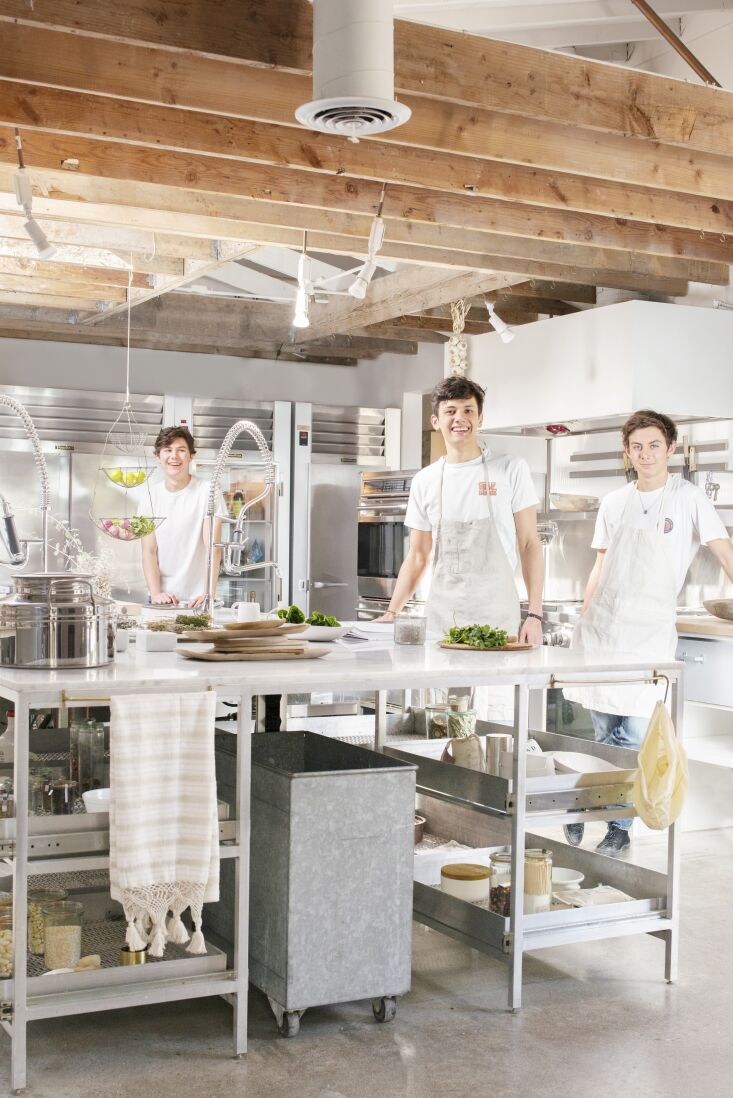
The Sighting vs. The Source Professional designers often use "raw" industrial components to create custom lighting installations. To achieve this on a shoestring budget, we look to the Sigma Engineered Solutions outdoor lamp holder kits. Typically used for floodlights on the exterior of a garage, these metal fixtures are incredibly durable and have a clean, minimalist silhouette that perfectly matches the industrial-modern aesthetic.
Pro-Tip: How can I update kitchen lighting for under $5? You can use outdoor metal lamp holder kits, such as those from Sigma, and remove the waterproof rubber rings for a minimalist industrial indoor look. These fixtures are available at hardware stores like Ace Hardware and Lowe's for as low as $3.28. Utilizing outdoor-grade industrial lamp holders for indoor kitchen task lighting can reduce fixture procurement costs by over 90% compared to standard designer lighting brands.
The Hack: Step-by-Step
- Safety First: Always turn off the power at the breaker before touching any wiring. Use a voltage tester to ensure the lines are dead.
- The Modification: When you buy a Sigma kit (like the 1/2-inch Bronze or Aluminum Lamp Holder), it comes with a thick, gray rubber gasket designed to keep rain out. For indoor use, discard the rubber ring. This allows the metal fixture to sit flush against your mounting surface, creating a much cleaner, "designer" profile.
- Mounting: You can mount these directly to a standard junction box. If you have a row of cabinets, consider installing a series of these along the soffit or ceiling to create "task lighting" over your prep areas.
- The Bulb Choice: Because the fixture itself is so minimal, the bulb becomes the star. Use a high-quality Edison-style LED bulb or a matte white globe bulb to finish the look.
Shopping List: The $5 Light Hack
| Item | Brand Recommendation | Approx. Price |
|---|---|---|
| Metal Lamp Holder | Sigma Engineered Solutions | $3.28 - $4.59 |
| LED Globe Bulb | GE Relax Soft White | $5.00 |
| Metal Junction Box Cover | Steel City / Raco | $2.50 |
| Total per fixture | ~$12.00 |
The Cabinet Transformation: Nuvo vs. Rust-Oleum
If lighting is the "jewelry" of the kitchen, the cabinets are the "outfit." In a 1970s ranch, those cabinets are likely dark-stained oak with a heavy grain. Replacing them is the single most expensive part of a remodel, often starting at $5,000 for even a small kitchen. DIY cabinet refinishing kits allow homeowners to achieve a professional aesthetic for less than 5% of that cost.
Pro-Tip: Can you modernize 1970s kitchen cabinets without sanding? Yes, refinishing kits like Rust-Oleum Transformations and Nuvo Titanium Infusion are designed to work on melamine and wood surfaces without the need for extensive sanding or priming. These kits include a deglosser that chemically prepares the surface, saving hours of manual labor.
Choosing Your Weapon: Nuvo vs. Rust-Oleum Not all DIY paint kits are created equal. The "right" choice depends on your timeline and how much "traffic" your kitchen sees.
| Feature | Nuvo Titanium Infusion | Rust-Oleum Cabinet Transformations |
|---|---|---|
| Prep Level | Minimal (Clean & Degloss) | Moderate (Scrub & Degloss) |
| Time to Complete | 1 Day (8 hours) | 2-3 Days (Multiple stages) |
| Durability | High (Great for low-mid traffic) | Superior (Best for families/pets) |
| Finish Options | Satin/Matte | Customizable (Includes optional glaze) |
| Sanding Required | No | No |
Nuvo Titanium Infusion is my go-to recommendation for a "weekend warrior" project. It’s an all-in-one system that covers incredibly well. If you have a Friday off, you can have a "new" kitchen by Saturday night.
Rust-Oleum Cabinet Transformations, on the other hand, is a multi-step process (Bond Coat, optional Decorative Glaze, and Protective Topcoat). While it takes longer, the topcoat provides a level of durability that rivals professional factory finishes. If you have kids who use the cabinet doors as soccer goals, go with Rust-Oleum.
Pro-Tip: Which cabinet paint is better for a DIY kitchen refresh: Nuvo or Rust-Oleum? Nuvo Cabinet Paint is best for quick, one-day updates with minimal prep work. Rust-Oleum Cabinet Transformations is preferred for high-durability needs and heavy-use areas, though it requires more substantial preparation and drying time between its multi-step layers.
Beyond Paint: 2026 Style Updates for a Timeless Look
While painting cabinets white was the "gold standard" for the last decade, 2026 design trends are shifting toward warmth and texture. If you want your 1970s ranch to feel modern yet timeless, consider these aesthetic pivots:
The Warm Earthy Palette Instead of stark white or cold "hospital" gray, look toward "Mushroom," "Terracotta," or "Deep Forest Green." These tones play beautifully with the natural wood elements often found in ranch-style homes. If you have original hardwood floors, a warm beige-grey (greige) cabinet will make the wood tones pop rather than clash.
The $100 Hardware Makeover Never underestimate the power of a handle. To modernize 1970s cabinets, ditch the ornate brass pulls and "batwing" hinges.
- Modern Look: Long, slim black bar pulls.
- 2026 Trend: "Warm Metals" like champagne bronze or unlacquered brass.
- The Trick: If your old hinges are visible, you can spray paint them with a high-quality metallic enamel (like Rust-Oleum Universal) to match your new pulls, saving you from having to fill and redrill holes.
Layered Lighting & Glass Combine your $5 Sigma task lights with ambient warmth. Adding LED strip lighting under the upper cabinets (plug-in versions are DIY-friendly) creates a "layered" effect that makes a small kitchen feel much larger. If you have a few upper cabinets that feel heavy, consider removing the middle panel of the door and replacing it with frosted glass. This breaks up the wall of cabinetry and provides a place to showcase curated dishware.
Budget Breakdown: Professional Results for 5% of the Cost
Let’s look at the hard numbers. A typical "mid-range" professional kitchen remodel costs between $25,000 and $40,000. By choosing the DIY path for a 1970s ranch, your breakdown looks significantly different:
- Cabinet Refinishing (Nuvo Kit + Brushes): $120
- Lighting Hack (4 Sigma fixtures + Bulbs): $48
- New Hardware (Pulls for 20 doors/drawers): $85
- Backsplash (Peel-and-stick subway tile): $150
- Misc (Tape, drop cloths, cleaning supplies): $40
- Total Project Cost: $443
When you compare $443 to even a "budget" professional refresh of $5,000, you are achieving a professional aesthetic for less than 5% of the total cost of replacement. The ROI (Return on Investment) here is astronomical, especially in ranch homes where buyers value a "clean, move-in ready" look over high-end custom cabinetry that might not fit their personal style.
Tools You Actually Need
- A high-quality 2-inch angled brush: Don’t skimp here. A Wooster or Purdy brush will prevent visible brush strokes.
- TSP (Trisodium Phosphate): The secret to paint sticking. Use this to scrub every ounce of 1970s grease off those cabinets before you start.
- Microfiber cloths: For a lint-free finish.
What You Can Skip
- A Power Sander: Unless your cabinets have deep gouges or peeling previous paint, the deglosser in the kits mentioned above will suffice.
- Expensive Sprayers: While they provide a great finish, the learning curve and cleanup time often outweigh the benefits for a one-time kitchen project. A high-quality roller and brush combo can achieve "near-factory" results.
FAQ
Q: Can I use the Sigma lighting hack if I don't have existing ceiling boxes? A: If you don't have existing wiring, you can still use the Sigma holders by "swagging" them. You would wire the fixture to a decorative cloth-covered cord with a plug on the end, then hang the fixture from a hook and plug it into a standard outlet. This adds to the industrial "loft" vibe!
Q: Will the Nuvo paint hold up to cleaning products? A: Yes, once fully cured (usually 7-14 days), Nuvo is highly resistant to standard household cleaners. However, avoid abrasive scouring pads. A simple microfiber cloth with mild soap is all you need.
Q: My 1970s cabinets have a very deep oak grain. Will the paint hide it? A: Paint will change the color, but the texture of the oak grain will usually remain visible. Many people love this because it proves the cabinets are real wood. If you want a perfectly smooth "plastic" look, you would need to apply a grain filler before painting, which adds significant labor.
Transform Your Space Today
Modernizing a 1970s ranch kitchen isn't about erasing the past; it's about highlighting the functionality of the layout while stripping away the visual "weight" of the era. By utilizing the $5 lighting hack and committing a weekend to cabinet transformation, you can turn a dark, dated room into the bright, industrial-chic heart of your home.
Don't wait for a "someday" budget. Grab a Sigma lamp holder, a can of Nuvo, and start your transformation this weekend. You have the tools, you have the plan—now go create a space you love.