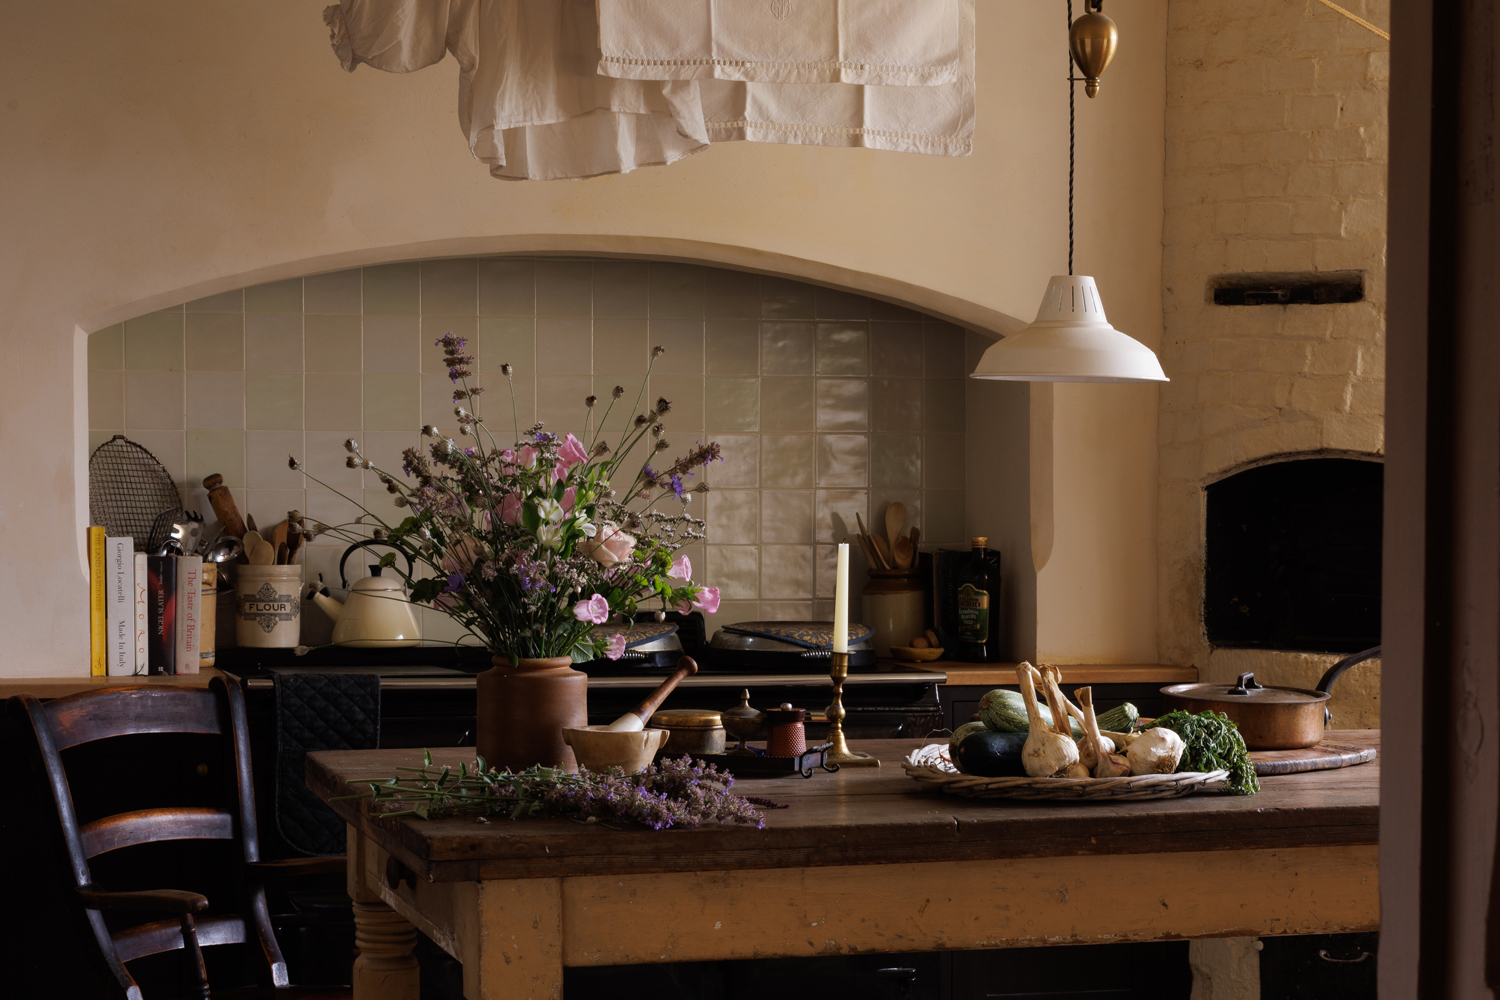
There is a specific kind of silence found only in a room that hasn’t been used for its original purpose in a century. When I first stepped into the scullery of a 5,700-square-foot 19th-century manor, the air was thick with the scent of damp lime and history. Traditionally, the scullery was the engine room of the house—a dedicated utility space located just off the main kitchen, designed for the heavy lifting of food preparation, grueling cleanup, and cold storage. Today, as we see a shift toward "slow living" and functional zoning, the scullery is making a triumphant return as the "it" feature for high-end renovations.
Restoring a space like this isn’t just about making it look old; it’s about making it work again while honoring the architectural integrity of the past. It requires a "Sophisticated Conservator" mindset—part historian, part DIYer, and part visionary.
Quick Facts: The 19th-Century Scullery
- Primary Function: Heavy cleaning, vegetable prep, and dishwashing.
- Key Features: Deep butler sinks, flagstone floors, and breathable lime-washed walls.
- Historical Context: Often separate from the "show" kitchen to keep heat, noise, and mess hidden.
- Modern Value: Provides a secondary "wet" zone that preserves the aesthetic of the main living kitchen.
I. Foundations First: Restoring Original Flagstone Floors
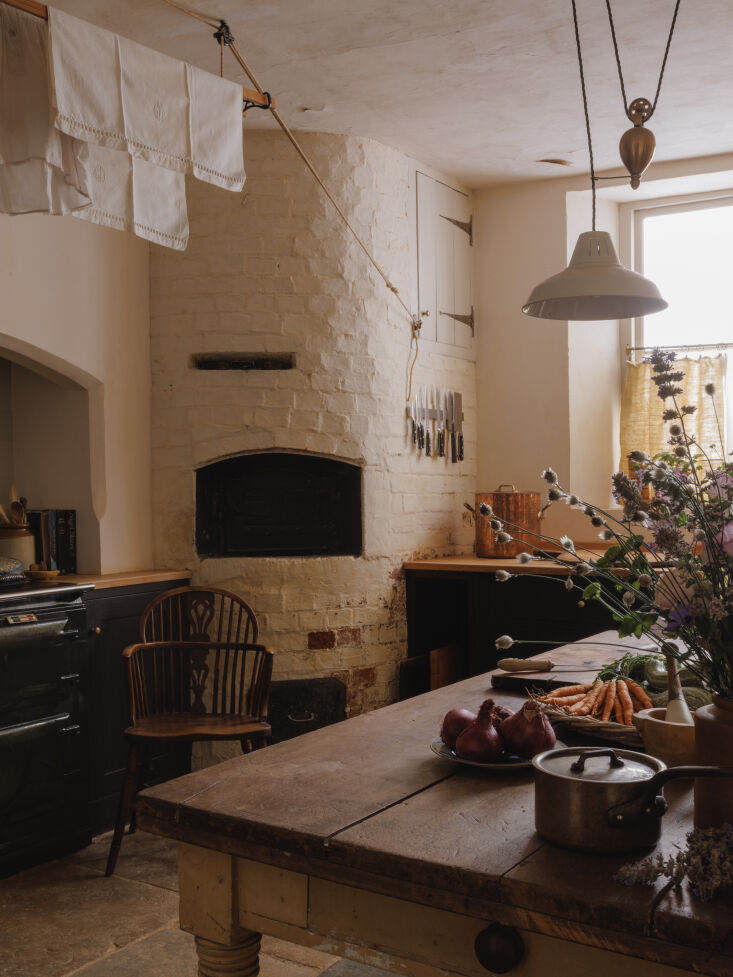
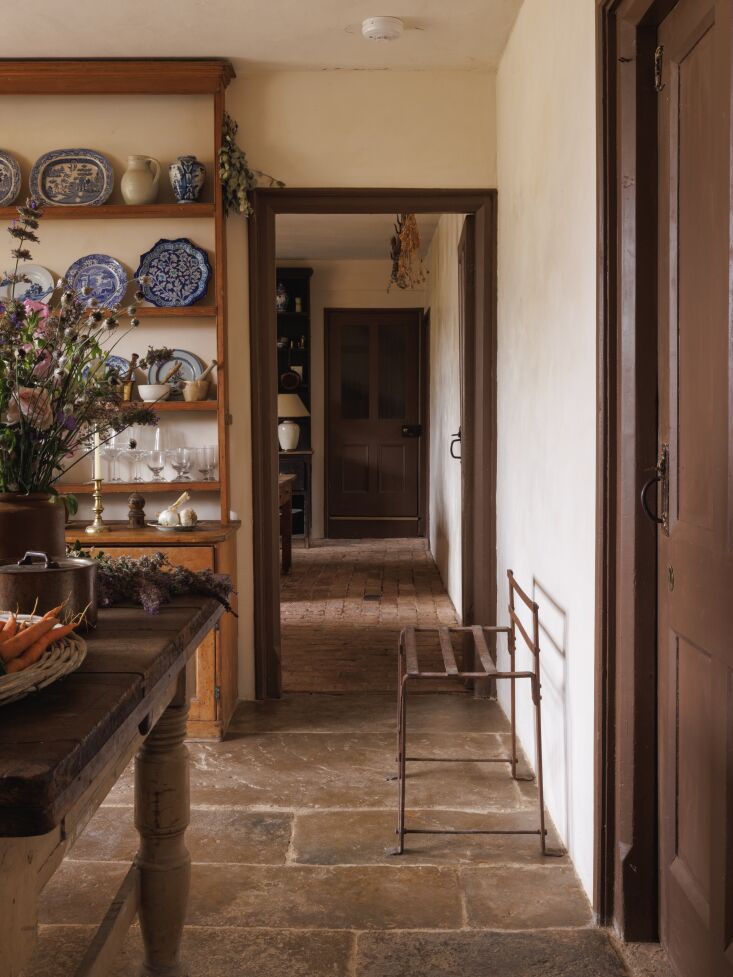
The floor is the soul of a 19th-century scullery. In these hardworking spaces, builders used massive slabs of local stone—often Yorkstone or limestone—to withstand the constant traffic and moisture. During our restoration of the manor scullery, we discovered that the original stones were in remarkably good condition, but they had settled unevenly over 150 years.
The scale of this task is not for the faint of heart. Individual flagstones in a 19th-century manor can weigh as much as 200kg (approx. 440 lbs). Moving them requires professional stone lifting equipment and a healthy respect for your toes.
The Process of "Anastylosis" for Floors
To restore these floors while introducing modern comforts like underfloor heating, we followed a meticulous process of reconstruction:
- Documentation: Photograph and map every stone. Each one has a unique shape and patina; you’ll never get them back together without a "puzzle map."
- Lifting and Cleaning: Using a stone vacuum lifter, carefully raise the stones. Clean the edges of old lime mortar and centuries of accumulated grime using only water and stiff brushes—avoid harsh chemicals that can strip the natural patina.
- Modern Upgrades: Dig out the subfloor to allow for a lime-crete (breathable concrete) slab, insulation, and water-based underfloor heating pipes.
- Re-laying: Lay the stones back in their original positions. The goal is to preserve the "worn its years well" look while ensuring a level surface that won’t trip up modern residents.
Clara’s Safety Tip: When working with 200kg stones, never work alone. Use mechanical leverage wherever possible and ensure your subfloor is perfectly compacted to prevent future cracking of these irreplaceable historic assets.
II. Breathing Walls: Authentic Lime Wash and Clay Pigments
Modern gypsum plaster and "plastic" emulsion paints are the enemies of historic masonry. A 19th-century manor was built to breathe; moisture travels through the walls and evaporates. If you seal those walls with modern paint, you’ll end up with dampness and crumbling stone.
The secret to a successful scullery wall restoration is lime wash. It’s naturally antiseptic, breathable, and has a luminous quality that changes with the light. For this project, we took authenticity a step further by sourcing natural clay pigments directly from the manor’s own grounds.
How to Create Site-Specific Clay Pigment
This DIY process transforms local earth into a high-end designer finish:
- Sieve: Collect local clay-rich soil and pass it through a fine mesh sieve to remove stones and organic matter.
- Bake: Spread the clay on a tray and bake it in an oven at a low temperature to kill any bacteria and dry it completely.
- Grind: Use a mortar and pestle or a dedicated grinder to turn the baked clay into a fine, flour-like powder.
- Mix: Incorporate this powder into a traditional lime putty wash.
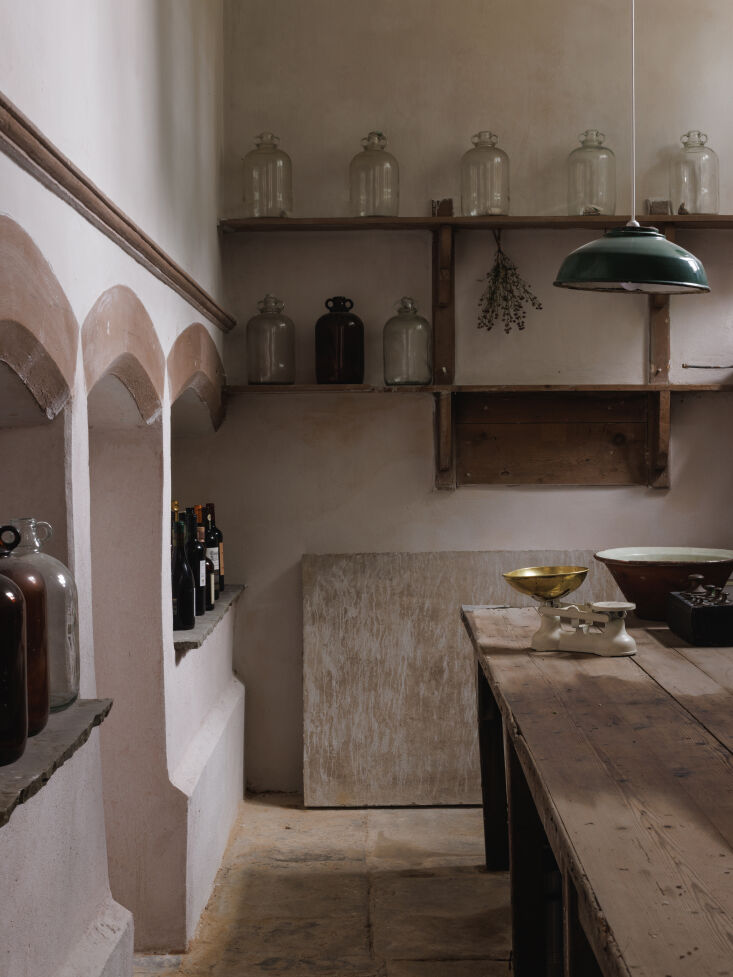
For the pantry area of the scullery, we used a soft blue-tinted wash. Historically, blue pigments (often derived from copper or indigo) were believed to deter flies and other pests—a practical design choice that remains charming today.
III. The Functional Heart: Sinks, Taps, and Cabinetry
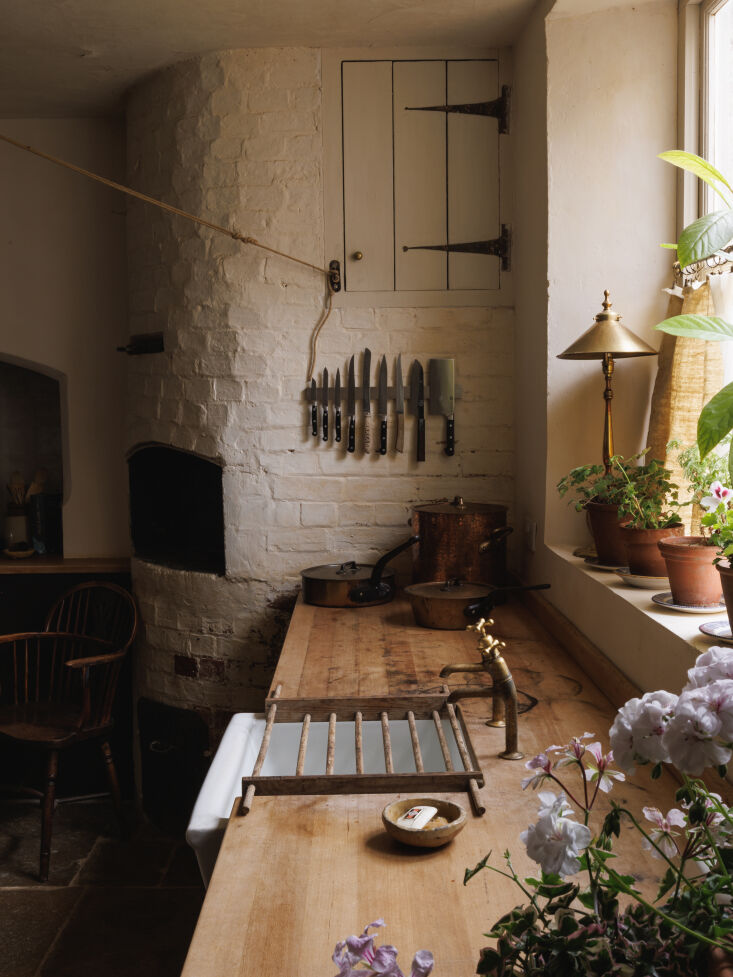
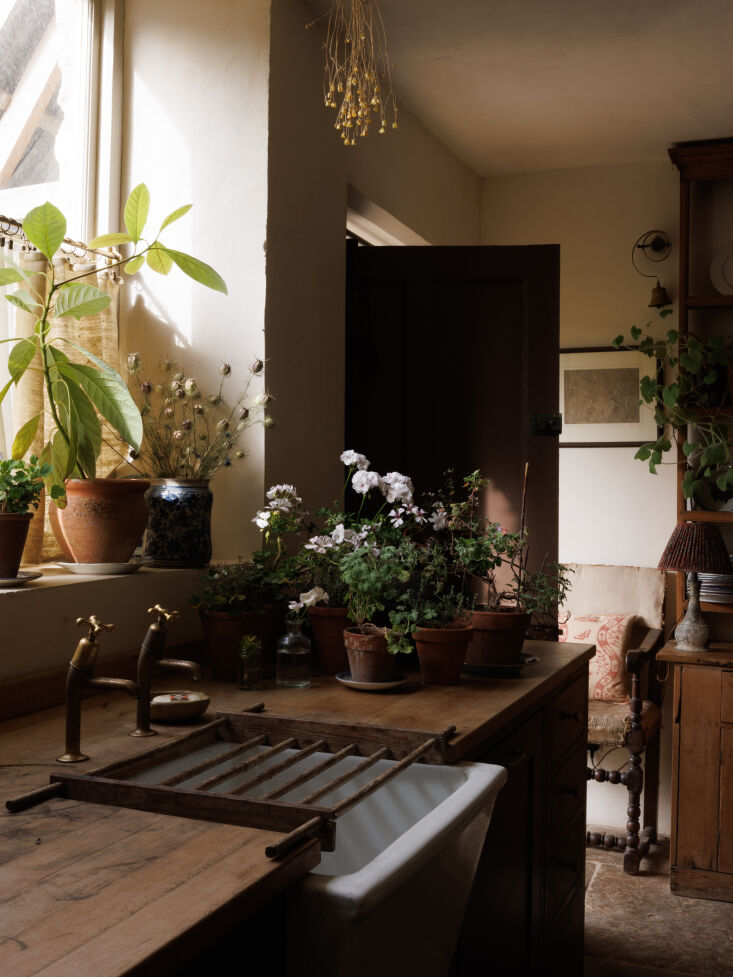
In a scullery, the sink is the protagonist. We aren't looking for sleek, undermounted stainless steel here. The goal is an authentic "Butler’s Sink"—a deep, heavy fireclay basin that can handle everything from muddy garden boots to large roasting pans.
Sourcing and Restoring Fixtures
We managed to source an original 19th-century double-bowl sink from a local architectural salvage yard. Pairing it with antique brass bib taps (wall-mounted) provides an immediate sense of "historic sensitivity."
Cabinetry Design Considerations:
- The Plain English Aesthetic: Avoid overly ornate "Victorian" cabinetry. Authentic sculleries were utilitarian. Think simple, inset doors with beaded frames and hand-painted finishes.
- Material Contrast: Use raw wood worktops (like oak or sycamore) around the prep areas, but consider zinc or slate near the "wet" zones for durability.
- Softened Edges: In a house of this age, nothing should be perfectly sharp. We hand-sanded the edges of the timber worktops to mimic decades of use.
IV. Bridging Eras: Modern Appliances in a Period Setting
The greatest challenge in a 5,700-square-foot manor restoration is integrating modern technology without shattering the historical illusion. The scullery often housed the original AGA or range, which was the beating heart of the home.
The AGA Evolution
Many original 19th-century manors used oil-fired AGAs. For sustainability and ease of use, we opted to convert the existing cast-iron range to electric (using a kit like the Electrikit or Blake & Bull system). This allows the appliance to remain the focal point of the room while providing modern control and energy efficiency.
The Scullery Table
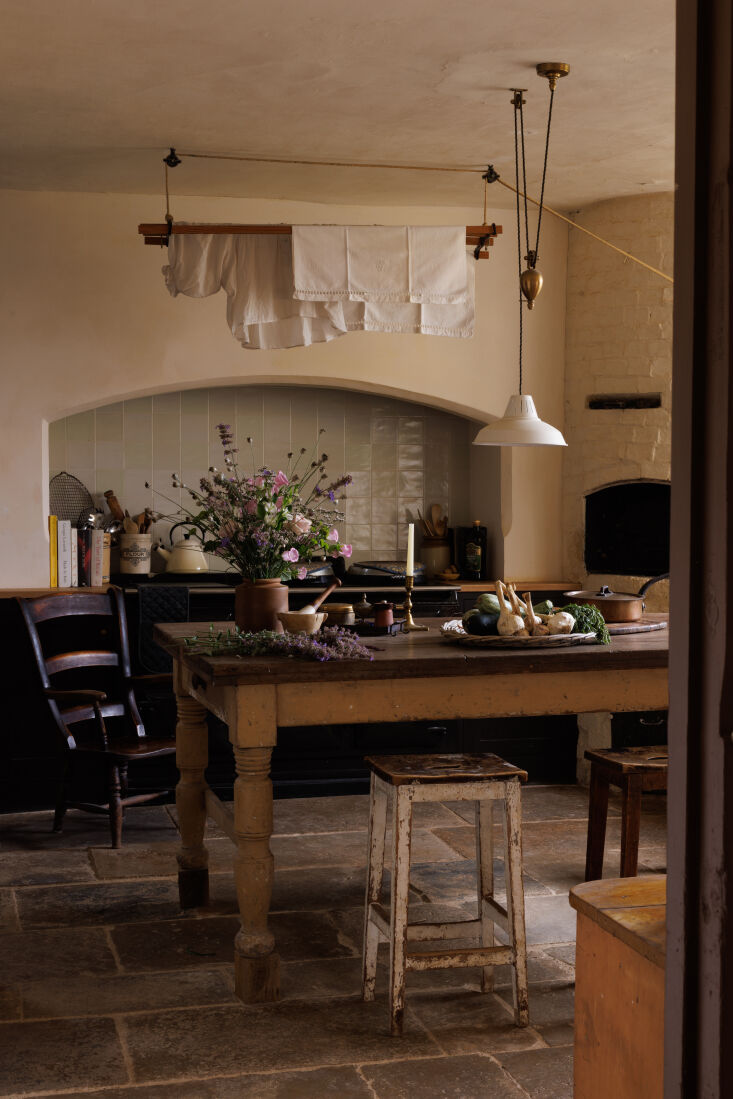
One of my favorite "Clara Lin" DIY hacks involves the central prep table. Instead of a fixed kitchen island, which can feel too modern, we used a 19th-century pine scullery table.
| Feature | Original Scullery Table | Modern Kitchen Island |
|---|---|---|
| Mobility | Freestanding; can be moved for cleaning | Fixed; requires floor integration |
| Height | Traditionally lower (approx. 75-80cm) | Standardized (90-92cm) |
| Aesthetic | Open legs; airy feel | Solid blocks; heavy storage |
To make the antique table functional for modern prep work, we added oak post sections to the legs, raising it to a comfortable 92cm. These additions are "unfixed"—they can be removed at any time to return the table to its original state, adhering to UNESCO-style conservation principles.
V. Design Cues: Giving the Scullery a Unique Identity
A common mistake in large-scale renovations is making the scullery a "mini-me" of the main kitchen. In reality, the scullery should have its own personality—perhaps a bit moodier, more textural, and more focused on utility.
Playing with Color and Texture
While the main kitchen might be light and airy, the scullery can handle punchy, historical colors. We chose 'Scullery' by Little Greene, a deep, charcoal-toned paint that provides a stunning backdrop for copper pots and white ceramics.
Design Strategy Checklist:
- Open Timber Shelving: Swap upper cabinets for thick, reclaimed timber shelves. It makes the room feel larger and keeps everyday items within reach.
- Textural Contrast: Use Delft-style tiles for a backsplash or even aged timber panels. The goal is to avoid anything too glossy or "new."
- Family Collections: This is the place for your Pennsylvania Dutch ironware, copper molds, and antique jars. These items aren't just decor; they are the functional tools of a working scullery.
Conclusion: Respecting the Story of the House
Restoring a 19th-century scullery is a marathon, not a sprint. Every time you face a design dilemma, ask yourself: "How would this have been handled originally?" Usually, the answer lies in simplicity, durability, and a deep respect for natural materials.
The goal isn't a museum piece. It’s a room that can handle the mess of real life—the muddy paws, the harvest from the garden, and the aftermath of a large family dinner—while looking better with every year of use. Embrace the slight wobbles in the floor and the chips in the stone. Those aren't flaws; they are the reality of a house that has been lived in, loved, and brought back to life.
FAQ
1. Is underfloor heating safe for historic flagstones? Yes, provided you use a breathable lime-based subfloor system. This prevents moisture from being "trapped" under the stones, which could lead to salt crystallization and damage to the stone's surface.
2. How do I maintain a butler sink without it staining? Avoid bleach! Use a mild dish soap and a soft brush. For stubborn marks, a paste of baking soda and water usually does the trick without scratching the fireclay glaze.
3. Can I use lime wash on modern drywall? You can, but you'll need a "lime-prep" primer first to ensure the lime wash adheres correctly. However, lime wash looks best and performs most effectively on traditional lime plaster.