Have you ever walked past a dusty bin of mismatched, gilded, or scuffed picture frames at a thrift store and felt a pang of untapped potential? You’re not alone. As we lean further into minimalist and cohesive interior design, the "cluttered" look of traditional gallery walls is being replaced by something much more intentional. In fact, search interest in ‘monochromatic gallery walls’ has surged by 40% in 2024, signaling a major shift toward a streamlined, high-end aesthetic that anyone can achieve on a weekend budget.
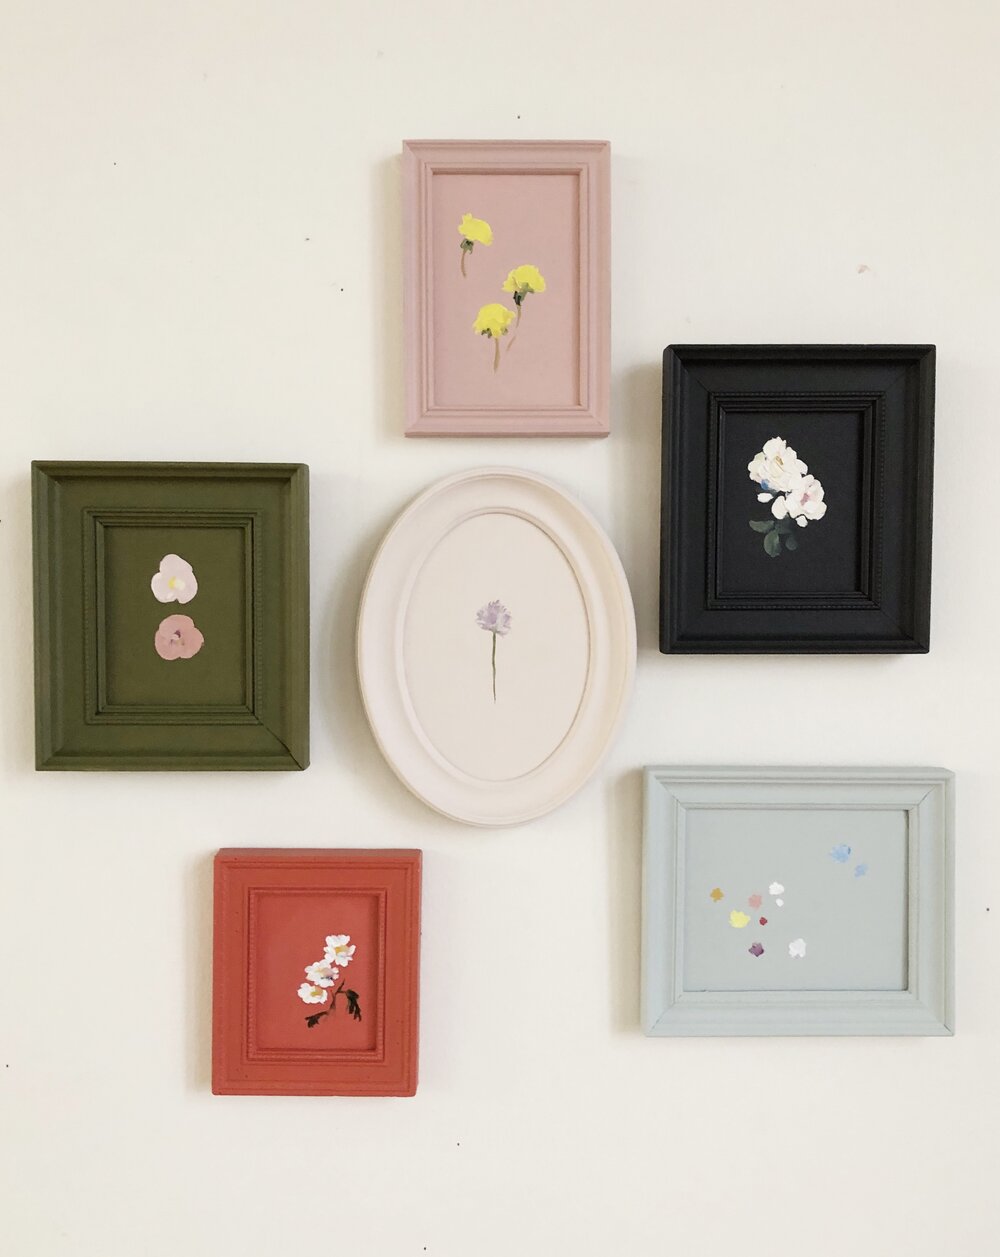
Monochromatic frame painting is the secret weapon of interior designers. It involves coating the entire frame—including the mat or mount—in a single, uniform color. This creates a seamless, contemporary look that directs the eye entirely toward the artwork rather than the frame’s aged or mismatched condition. It’s a low-stakes, high-reward project that breathes new life into "junk" while giving your walls a custom, curated feel.
The Cost-Saving Power of Upcycling
Before you head to a professional framer to order a matching set of five gallery frames, consider the math. Custom framing is notoriously expensive, often costing hundreds of dollars for a single medium-sized piece. By contrast, upcycling thrifted frames can reduce your personalized home decor costs by an estimated 85%.
The beauty of the monochromatic technique is that it masks a multitude of sins. That $2 frame with the chipped "gold" plastic or the $5 heavy oak frame with the dated orange stain? Once they are unified by a single coat of sophisticated charcoal or soft terracotta, their physical textures become an asset rather than an eyesore. Your local flea markets, swap shops, and garage sales are gold mines for these "ugly" frames that have great structural bones but poor finishes.
What Exactly is Monochromatic Frame Painting?
At its core, monochromatic frame painting is about removing visual noise. Traditional framing relies on the contrast between the frame, the mat, and the art. In the monochromatic approach, we blur the lines between the frame and the matting.
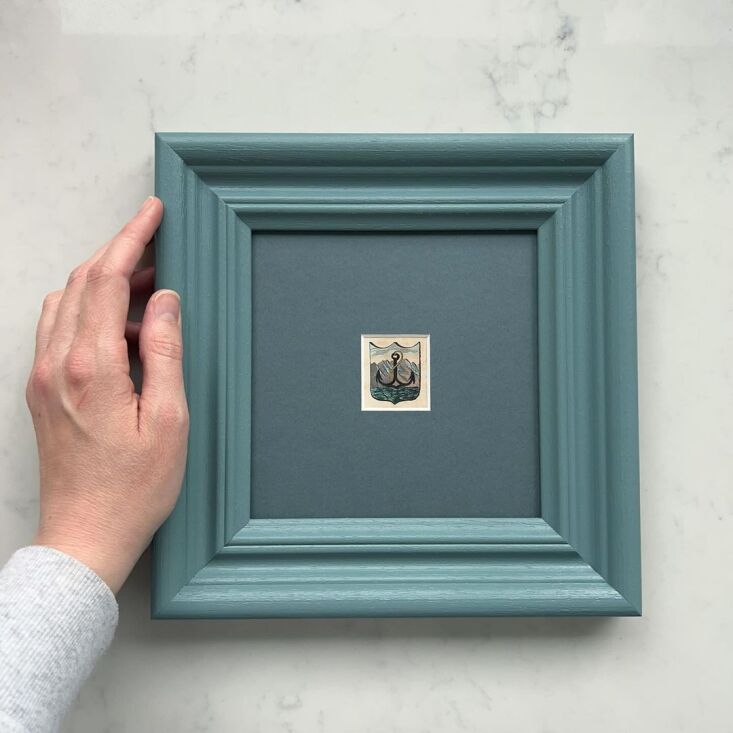
By painting the mat (the cardboard border inside the glass) the exact same shade as the outer molding, you create a deep, recessed window for your art. This technique works exceptionally well for:
- Modernizing vintage finds: It strips away the "old-fashioned" feel of ornate carvings.
- Creating a "Color Block" effect: Matching your frames exactly to your wall color for a built-in, architectural look.
- Highlighting texture: When the color is uniform, the eye notices the shadows and ridges of the frame’s profile rather than its material.
Choosing Your Weapon: The Best Paint for Picture Frames
As an editor who has seen many a DIY project go sticky or "peely" after six months, I cannot stress this enough: your choice of paint matters. While it’s tempting to grab whatever leftover wall paint you have in the garage, wall paint (latex) is often too thick and lacks the "leveling" properties needed for small, detailed surfaces.
| Paint Type | Pros | Cons | Best For |
|---|---|---|---|
| Self-Levelling (e.g., Frenchic Alfresco) | Dries to a smooth, factory-like finish; no brush marks. | Longer drying time between coats. | Sleek, modern, and professional gallery looks. |
| Satinwood (e.g., Dulux Quick Dry) | Incredible durability; easy to wipe clean. | Requires a very steady hand or a roller. | High-traffic areas or kid-friendly spaces. |
| Chalk Paint | Requires little to no sanding; sticks to almost anything. | Needs a wax or lacquer topcoat to prevent scuffing. | Vintage, textured, or "shabby chic" styles. |
| Spray Paint | The fastest application; reaches into intricate carvings. | Must be used outdoors; high VOCs; can be messy. | Ornate, detailed frames with many crevices. |
| Metallic Wax (Rub n Buff) | Adds a high-end metallic sheen; very controllable. | Small tubes; not ideal for large-scale coverage. | Highlighting edges or small accents. |
Pro-Tip: Never use standard interior latex wall paint on frames without a specialized primer. Wall paint is designed for porous drywall, not the slick, non-porous surfaces of treated wood or plastic frames. It will likely "tack" and peel over time.
Step-by-Step Guide to Professional Upcycling
Achieving a high-end look isn't difficult, but it does require a specific order of operations. Here is how I tackle every frame project to ensure the finish lasts for years.
1. Prepping for Adhesion
First, completely disassemble the frame. Remove the glass, the backing, and the mat. Set the glass aside in a safe place (I usually wrap it in a towel).
Clean the frame thoroughly with a degreaser like TSP (Trisodium Phosphate) or a simple vinegar-water solution. Thrifted frames are often coated in years of dust and skin oils that will prevent paint from sticking. Once dry, use 120 to 220 grit sandpaper to lightly scuff the surface. You aren't trying to strip the wood; you’re just "opening up" the surface so the paint has something to grab onto.
2. Priming: The Secret to Longevity
If you are painting a dark wood frame a light color, or if the frame is made of "knotty" pine, you must use a primer. A shellac-based primer (like Zinsser BIN) is the gold standard here. It blocks tannins from bleeding through and ensures that even the slickest plastic frames will accept paint.
3. The 'All-Over' Technique
Now for the fun part. To get that monochromatic look, you’ll also be painting the mat.
- For the Frame: Use a small microfiber roller for flat surfaces and a high-quality synthetic brush for the corners.
- For the Mat: Use a "stippling" motion (lightly dabbing) with a sponge brush or a very dry microfiber roller. This prevents the cardboard from warping and ensures a smooth, non-streaky finish.
Design Ideas for Your Monochrome Collection
Once you’ve mastered the technique, the creative possibilities are endless. You aren't limited to just black or white.
The Color Block
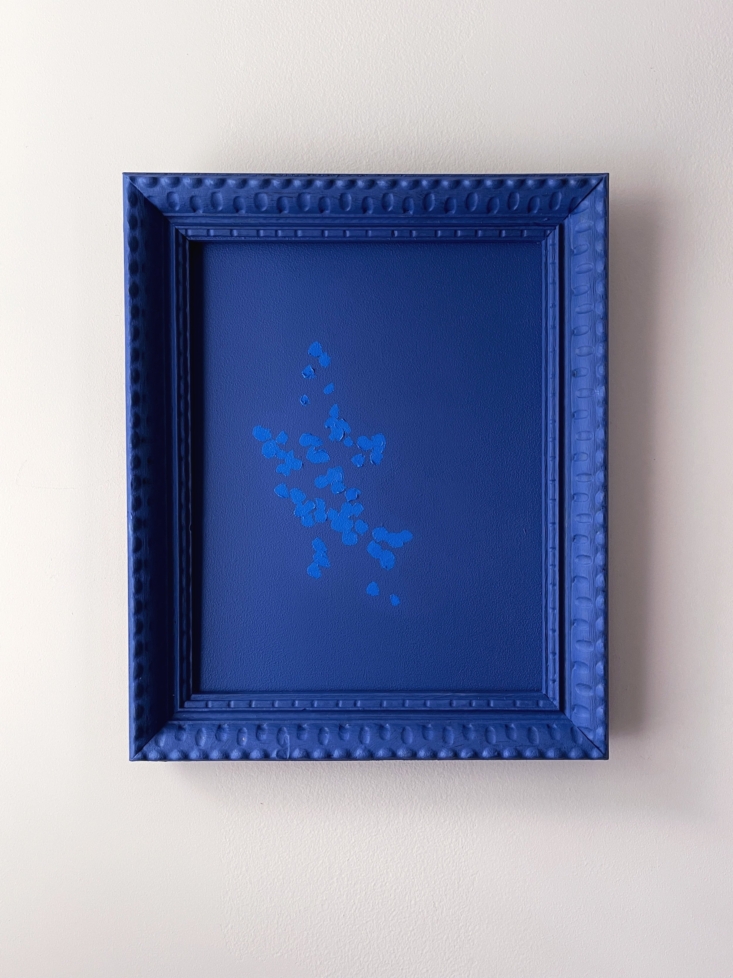
For a truly sophisticated, high-end look, match your frame and mat color exactly to the paint on your walls. If your wall is "Farrow & Ball Stiffkey Blue," paint your frames to match. This creates a stunning 3D effect where the art appears to be recessed directly into the architecture of the room.
Primary Colors & Pop Art
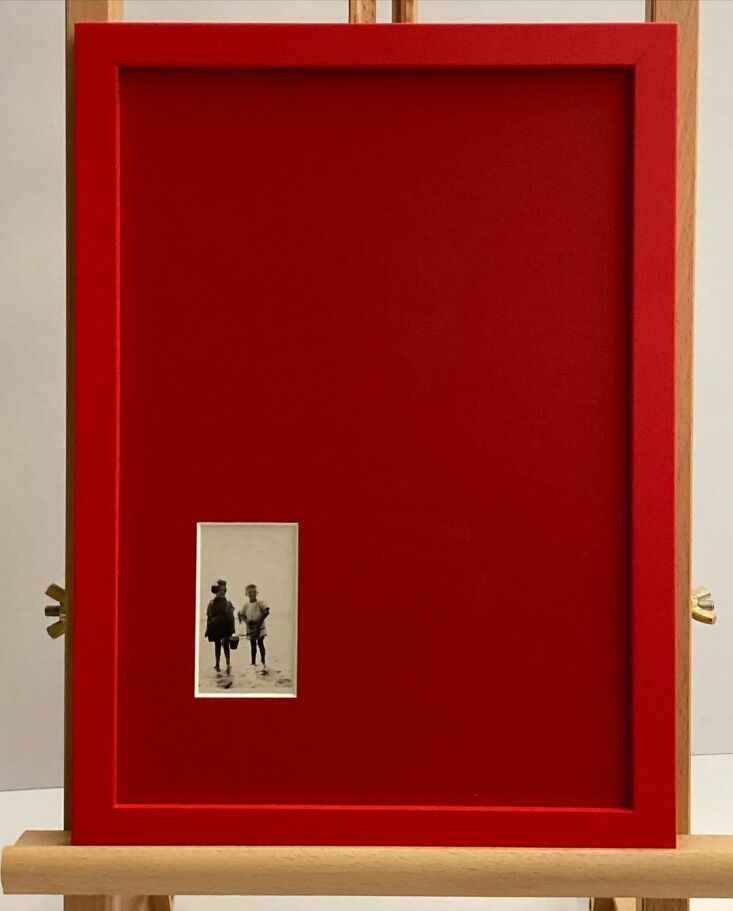
If your home leans toward the eclectic or maximalist, don't shy away from bold primaries. A set of three frames painted in a high-gloss cherry red or a vibrant sunshine yellow can turn simple black-and-white family photos into a museum-worthy installation. This works especially well in hallways or children’s playrooms.
Botanical Pairing
When framing floral or botanical prints, look at the deepest or most vibrant hue in the artwork. Use that specific color for the frame and mat. By pulling a single color out of the art and "extending" it into the frame, you create a cohesive visual story that feels much more expensive than a standard wood frame.
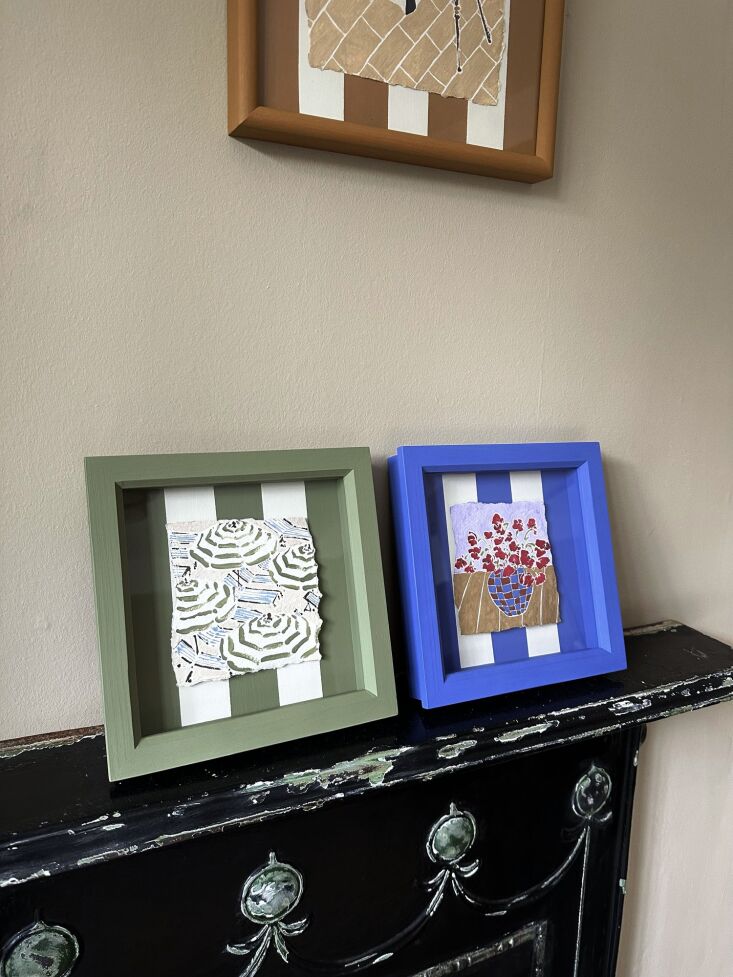
Maintenance: Caring for Your Revitalized Frames
Once your frames are cured (usually 24-48 hours depending on the paint), maintenance is straightforward.
- Dusting: Use a soft microfiber cloth. Avoid using harsh chemical sprays directly on the painted surface, as they can break down the finish over time.
- Glass Cleaning: Spray glass cleaner onto a cloth first, then wipe the glass. Spraying directly onto the frame can cause liquid to seep behind the glass and damage the painted mat or the artwork.
- Structural Integrity: If you notice a thrifted frame is wobbly at the joints, use a small amount of wood glue and a corner clamp before you begin the painting process. A professional-looking finish starts with a sturdy foundation.
FAQ
Can I paint the glass of the frame? Technically, yes, but I wouldn't recommend it for a monochromatic frame project. Painting the glass obscures the art. If you want a "borderless" look, it is better to paint the matting and the frame and keep the glass clear to protect the artwork.
Do I need to seal the paint? If you use a self-leveling paint like Frenchic or a Satinwood finish, you do not need a sealer. However, if you use chalk paint, you must apply a clear wax or a matte lacquer to prevent the paint from marking your walls or chipping when handled.
What if my frame is made of plastic or metal? You can still upcycle it! The key is the primer. A high-quality "extreme bond" primer will allow you to paint over plastic, metal, and even laminate surfaces with ease.
Your Turn to Create
Upcycling isn't just about saving money; it’s about creating a home that reflects your specific taste and care. Monochromatic frame painting is the perfect entry point for anyone intimidated by larger DIY projects. It's low-risk, highly creative, and the results are instant. So, next time you're at the thrift store, look past the "ugly" gold leaf—your perfect gallery wall is just a coat of paint away.