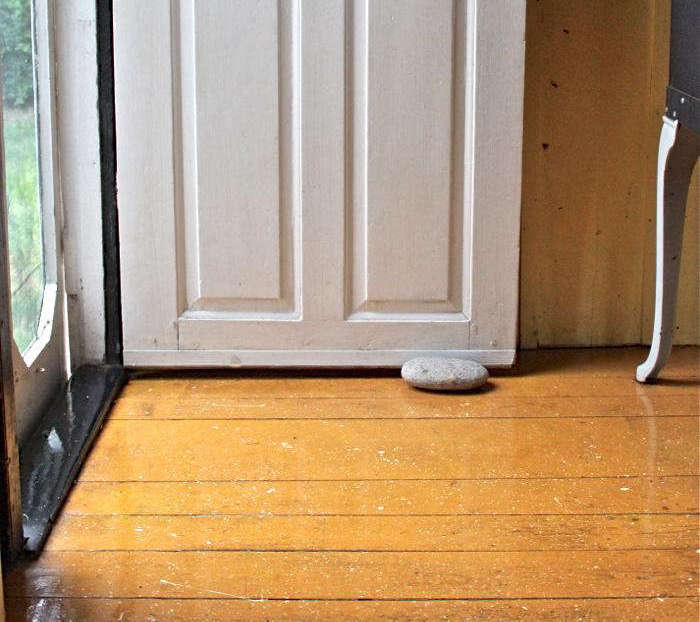
If you’ve ever pulled back old carpeting only to find a patchwork of mismatched wood, deep gouges, or stained concrete, your first instinct might be to reach for a heavy-duty sander or a massive budget for replacement. But before you commit to weeks of dust and thousands of dollars in lumber, let me share one of my favorite "editor's secrets" from the coast of New England. It’s a technique that has been disguising sand, wear, and structural flaws for centuries: the spatter-painted floor.
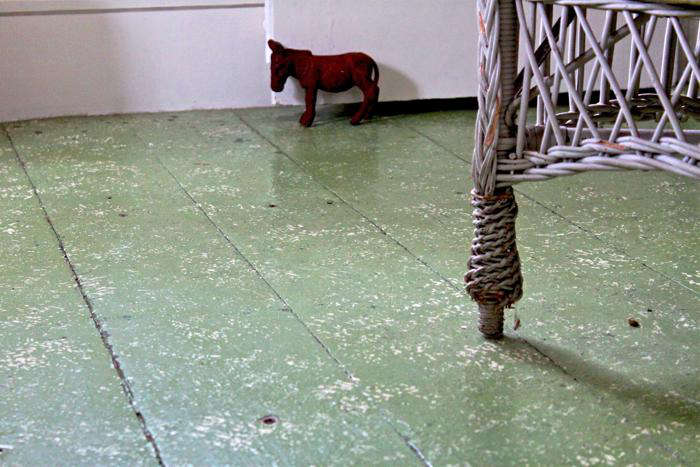
Spatter painting is a historic New England technique traditionally used in Cape Cod cottages to hide floor imperfections, tracked-in sand, and everyday wear. By layering small "flicks" of contrasting paint over a solid base, you create a durable, textured aesthetic that effectively disguises daily mess and subfloor flaws. It is perhaps the most forgiving DIY project in the home improvement world because, in this case, perfection is quite literally the enemy. This method allows you to embrace the "perfectly imperfect" nature of an old home while providing a high-end, custom look for a fraction of the cost of traditional refinishing.
Why Choose Spatter Paint? (The Benefits)
When I’m advising readers on budget-friendly upgrades, I always look for projects that offer the highest "bang for your buck." Spatter painting is a champion in this category. Statistically, this technique is incredibly cost-effective; your material costs are often estimated at less than $1.00 per square foot. Compare that to $5.00–$15.00 per square foot for professional hardwood refinishing or new tile installation, and the choice becomes clear for a budget-conscious renovator.
Beyond the price tag, there is the issue of durability. Because the pattern is inherently random and multi-tonal, new scratches or scuffs simply blend into the existing "splatter." This makes it an ideal choice for high-traffic areas like mudrooms, kitchens, or even a child’s playroom. From a design perspective, it’s also a chameleon. Depending on your color choices, you can achieve anything from a "Night Sky" galaxy look to a modern "Terrazzo" vibe that looks like it stepped off the pages of a high-end architectural magazine.
| Feature | Traditional Solid Paint | Spatter Paint Finish | Epoxy Coating |
|---|---|---|---|
| Cost per Sq. Ft. | ~$0.50 - $0.75 | < $1.00 | $3.00 - $7.00 |
| Skill Level | Beginner | Beginner/Intermediate | Intermediate/Pro |
| Hides Flaws | Low (shows every dent) | High (masks everything) | Medium |
| Repairability | Moderate | Very Easy | Difficult |
| Drying Time | 24 Hours | 48+ Hours | 72+ Hours |
Essential Tools and Materials
One of the quirks of this project is that you’ll spend less time at the hardware store and more time raidng your kitchen junk drawer. While you do need high-quality paint, the "application tools" are delightfully unconventional.
- The Paint: I recommend floor-grade enamels or high-quality porch and patio acrylics. If you’re working on concrete (like a basement), an epoxy-acrylic blend provides excellent adhesion.
- The Base Coat: You’ll need enough for two solid coats of your primary color.
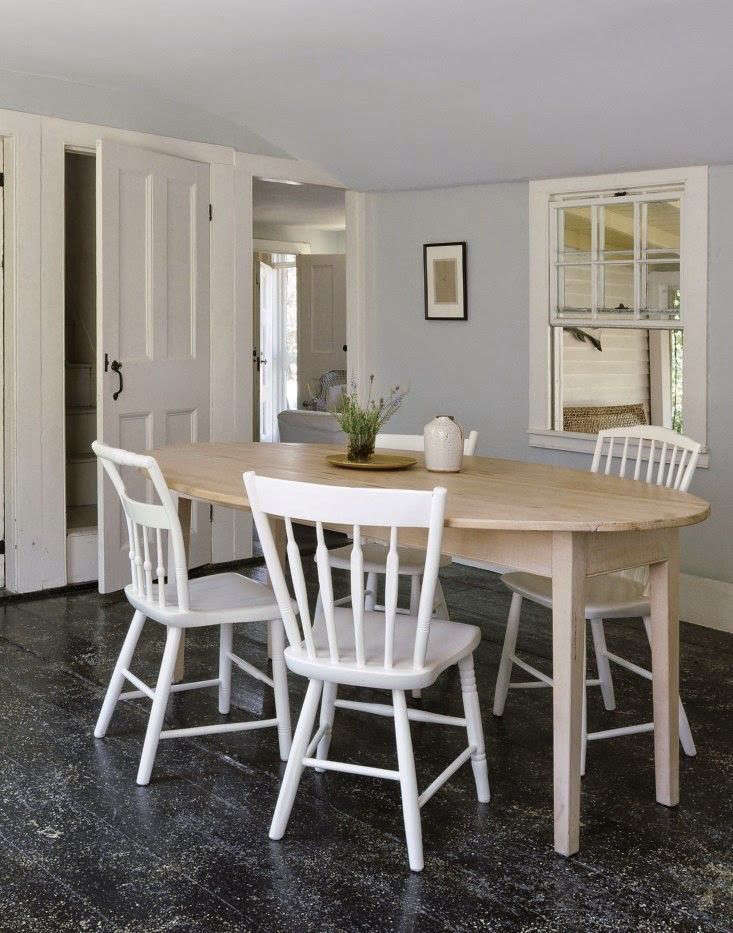
- The Accent Colors: Usually, two or three contrasting colors work best (e.g., a dark navy base with white, light blue, and gold spatters).
- The "Unconventional" Toolkit: This is where the magic happens. You’ll need long-bristle brushes, plastic forks (for fine lines), handheld corn brooms (for traditional large spatters), and several sturdy paint stir sticks.
- Preparation Essentials: Don’t skip the prep! Grab some TSP (trisodium phosphate) for cleaning, an etching solution if you’re working on concrete, and high-quality painter's tape (like Frog Tape) along with builder’s paper to shield your walls.
Clara’s Safety Tip: Always ensure proper ventilation when painting floors. Even low-VOC paints can create a buildup of fumes in small rooms or basements. Keep windows open and use a box fan to pull air out of the space.
Step-by-Step: Mastering the Spatter Technique
This is a multi-day process. I cannot stress this enough: do not rush the drying times. Because spatter paint involves "blobs" of paint that are thicker than a standard coat, they need extra time to cure from the inside out.
Phase 1: The Base Coat
The first step is creating your canvas. After thoroughly cleaning and sanding your floor (lightly scuffing the surface helps the paint bond), apply your first base coat. Whether you choose a dark charcoal for a moody look or a classic "New England Green," ensure the coverage is even.
Apply two coats, allowing at least 24 hours of dry time between them. For the best results, let the final base coat cure for 48 hours before you start the spattering. If the base is too "tacky," the spatters will sink in and bleed rather than sitting crisply on top.
Phase 2: The Art of the Flick
This is the part where you get to unleash your inner artist. There are two primary ways to achieve different "dot" sizes:
The Tapping Method: Dip just the tips of a long-bristle brush into your accent paint. Hold a stir stick in your non-dominant hand and tap the handle of the brush against the stick. This creates small, controlled, uniform dots.
The Wrist-Flick Method: For a more organic, historic look, use a handheld broom or a large brush. Dip it into the paint and, using a sharp snap of the wrist (think of the motion you’d use with a fly swatter), flick the paint toward the floor. This creates "stringy" patterns and larger droplets that give the floor character.
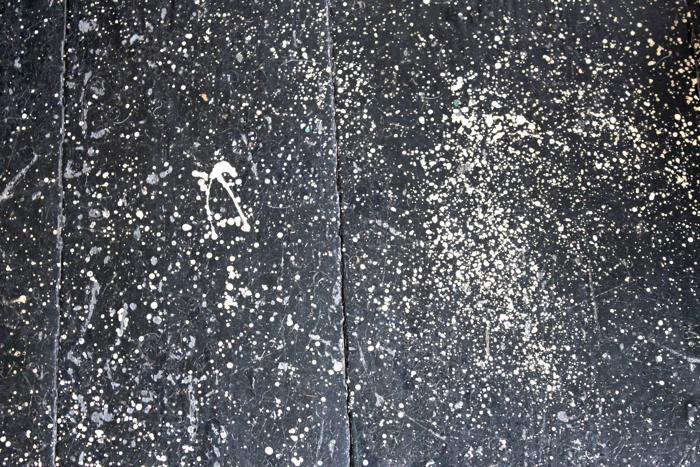
Phase 3: Layering for Depth
Don't stop at one color. The secret to a high-end look is layering. I usually start with my "brightest" color (like a crisp white) to establish the pattern. Once that has set for about an hour, I go in with a second and third accent color. If your base is dark, a metallic gold or a soft grey can add incredible dimension. This layering mimics the look of natural stone or terrazzo, further confusing the eye so it doesn't see the cracks or knots in the floor beneath.
Professional Tips for a High-End Finish
It is very easy to get carried away. The "Jackson Pollock" effect is fun, but over-application can lead to a messy, muddy look. My rule of thumb? Stop when you think you’re 80% done. Step back, leave the room, and come back 10 minutes later with fresh eyes. You can always add more, but you can’t take it away.
- Controlling the Mess: Paint will travel further than you think. Use builder's paper to cover the bottom 2 feet of your walls. The spatters have a way of defying gravity!
- Dealing with Bubbles: If a large drop of paint forms a bubble, don't touch it. Let it settle. If it dries with a slight "peak," you can very lightly sand it down once the entire floor is fully cured (after a week) and touch it up if necessary.
- Randomness is Key: Avoid standing in one spot. Move around the room constantly to ensure the density of the spatters is even across the entire floor.
Curing and Maintenance: Ensuring Longevity
The most common mistake DIYers make with spatter floors is moving furniture back too soon. Because the "spatters" are essentially thick droplets of paint, they may feel dry to the touch on the surface while remaining soft underneath.
The 48-Hour Rule: You must allow the floor to cure for at least 48 hours before walking on it in socks. Do not wear shoes on the surface for at least 4 days. If you are moving heavy furniture or appliances back into the room, I strongly recommend waiting a full week.
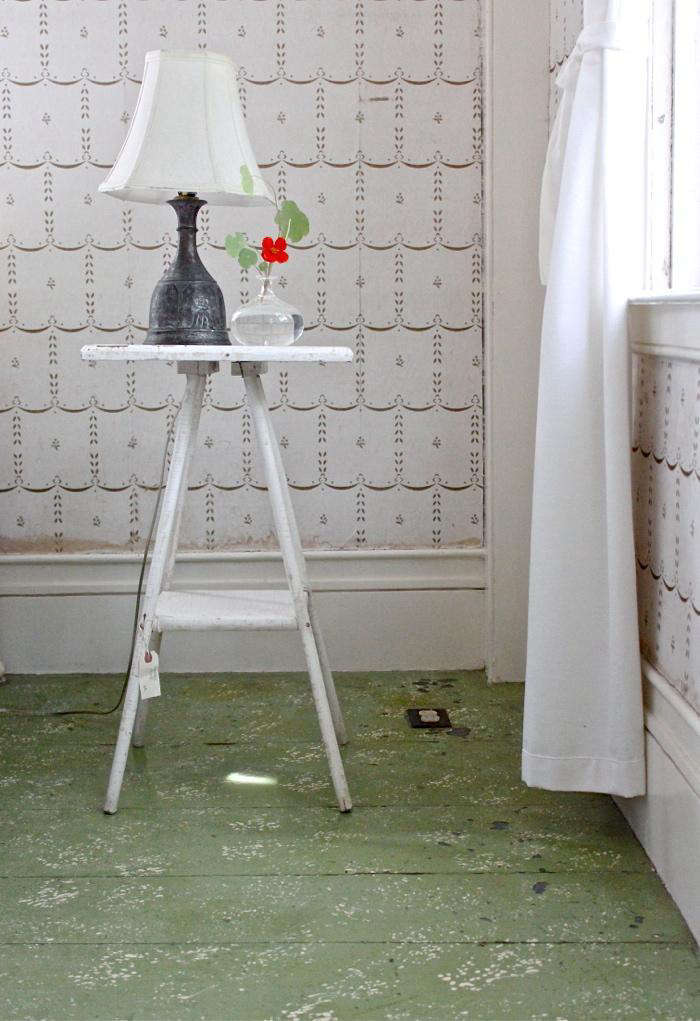
Maintenance is surprisingly simple. Because the finish is textured, it naturally provides a bit of slip resistance—a huge plus for mudrooms or bathrooms. To clean, a simple damp mop with a mild pH-neutral cleaner is all you need. If a specific area wears down over several years, you don't need to repaint the whole room. Just grab your brush, perform a few "flicks" over the worn area, and it will blend perfectly.
Creative Variations: Beyond the Basics
Once you've mastered the basic flick, you can get creative. One of my favorite high-impact looks is the Spatter-Checkerboard hybrid. Paint a classic large-scale checkerboard pattern first, let it dry completely, and then apply a light spatter of white and black across the whole thing. It softens the harsh lines of the checkers and gives it an aged, "found" feel.
Don't limit yourself to wood, either. This technique is a lifesaver for concrete basement floors. If your basement is prone to dampness, use a breathable concrete sealer as your base and then spatter with outdoor-grade acrylics. It transforms a cold, industrial space into a warm, inviting area.
FAQ
Q: Do I need to put a clear poly coat over the spatter? A: While not strictly necessary if you use a high-quality floor enamel, a water-based polyurethane clear coat can add an extra layer of protection and a consistent sheen (satin or gloss). However, wait at least 72 hours after spattering before applying a clear coat to ensure the paint drops are fully dry.
Q: Can I use this technique over linoleum or laminate? A: Yes, but the prep is different. You must use a high-adhesion primer designed specifically for slick surfaces (like Zinsser B-I-N or Stix). Without the right primer, the paint will peel off in sheets.
Q: What if I hate the result? A: The beauty of paint is that it’s reversible. If the pattern feels too busy, you can simply wait for it to dry, sand it smooth, and paint a solid coat back over it. It's a low-risk way to try something bold!
Ready to Transform Your Space?
If your floors have been holding your room back, spatter painting is the ultimate weekend warrior project. It's affordable, historic, and incredibly satisfying. Don't let those "imperfections" bother you any longer—turn them into the foundation of a beautiful, textured design.
Happy DIYing!