If you’ve ever found yourself on all fours, head deep in a base cabinet searching for that one specific cast-iron skillet while your onions reach the smoking point on the stove, you’ve experienced the "black hole" of traditional kitchen storage. In a compact kitchen—especially those under 250 square feet—the battle for counter space is a zero-sum game. Every appliance or utensil sitting on your marble (or laminate) is a direct tax on your culinary productivity.
For decades, professional chefs have looked at the wall not as a decorative surface, but as high-value real estate. Most notably, Julia Child revolutionized the home kitchen by bringing the workshop pegboard into the culinary world. Today, the DIY metal pegboard remains the ultimate pro tool for organization, transforming chaotic apartment kitchens into high-efficiency workspaces where every tool is visible, accessible, and ready for action.
The Vertical Revolution in Compact Kitchens
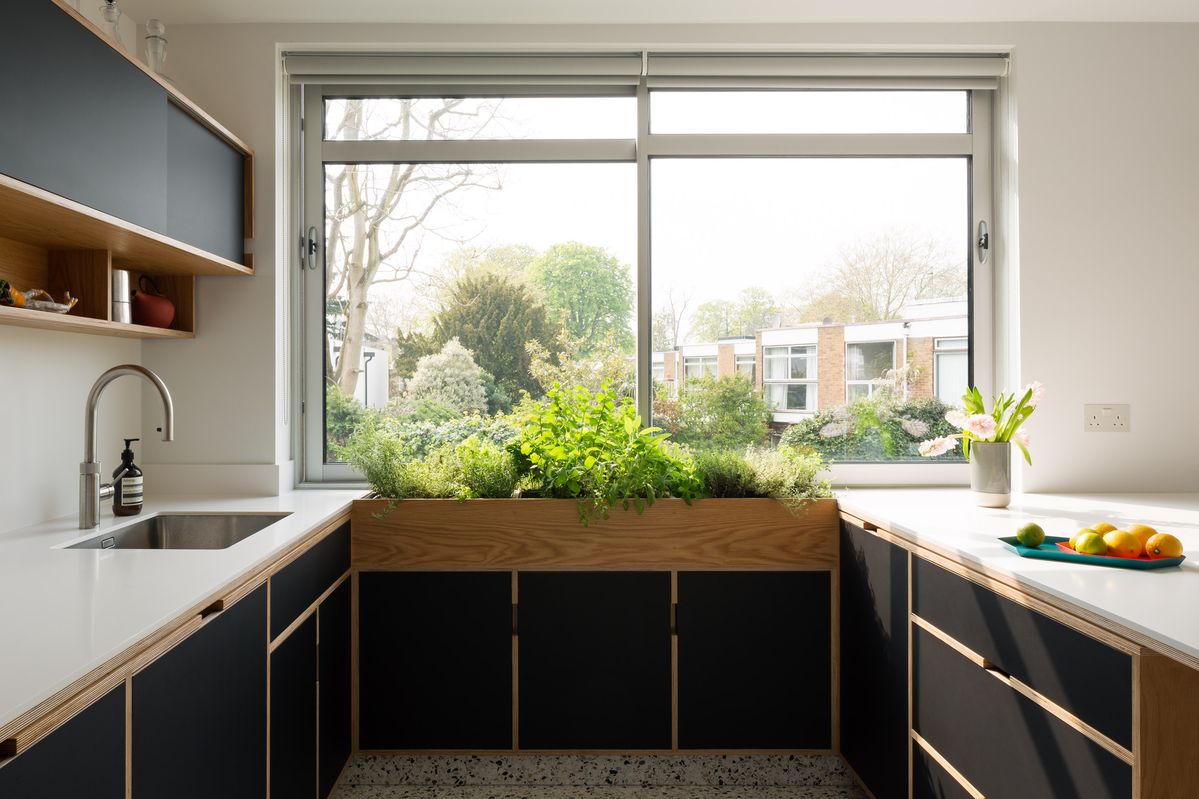
In a small kitchen, we often make the mistake of thinking we need more cabinets. In reality, cabinets are frequently the enemy of efficiency. They are deep, dark, and require a multi-step process (open door, crouch down, move three pots, retrieve pan) to access a single tool. A DIY kitchen pegboard flips this script by utilizing vertical storage. By moving your heavy cookware, colanders, and frequently used utensils to the wall, you liberate your cabinets for bulky, infrequent items like holiday platters or stand mixers.
Beyond just "cleaning up," this transition is rooted in professional ergonomics. A comparative study on kitchen efficiency suggests that transitioning from traditional cabinet storage to a wall-mounted pegboard can reduce tool retrieval time by as much as 40% in compact workspaces. When you are working in a tight footprint, those saved seconds and the reduction in physical friction—no more bending or digging—drastically improve the cooking experience.
Metal vs. Plastic: Why Material Composition Matters
When you head to the hardware store, you’ll likely see three types of pegboard: tempered hardboard (masonite), plastic, and metal. For a kitchen environment, the choice isn't just about aesthetics; it’s about structural integrity and food safety.
I always steer my readers toward powder-coated steel. Why? Because the kitchen is a high-stress environment. Steam, heat from the stove, and the sheer weight of a 12-inch cast-iron pan will cause plastic or hardboard panels to warp, crack, or peel over time. Metal pegboards are non-porous, meaning they won't absorb cooking odors or grease, and they are fire-resistant.
2026 Performance Stat: Recent testing indicates that professional-grade metal pegboard systems offer 3x the weight capacity of standard plastic panels, safely supporting up to 50 lbs of cast-iron cookware per section when properly anchored.
To help you decide, here is how the materials stack up for a pro-level kitchen:
| Feature | Powder-Coated Steel | Plastic / Polymer | Tempered Hardboard |
|---|---|---|---|
| Weight Capacity | Exceptional (Up to 50 lbs+) | Moderate (10-15 lbs) | Low (prone to sagging) |
| Heat Resistance | High (Safe near stovetops) | Low (Can warp/melt) | Low (Flammable) |
| Durability | Lifetime; won't chip | Prone to cracking | Absorbs moisture/grease |
| Aesthetic | Sleek, Industrial, Pro | "Garage" or "Craft Room" | Basic/Utility |
Designing Your Professional Layout
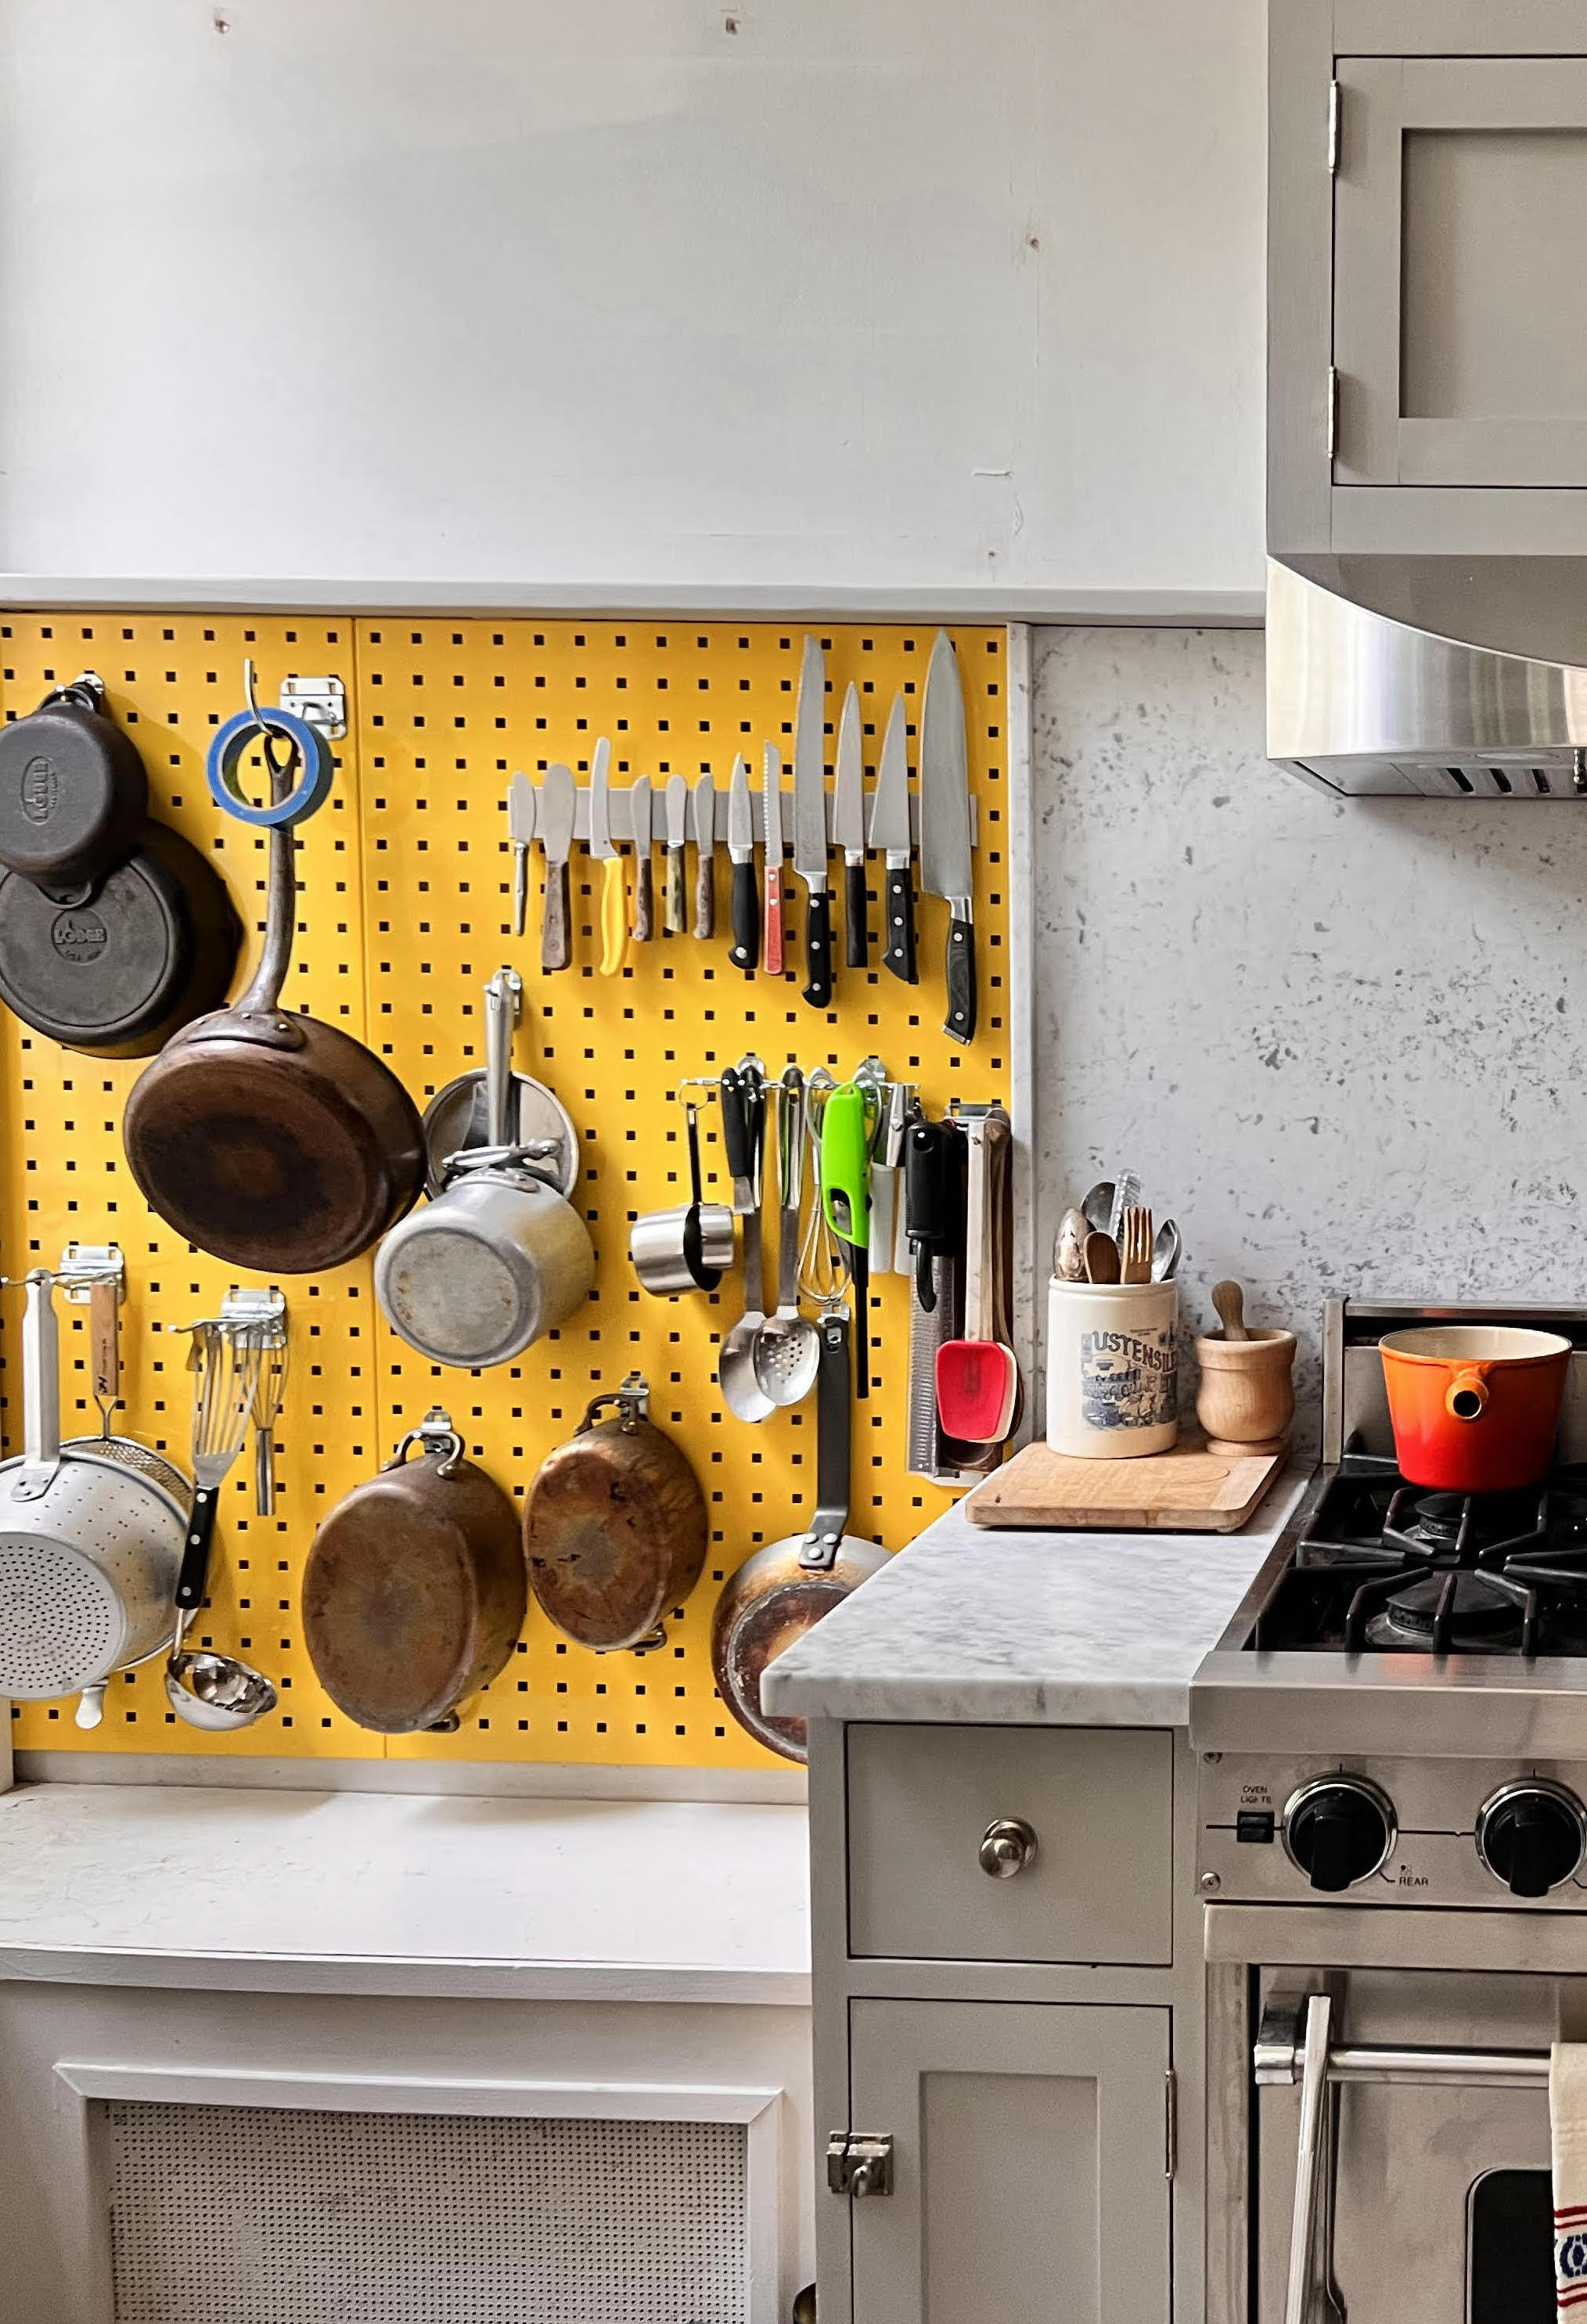
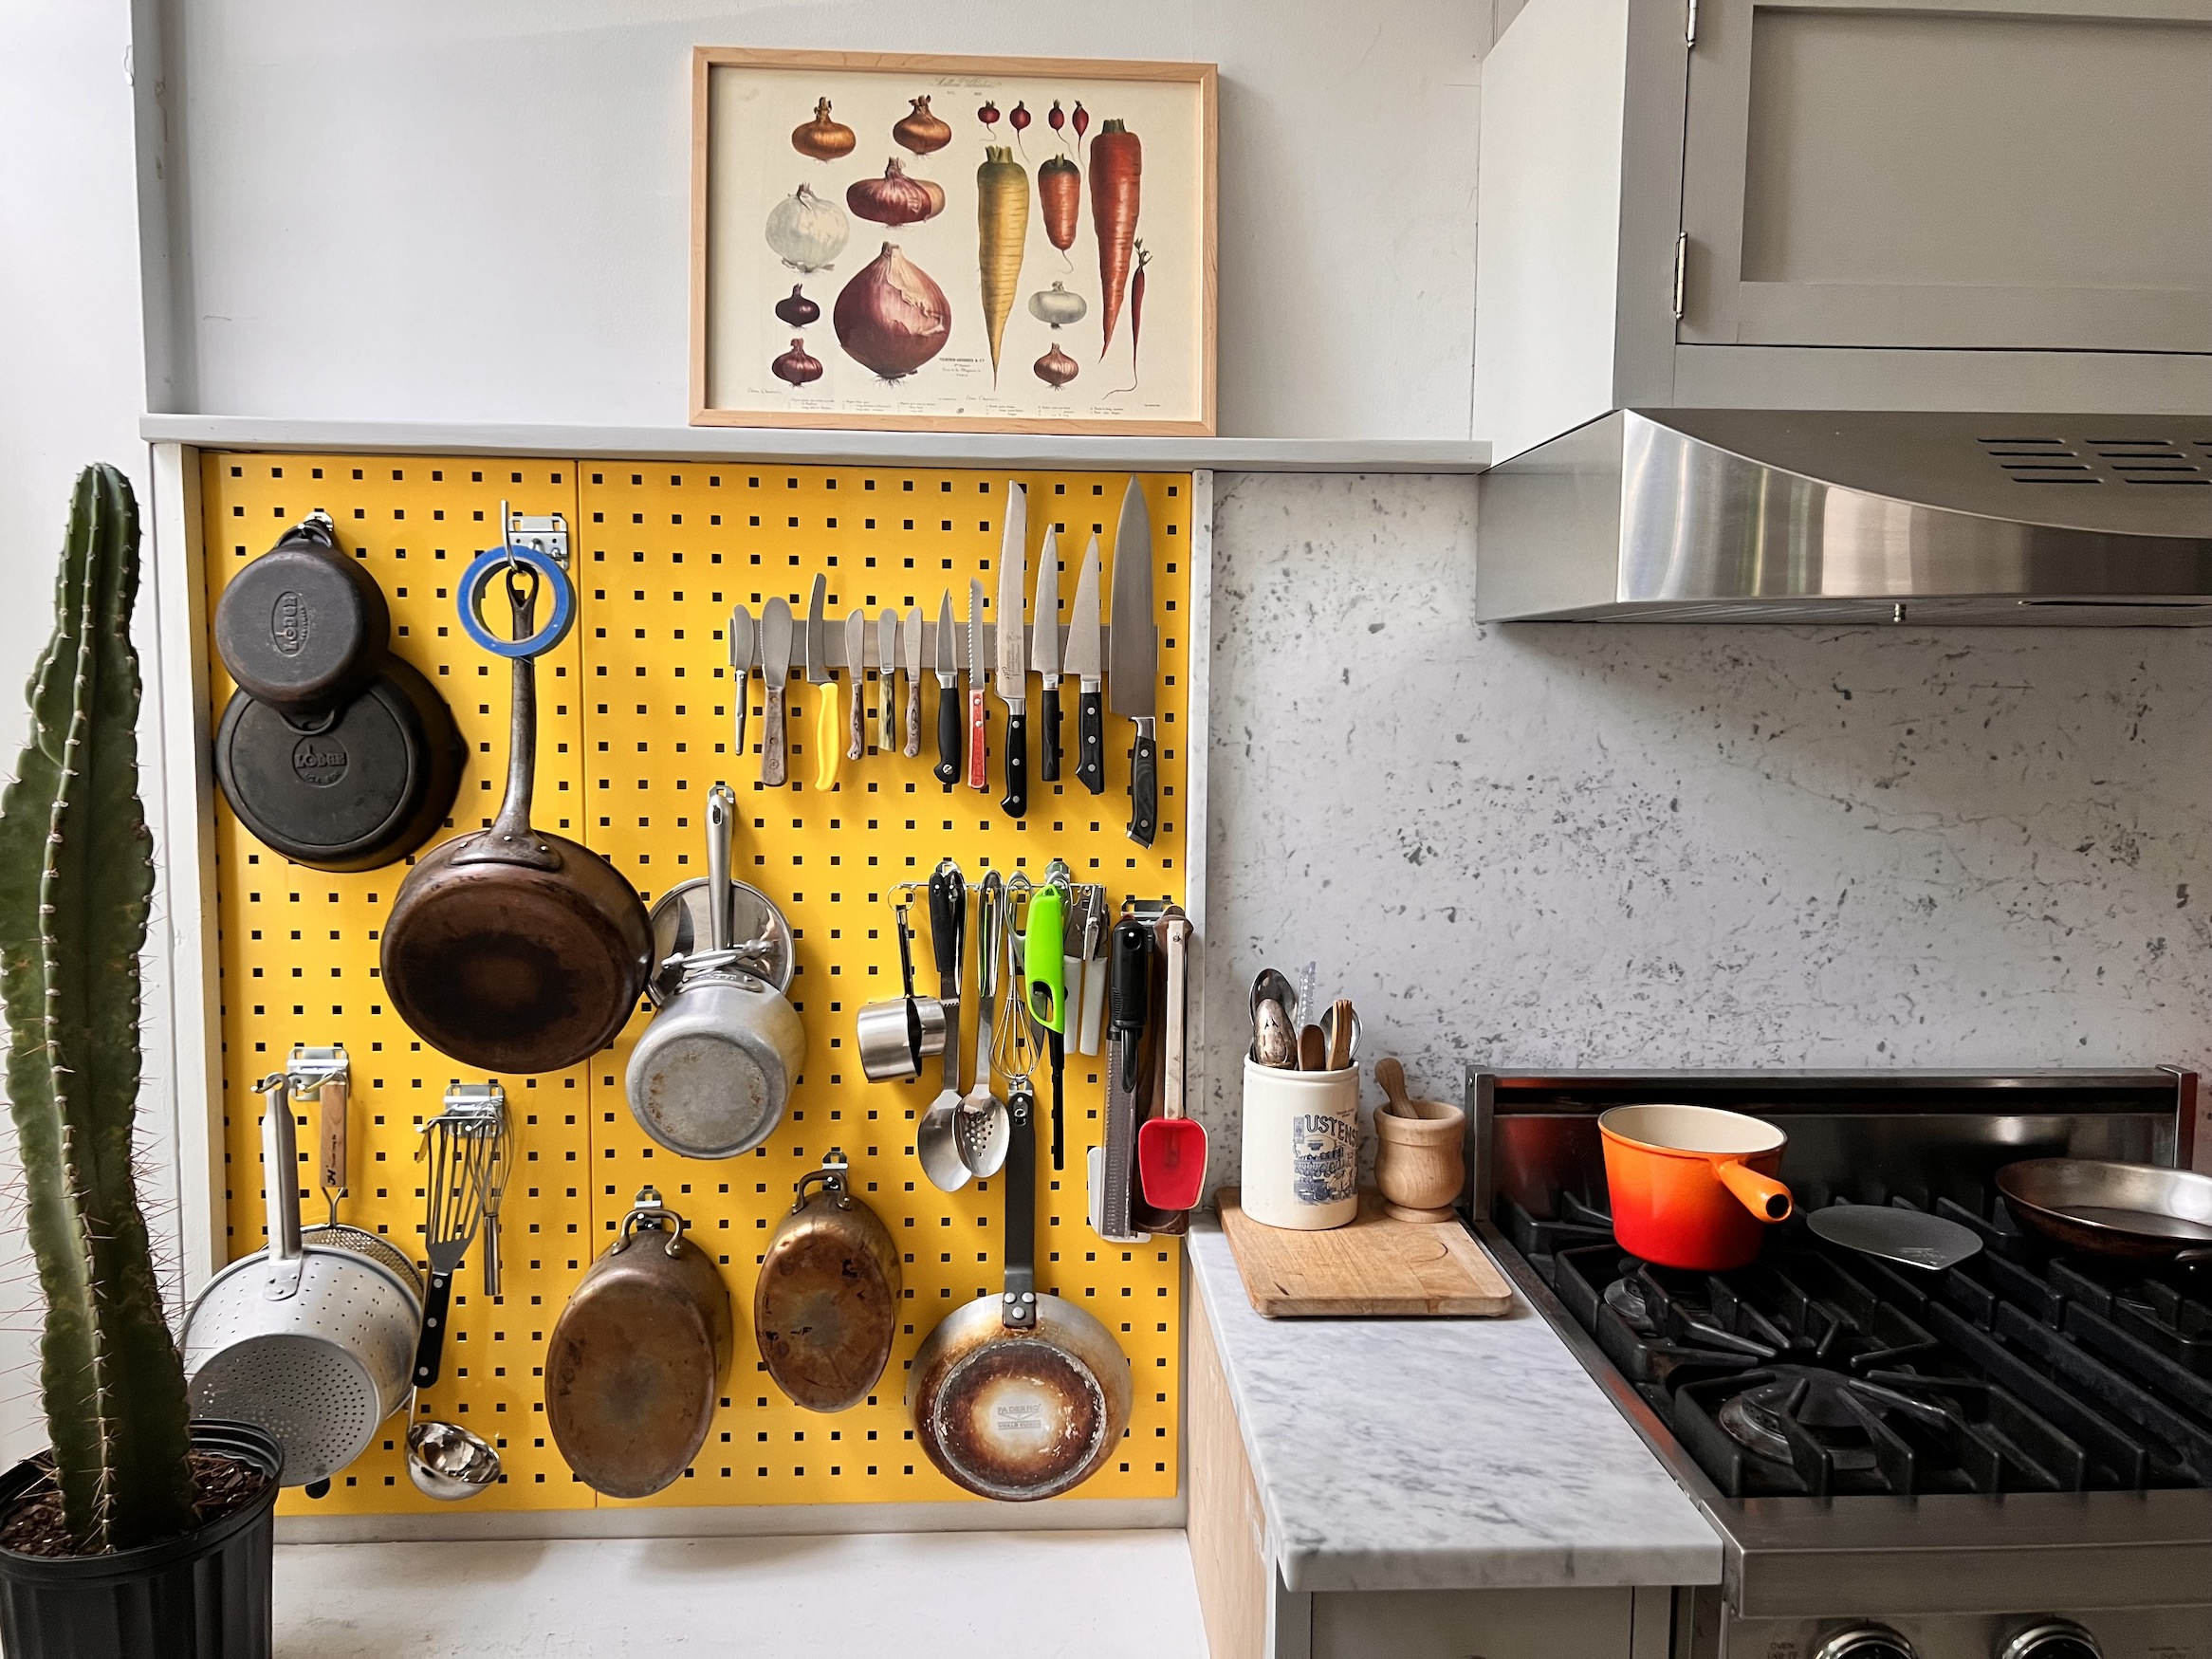
A DIY kitchen pegboard is only as good as its layout. To achieve a restaurant-style flow, you need to "zone" your wall. I recommend placing your most-used items—the 10-inch skillet, the daily chef’s knife, and your favorite spatula—at eye level or within the "strike zone" (the area between your waist and shoulders).
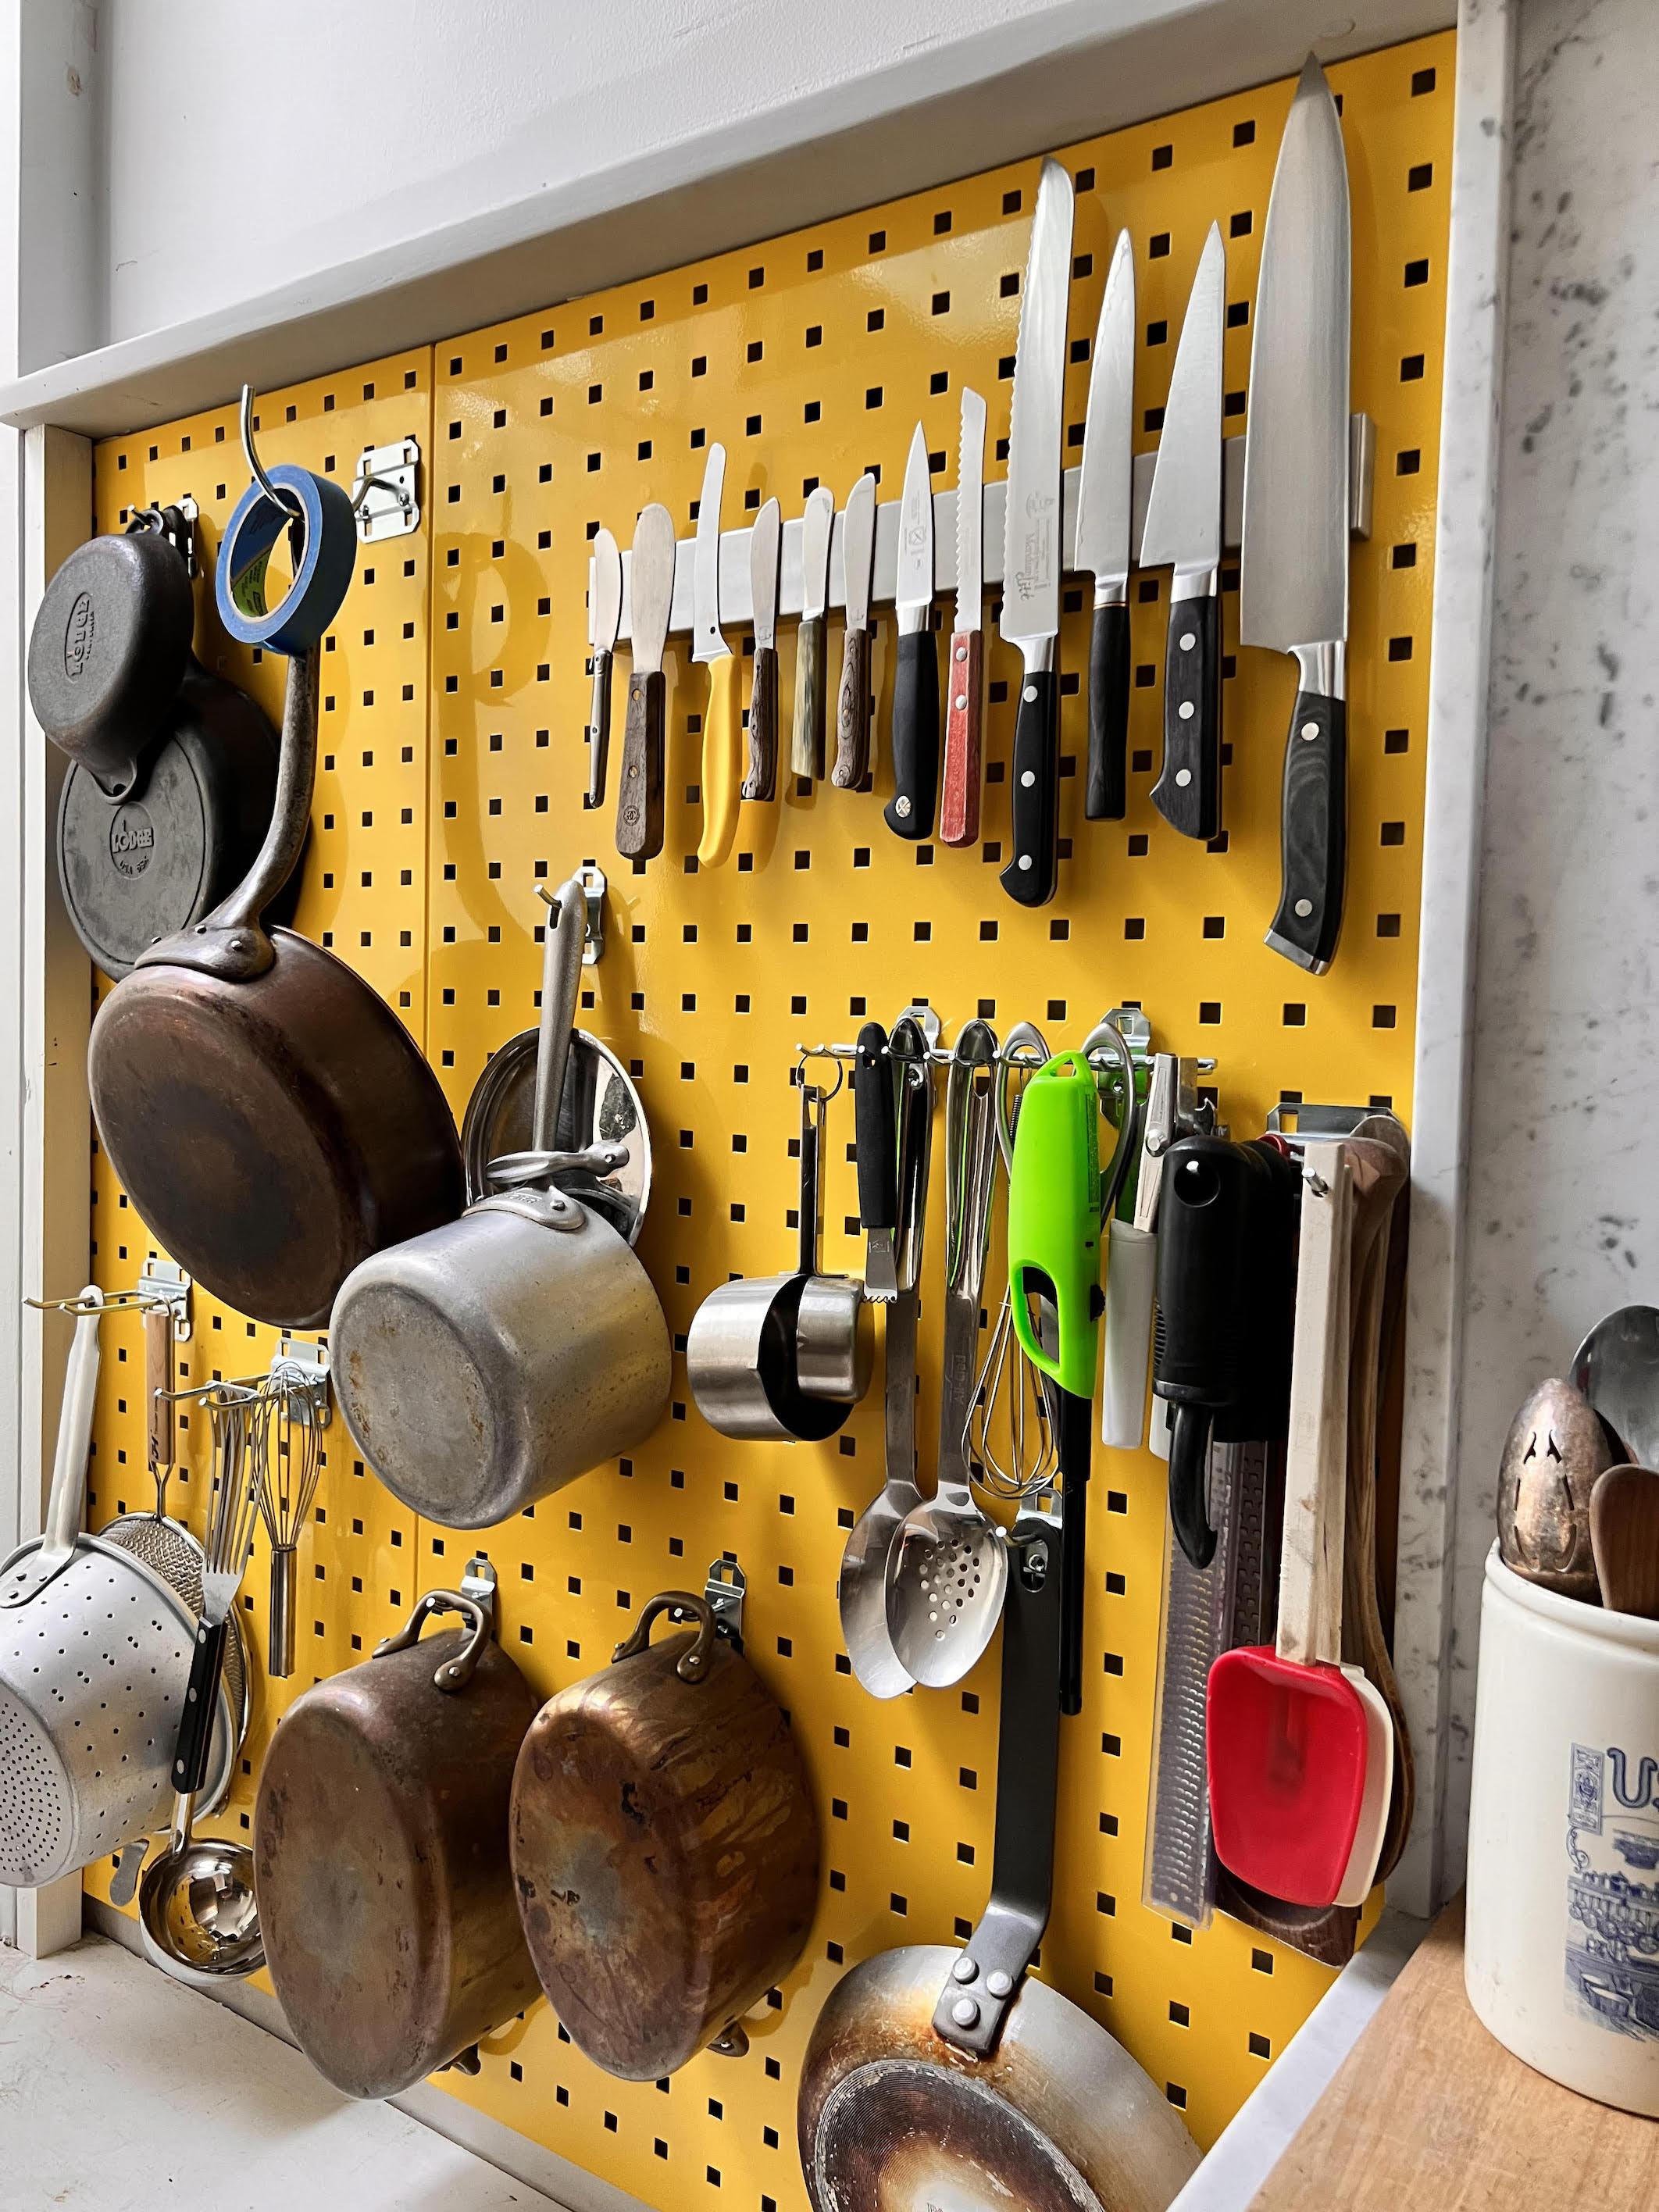
One of my favorite customization hacks is the integration of magnetic strips. By bolting a magnetic knife bar directly onto the metal pegboard, you combine two of the most powerful small kitchen storage solutions into one. This keeps your knives sharp and off the counter, while still being part of the unified wall aesthetic.
If you want to go full "professional," consider the 'Pots and Pans Crime Scene' technique. Once you have arranged your tools perfectly, use a paint pen or a heavy-duty marker to trace the outline of each tool onto the board. This ensures that even after a frantic dinner party, every tool has a designated home, and you can see at a glance if something is missing.
DIY Installation: A Step-by-Step Guide for Home Chefs
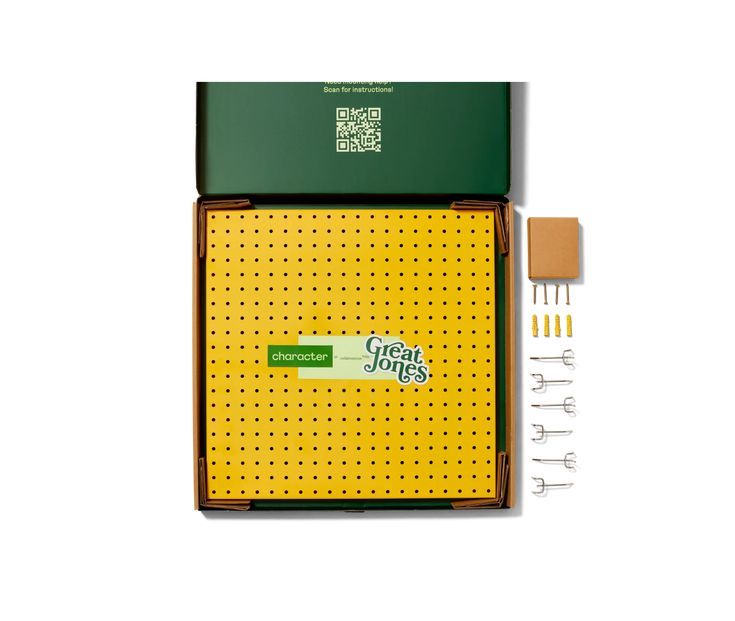
Installing a metal pegboard is a project that looks intimidating but is actually a perfect Saturday morning DIY task. The most critical factor is security. You are potentially hanging hundreds of dollars of heavy cookware; you cannot rely on simple drywall anchors.
Tools and Materials Needed:
- Powder-coated steel pegboard panels
- 1x2 wood furring strips (if the panels aren't "self-flanged")
- 3-inch wood screws
- A level and a stud finder
- Power drill and driver bits
Step 1: Find the Studs
Use your stud finder to locate the vertical wooden supports behind your drywall. Mark them clearly. If your pegboard doesn't line up perfectly with the studs, you must use 1x2 wood strips horizontally across the wall, screwed into the studs, to create a secure mounting frame.
Step 2: Create Clearance
Standard pegboard hooks need about 1/2 to 3/4 of an inch of "air space" behind the board to loop through the holes. Most modern metal kitchen pegboards come with "built-in" flanges (folded edges) that provide this gap automatically. If yours are flat sheets, you must mount them onto those 1x2 wood strips mentioned in Step 1.
Step 3: The Solo Installation Hack
Mounting a large metal panel by yourself is tricky. Here’s my trick: Screw a temporary "ledger board" (a straight piece of scrap wood) perfectly level at the height where you want the bottom of the pegboard to sit. You can rest the heavy metal panel on this ledger board while you drive the screws into the top corners. This ensures the panel stays level and doesn't slip while you're working.
Step 4: Finishing with Style
For a high-end look that doesn't scream "workshop," I recommend framing the outside of your metal pegboard with simple mitered wood trim. A dark walnut or a crisp white frame against the metal panel makes the installation look like a custom piece of cabinetry rather than a utilitarian afterthought.
Maintenance and Long-Term Value
One of the reasons I love metal for apartment kitchen vertical storage is the ease of cleaning. In a small kitchen, aerosolized grease from frying eventually finds its way onto every surface. Plastic pegboards can become "tacky" as the grease reacts with the polymer, and hardboard will simply soak it up.
Powder-coated steel, however, can be wiped down with a warm microfiber cloth and a bit of degreasing dish soap. It stays looking brand new for years. Furthermore, as your culinary skills grow and your tool collection changes, the modular nature of the pegboard allows you to grow. You can add bins for spice jars, hooks for new copper pots, or even small shelves for your most-used cookbooks.
FAQ
Can I mount a pegboard on drywall without studs? I strongly advise against it for a kitchen. While heavy-duty toggle bolts can hold a significant amount of static weight, the constant action of taking heavy pans on and off the hooks creates "vibration stress" that can eventually pull anchors through the drywall. Always try to hit at least one stud, or use a mounting rail system.
How do I prevent hooks from falling out when I grab a pan? This is the number one complaint with DIY pegboards! For metal boards, look for "locking hooks" or use small zip ties through the hole below the hook to secure it in place. Some high-end metal systems use a proprietary "slotted" hole that prevents hooks from wobbling or falling out entirely.
Is metal safe to use near a stove or heat source? Yes, powder-coated steel is much safer than plastic or wood in proximity to heat. However, remember that metal conducts heat. If your pegboard is directly behind a high-output range, the board (and your tools) may become hot to the touch. Always maintain the manufacturer-recommended clearance from open flames.
Your Kitchen, Professionalized
Upgrading a small kitchen doesn't require a five-figure renovation. Often, it just requires a change in perspective—moving from horizontal clutter to vertical clarity. By installing a DIY metal pegboard, you aren't just gaining storage; you're gaining a professional-grade organization system that honors your tools and simplifies your craft.
Ready to reclaim your counters? Pick a wall, find your studs, and start building your own culinary command center today.