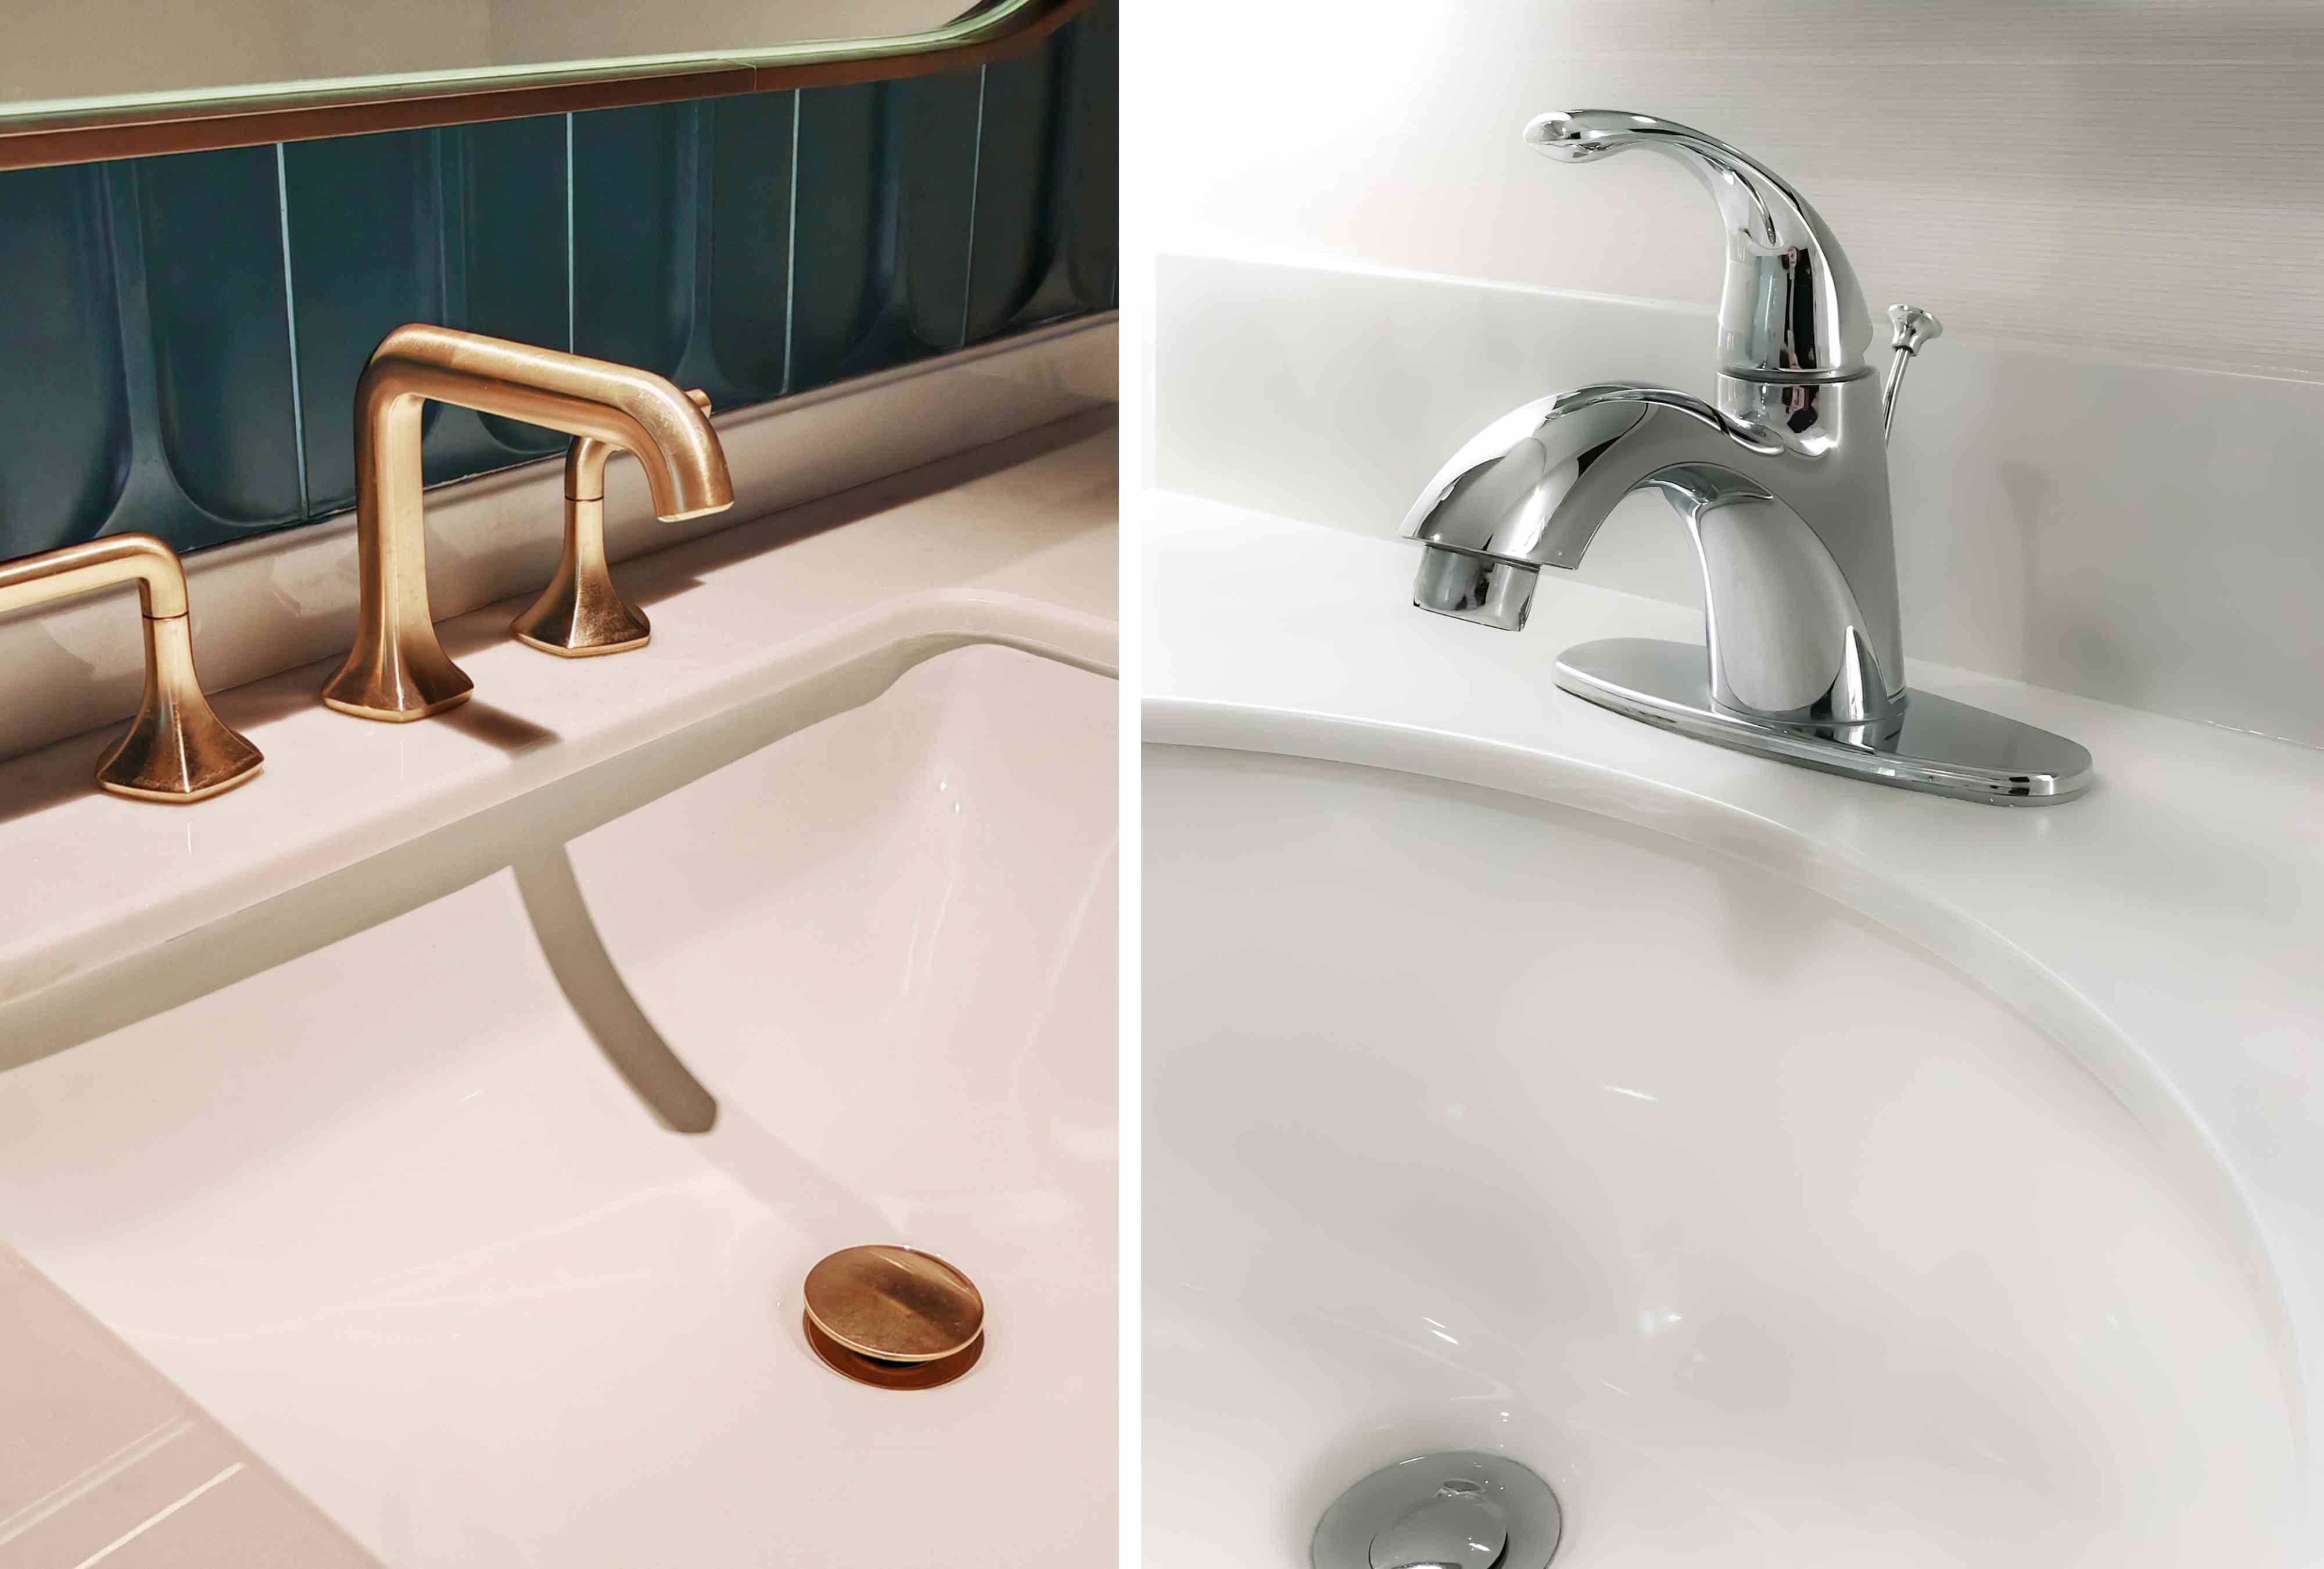
Quick Facts
- Standard Size: The standard bathroom sink drain tailpiece is 1 1/4 inches in diameter and fits a 1 5/8 inch drain hole.
- Primary Mechanism: Selection usually comes down to manual pop-up (clicker) vs. mechanical lift-rod levers.
- Longevity: Most metal and high-quality plastic drain assemblies typically last 20 to 30 years before corrosion or leaks occur.
- Remodeling Budget: Be aware that labor costs frequently account for 40% to 65% of a total bathroom remodeling budget, especially if moving plumbing lines.
- DIY Difficulty: Beginner-friendly; most replacements take 30 to 60 minutes with basic household tools.
- Critical Rule: Your drain must match your sink's overflow design to prevent indoor flooding and ensure proper suction.
Planning a bathroom refresh? Understanding bathroom sink drain types is more than just aesthetics; it is about mechanical compatibility and lifelong maintenance. The most common bathroom sink drain types include modern clicker pop-ups and traditional lift-rod assemblies. Selecting the right one depends on whether your basin has an overflow hole and if you prefer mechanical simplicity over vintage style.
The Compatibility Mandate: Overflow vs. Non-Overflow
Before you even look at the style of a stopper, you must look at the anatomy of your sink basin. This is the single most important technical detail in any bathroom sink drain replacement project. Most standard residential sinks feature an overflow—a small hole near the rim that prevents the basin from flooding the floor if the faucet is left running.
If your sink has this hole, you must purchase a drain flange that features an overflow opening. These openings are located on the side of the drain tailpiece, hidden inside the sink's ceramic structure. They allow the water from the overflow hole to enter the drainage pipe. If you install a non-overflow drain in an overflow sink, the water will have nowhere to go, potentially leading to leaks or stagnant water trapped in the basin walls.
Conversely, vessel sinks—those that sit on top of the counter like a bowl—usually do not have an overflow hole. For these, a non-overflow bathroom sink drain replacement kit is necessary. Using an overflow drain on a non-overflow sink will result in water leaking out from the side openings of the tailpiece onto your bathroom floor. Always physically check your sink basin before heading to the hardware store. For those tackling bathroom sink drain installation for beginners, this one check prevents 90% of all return trips to the store.
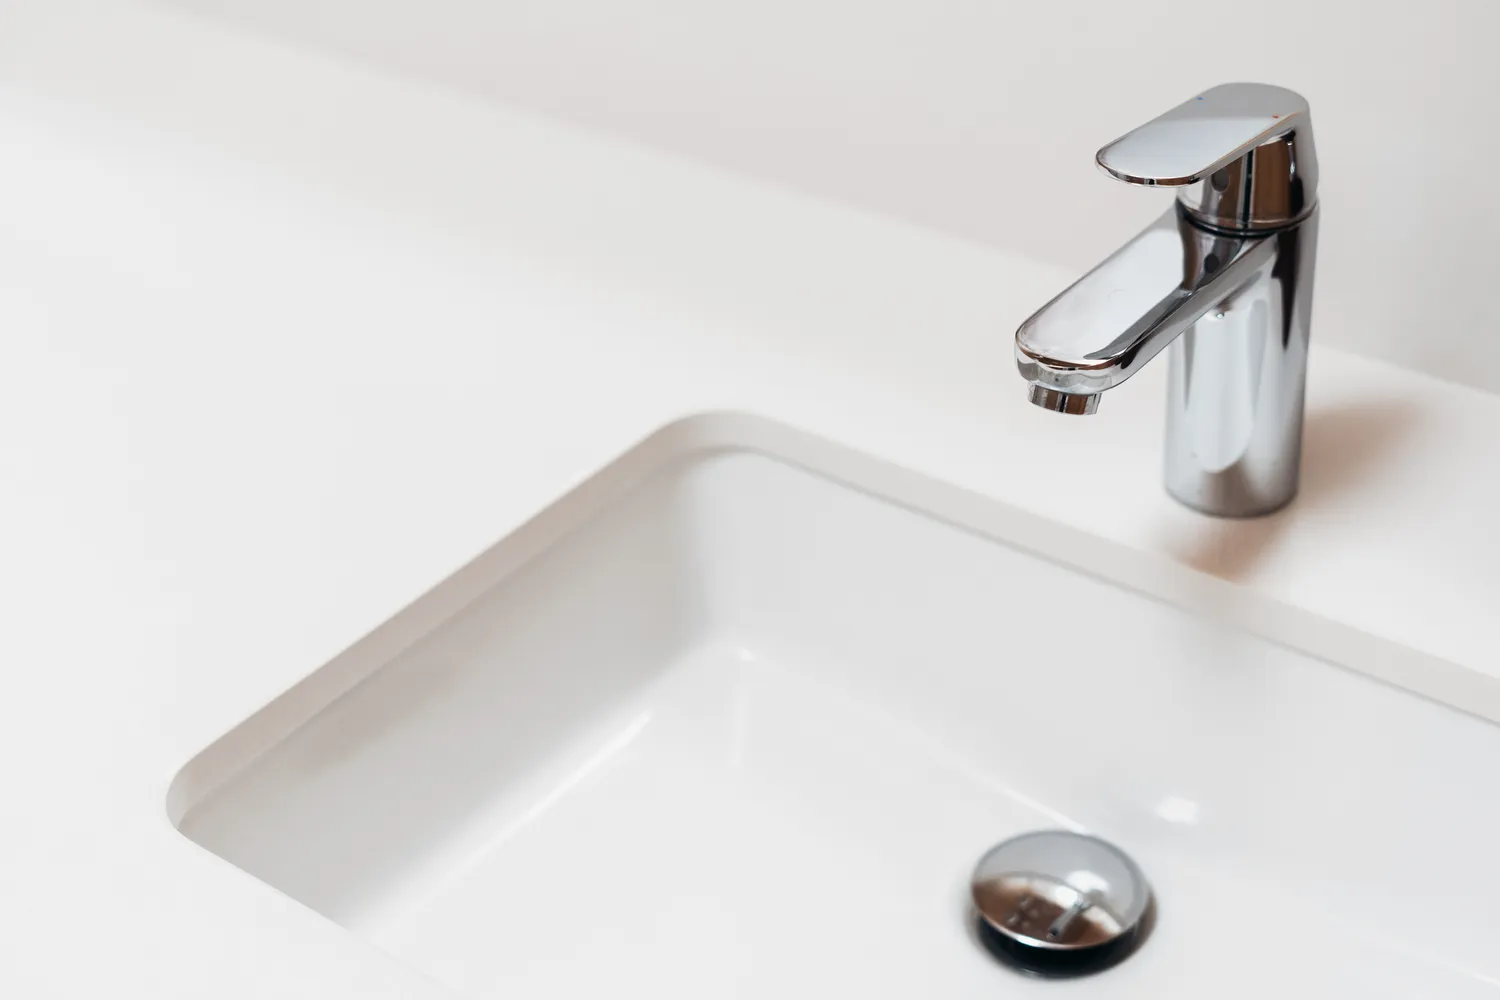
Pop-up vs. Lift Rod Drain: Mechanical Differences
When we talk about different bathroom sink drain types, we are usually discussing how the stopper actually moves. Historically, the lift rod drain has been the industry standard. This system uses a metal lever tucked behind the faucet that connects to a clevis strap and a ball rod assembly under the sink. While they offer a classic look, they are notorious for maintenance issues. The internal pivot rod creates multiple snag points where hair and soap scum buildup can accumulate, eventually slowing your drainage to a crawl or causing the linkage to rust out.
Modern bathroom renovations have seen a massive shift toward the pop-up or clicker drain. These do not require any rods behind the faucet. You simply press down on the stopper to seal it and press again to release it. Because they lack the complex internal rod reaching into the water flow, there is less area for debris to catch. This makes it much easier to clear a clog; in most cases, you can simply unscrew the top of the pop-up stopper to access the drain without taking the pipes apart.
| Feature | Pop-up (Clicker) Drain | Lift Rod Drain |
|---|---|---|
| Maintenance | Easy; top-removable stopper | Difficult; requires under-sink disassembly |
| Internal Mechanics | Simple spring mechanism | Complex ball rod assembly and clevis strap |
| Clog Risk | Lower; few snag points | Higher; rods trap hair and soap scum |
| Best For | Modern, DIY-friendly remodels | Traditional or vintage-style faucets |
| Installation | Quick; no rod adjustments | Requires precise mechanical calibration |
Other less common types of bathroom sink stoppers include the twist-and-turn, which requires a manual rotation to lock, and the grid drain. A grid drain has no stopper at all; it features a permanent perforated plate. Grid drains are common in commercial settings or guest bathrooms where you never need to fill the basin with water, as they are essentially impossible to clog with large objects. When choosing between different types of bathroom sink drain stoppers, consider your daily routine—if you often soak delicate items or shave at the sink, a reliable stopper is a must.

Mapping the Under-Sink Ecosystem
To master a repair, you need to speak the language of the plumber. The drainage system is not just one long pipe; it is a series of interconnected bathroom sink drain parts that work together to move water while keeping sewer gases out of your home.
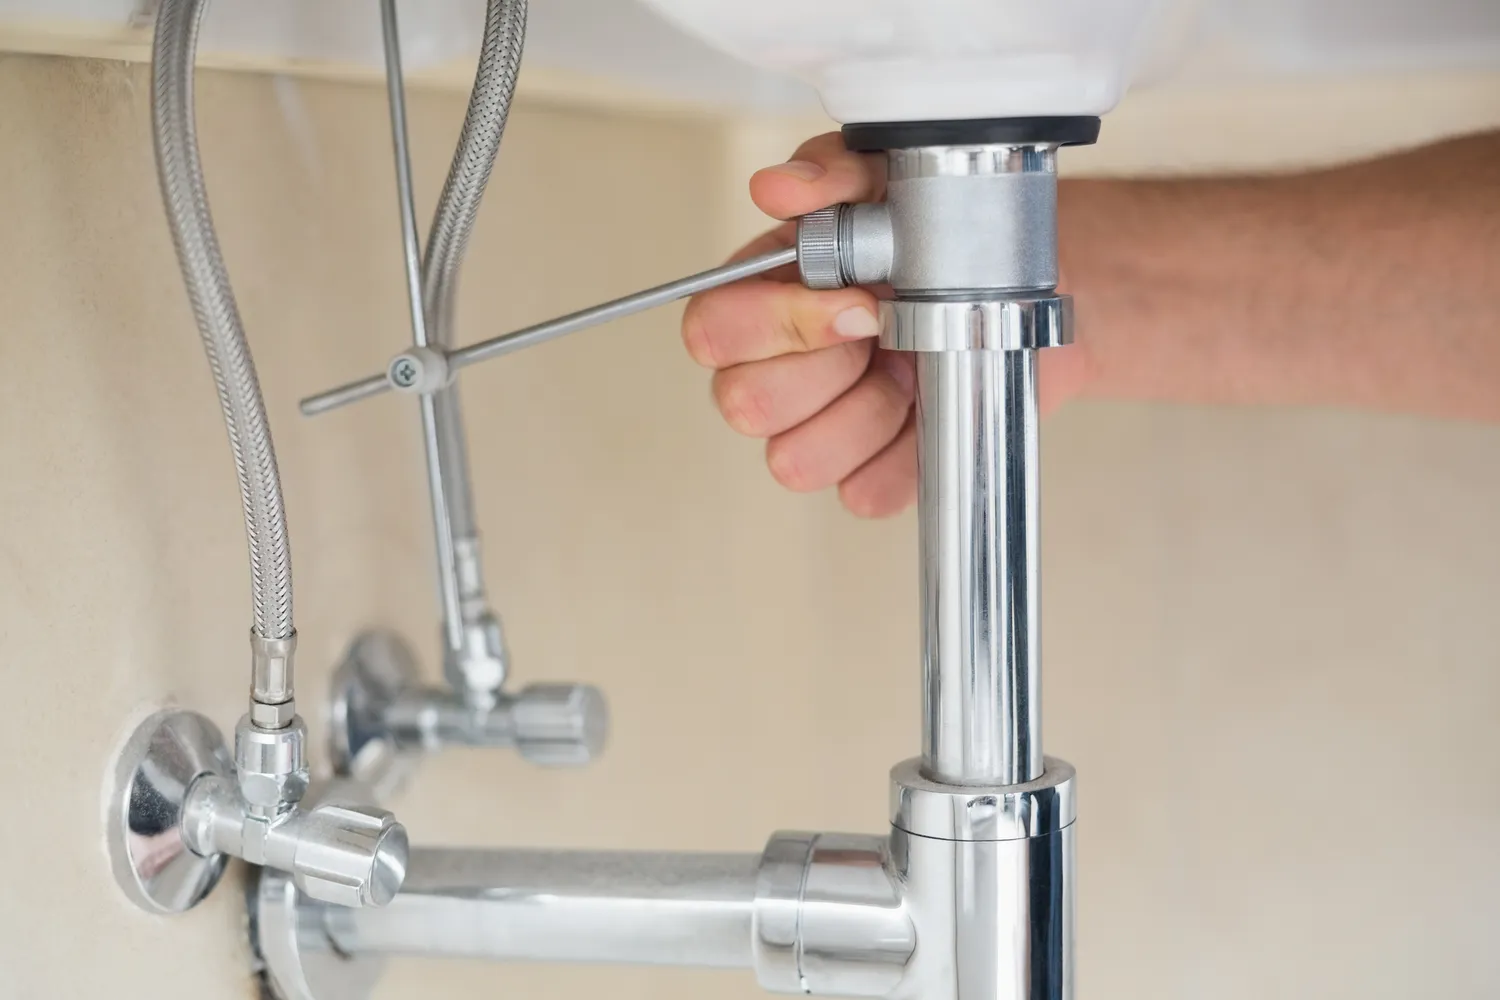
The journey begins at the drain flange, which is the finished metal ring you see in the bottom of the sink. This connects to the drain tailpiece, a vertical pipe that houses the stopper mechanism. In a traditional setup, you will see a clevis strap—a flat, perforated metal piece—hanging down from the faucet. This connects to the pivot rod, which enters the tailpiece through a ball rod assembly. This intersection is the most common site for leaks and should be inspected regularly.
Below the tailpiece is the P-trap assembly. This U-shaped pipe is designed to hold a small amount of water at all times, creating a seal that prevents foul-smelling gases from the sewer from entering your bathroom. If you are looking at a bathroom sink drain parts diagram, you will notice that the P-trap connects the sink tailpiece to the wall drain. Understanding these connections is vital when you start matching bathroom sink drain finishes to faucets, as you want a cohesive look for any exposed pipework beneath a pedestal or open-console vanity.
Installation Pro-Tips: Secrets for a Leak-Free Seal
If you are upgrading with a bathroom sink drain replacement kit, there are a few pro-level tricks that differentiate a shaky DIY job from a professional installation. First, let’s talk about seals. While many modern kits come with foam or rubber gaskets for the top flange, many pros still prefer the "pancake" method using plumber’s putty. Rolling a small bead of putty into a snake-like shape and circling the underside of the flange ensures a custom-fit, waterproof seal that won't degrade over time.
Another critical tip involves Teflon tape. When wrapping the threaded sections of your drain tailpiece, always wrap the tape in a clockwise direction. This ensures that as you tighten the nut, the rotation follows the tape's path rather than peeling it off and causing a bunch-up that leads to leaks.
When it comes to tightening, keep your slip-joint pliers handy but use them sparingly. One of the most common mistakes in bathroom sink drain installation for beginners is over-tightening the plastic nuts on a P-trap. These are designed to be hand-tightened plus a quarter-turn with a wrench. Over-tightening can crack the plastic or "oval" the pipe, making it impossible to get a perfect seal. Finally, if you are opting for a high-end look like a matte black finish, be careful with your tools; use a rag between your pliers and the finished metal to prevent scratching the coating.
FAQ
Are all bathroom sink drains 1 1/4?
Most standard residential bathroom sinks use a 1 1/4 inch diameter tailpiece. However, some heavy-duty or commercial-style sinks may utilize a 1 1/2 inch drain, which is common in kitchens. Always measure your existing tailpiece before buying a replacement to ensure compatibility with your P-trap.
What is the most common bathroom sink drain size?
The most common bathroom sink drain size is 1 1/4 inches for the tailpiece, fitting into a sink drain hole that is approximately 1 5/8 inches wide. This size is ubiquitous across big-box retailers and major fixture brands like Kohler, Delta, and Moen.
Is a bathroom sink a P-trap or j-trap?
A modern bathroom sink setup almost exclusively uses a P-trap assembly. While historical homes might have featured S-traps or J-traps, building codes now mandate the P-trap because it is the most stable configuration for maintaining a water seal against sewer gases.
Can I use a 1 1/2 drain for a bathroom sink?
You can use a 1 1/2 inch drain if your sink is designed with a larger hole (common in some utility or laundry-style bathroom basins), but you will likely need an adapter to connect it to a standard 1 1/4 inch wall outlet. Alternatively, you may need to replace the entire trap assembly with 1 1/2 inch piping.
How do I know if I have an S-trap or P-trap?
A P-trap goes from the sink tailpiece into a horizontal drain pipe that enters the wall. An S-trap, which is now generally against code in new construction, goes from the sink and curves back down directly into the floor. S-traps are prone to siphoning dry, which allows sewer smells into the home.
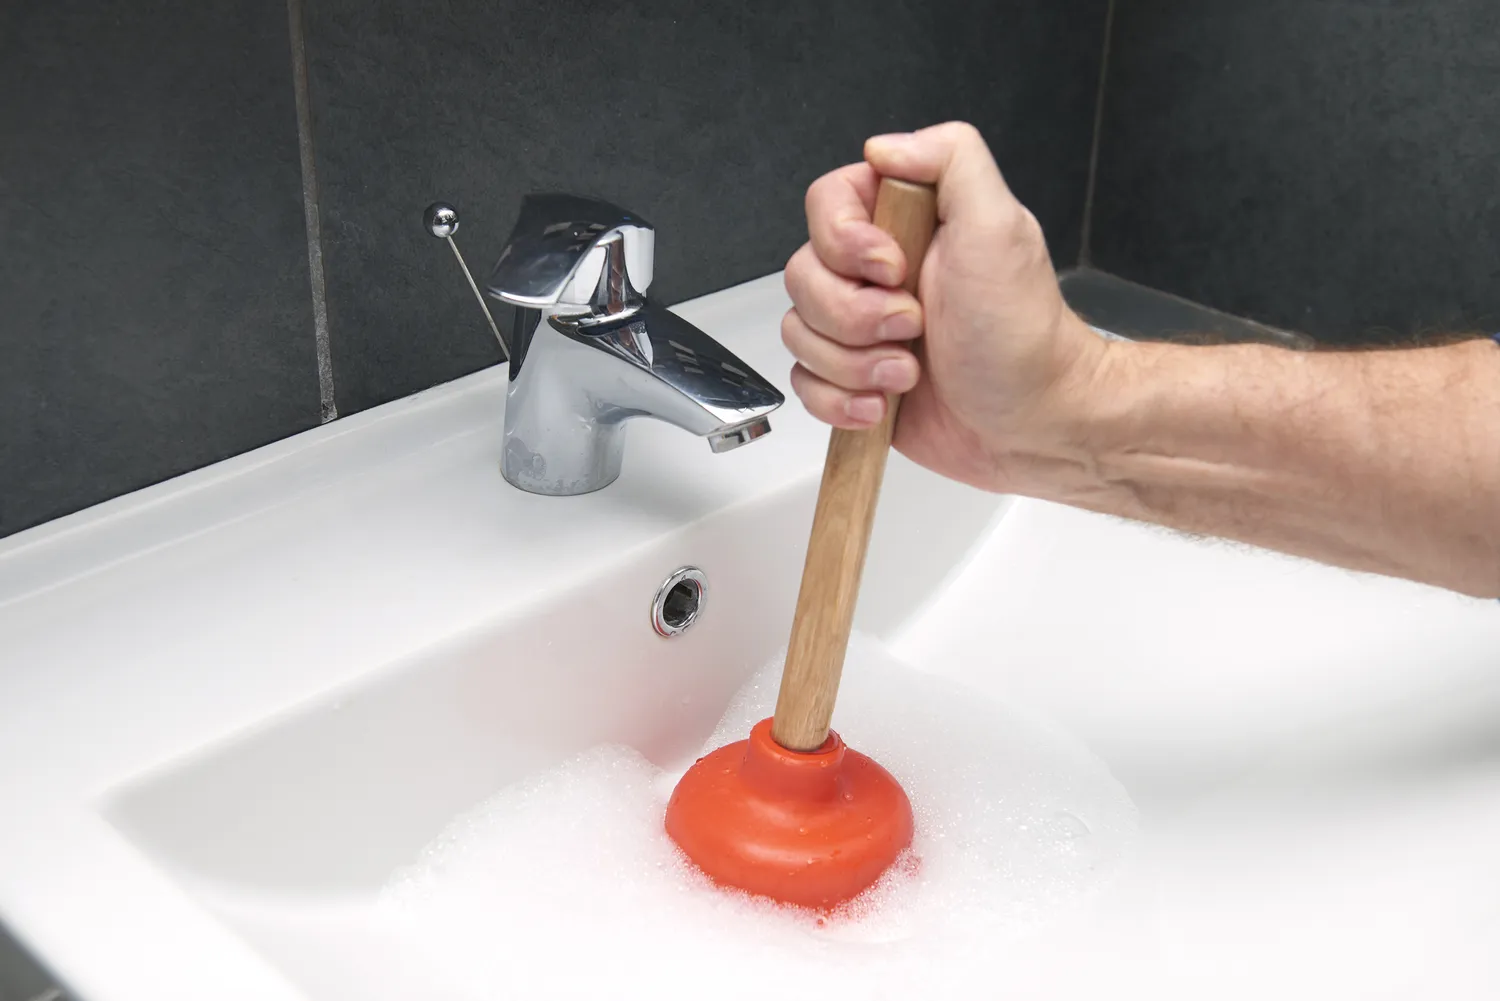
Safety and Final Thoughts
As you wrap up your remodel, remember that plumbing is only as good as its weakest joint. After installing your new drain, run the water for at least five minutes while checking every connection with a dry paper towel. Even a tiny bead of moisture indicates a seal that needs adjustment.
If you encounter pipes that are brittle, extremely thin, or have a significant amount of green oxidation, it is a red flag that it is time to call a professional. While replacing a drain is a great entry-level project, old galvanized pipes can crumble when touched, turning a simple 30-minute swap into a full-day plumbing emergency. Stay safety-conscious, take your time with the mechanical calibrations, and enjoy your leak-free, beautiful new bathroom.