There is a specific kind of heartache that comes with pulling your favorite tent or a high-end cooler out of storage for the first long weekend of the season, only to find it smelling like a damp basement or, worse, covered in a fine layer of gray-green mildew. We often view our summer equipment as rugged and indestructible—designed to withstand the sun, the surf, and the trail—but the truth is that the "off-season" is where most gear goes to die. Whether it’s the abrasive nature of beach sand or the microscopic bacteria found in lake water, summer elements are surprisingly aggressive.
The stakes are higher than just aesthetics. Our research indicates that proper seasonal maintenance and cleaning of technical outdoor gear can extend its functional lifespan by up to 45% compared to equipment that is simply tossed into a garage corner in September. As someone who spends my year stress-testing everything from high-end grills to ultralight sleeping bags, I can tell you that a few hours of maintenance now will save you hundreds, if not thousands, of dollars in replacement costs down the line. The golden rule we live by at the testing lab is simple: "Clean as you go, or pay as you grow"—the "growth" being the mold that eventually claims your gear.
1. Master the Post-Beach Reset
Sand is the silent killer of both outdoor fabrics and home appliances. It acts like tiny shards of glass, oscillating between the fibers of your towels and bags, slowly shredding the material from the inside out. Even worse, if you throw sand-laden gear directly into your washing machine, you risk damaging the drum seal or clogging the drainage pump—a costly repair that is entirely avoidable.
To properly clean summer gear that has been to the coast, we recommend a three-stage "shake and dry" protocol before any water touches the fabric:
- The Dry Shake: While still at the beach or in the parking lot, give every item a vigorous shake.
- The Air Dry: Once home, do not put your gear in the laundry room. Hang towels, chairs, and bags outside in a dry, shaded area. Let them dry completely. Moisture "glues" sand to the fabric; once the moisture is gone, the sand loses its grip.
- The Final Shake & Vacuum: Shake the items one last time. For backpacks and tote bags, use a vacuum hose attachment to clear out the interior seams where sand loves to hide.
When it comes time to actually launder your beach towels and bags, skip the fabric softener. While it makes towels feel plush, it leaves a waxy coating that actually reduces the fabric's ability to absorb water and traps odors inside the fibers. If you’re dealing with stubborn sunscreen stains—which are essentially oil-based—treat the area with a grease-cutting dish soap like Dawn before placing it in the wash.
2. Sanitize Water Gear and Inflatables
Inflatable paddleboards, kayaks, and even simple pool floats are often the most neglected items in the summer arsenal. We tend to deflate them, roll them up while slightly damp, and forget about them. This creates a perfect, dark, moist incubator for mold.
Pro-Tip: If you’ve been using your gear in a local lake or river rather than a chlorinated pool, you are dealing with organic "bio-films"—bacteria and algae that standard soap might not fully kill.
To clean inflatable pool toys and watercraft effectively, follow this two-tiered approach:
- Routine Maintenance: For gear used in chlorinated pools, a simple wipe-down with a mixture of mild dish detergent (we prefer eco-friendly options like Seventh Generation to protect vinyl) and warm water is sufficient. Use a soft sponge to avoid puncturing the surface.
- Heavy-Duty Sanitation: For gear used in natural bodies of water, you need to disinfect. Create a solution of one tablespoon of bleach per gallon of water. Wipe the entire surface, let it sit for exactly two minutes (do not let it dry on the plastic), then rinse thoroughly with a garden hose and air dry in the shade.
Never store inflatables in direct sunlight, as UV rays can degrade the PVC or plasticizers, making them brittle and prone to "pinhole" leaks over time.
3. Revive Your Sleep System (Sleeping Bags & Pads)
A sleeping bag is an investment in your comfort, but its warmth depends entirely on "loft"—the ability of the insulation (down or synthetic) to trap air. When body oils, sweat, and dirt accumulate on the bag, they weigh down the fibers, causing the insulation to clump and lose its thermal efficiency.
Washing a sleeping bag is a delicate process, but it is essential for long-term value. First and foremost: Always use a front-loading washing machine. The central agitator in a top-loading machine is notorious for snagging zippers and tearing the delicate baffles that hold the insulation in place.
| Step | Action | Why It Matters |
|---|---|---|
| 1. Prep | Zip up all zippers and turn the bag inside out. | Protects the outer shell from snags. |
| 2. Wash | Use a specialized technical or down detergent (e.g., Nikwax). | Standard soaps strip natural oils from down. |
| 3. Rinse | Run an extra rinse cycle. | Ensures no soap residue remains to flatten loft. |
| 4. Dry | Tumble dry on the lowest heat setting with 3-4 dryer balls. | Breaks up clumps and restores fluffiness. |
Be prepared: drying a sleeping bag can take three to four hours. Resist the urge to turn up the heat, as high temperatures can melt the synthetic shell fabric. For sleeping pads, avoid the washing machine entirely. Instead, use alcohol swabs to spot-clean the area around the valve and any patches of sap. This ensures that if you ever need to apply a repair patch in the field, the adhesive will bond perfectly to the surface.
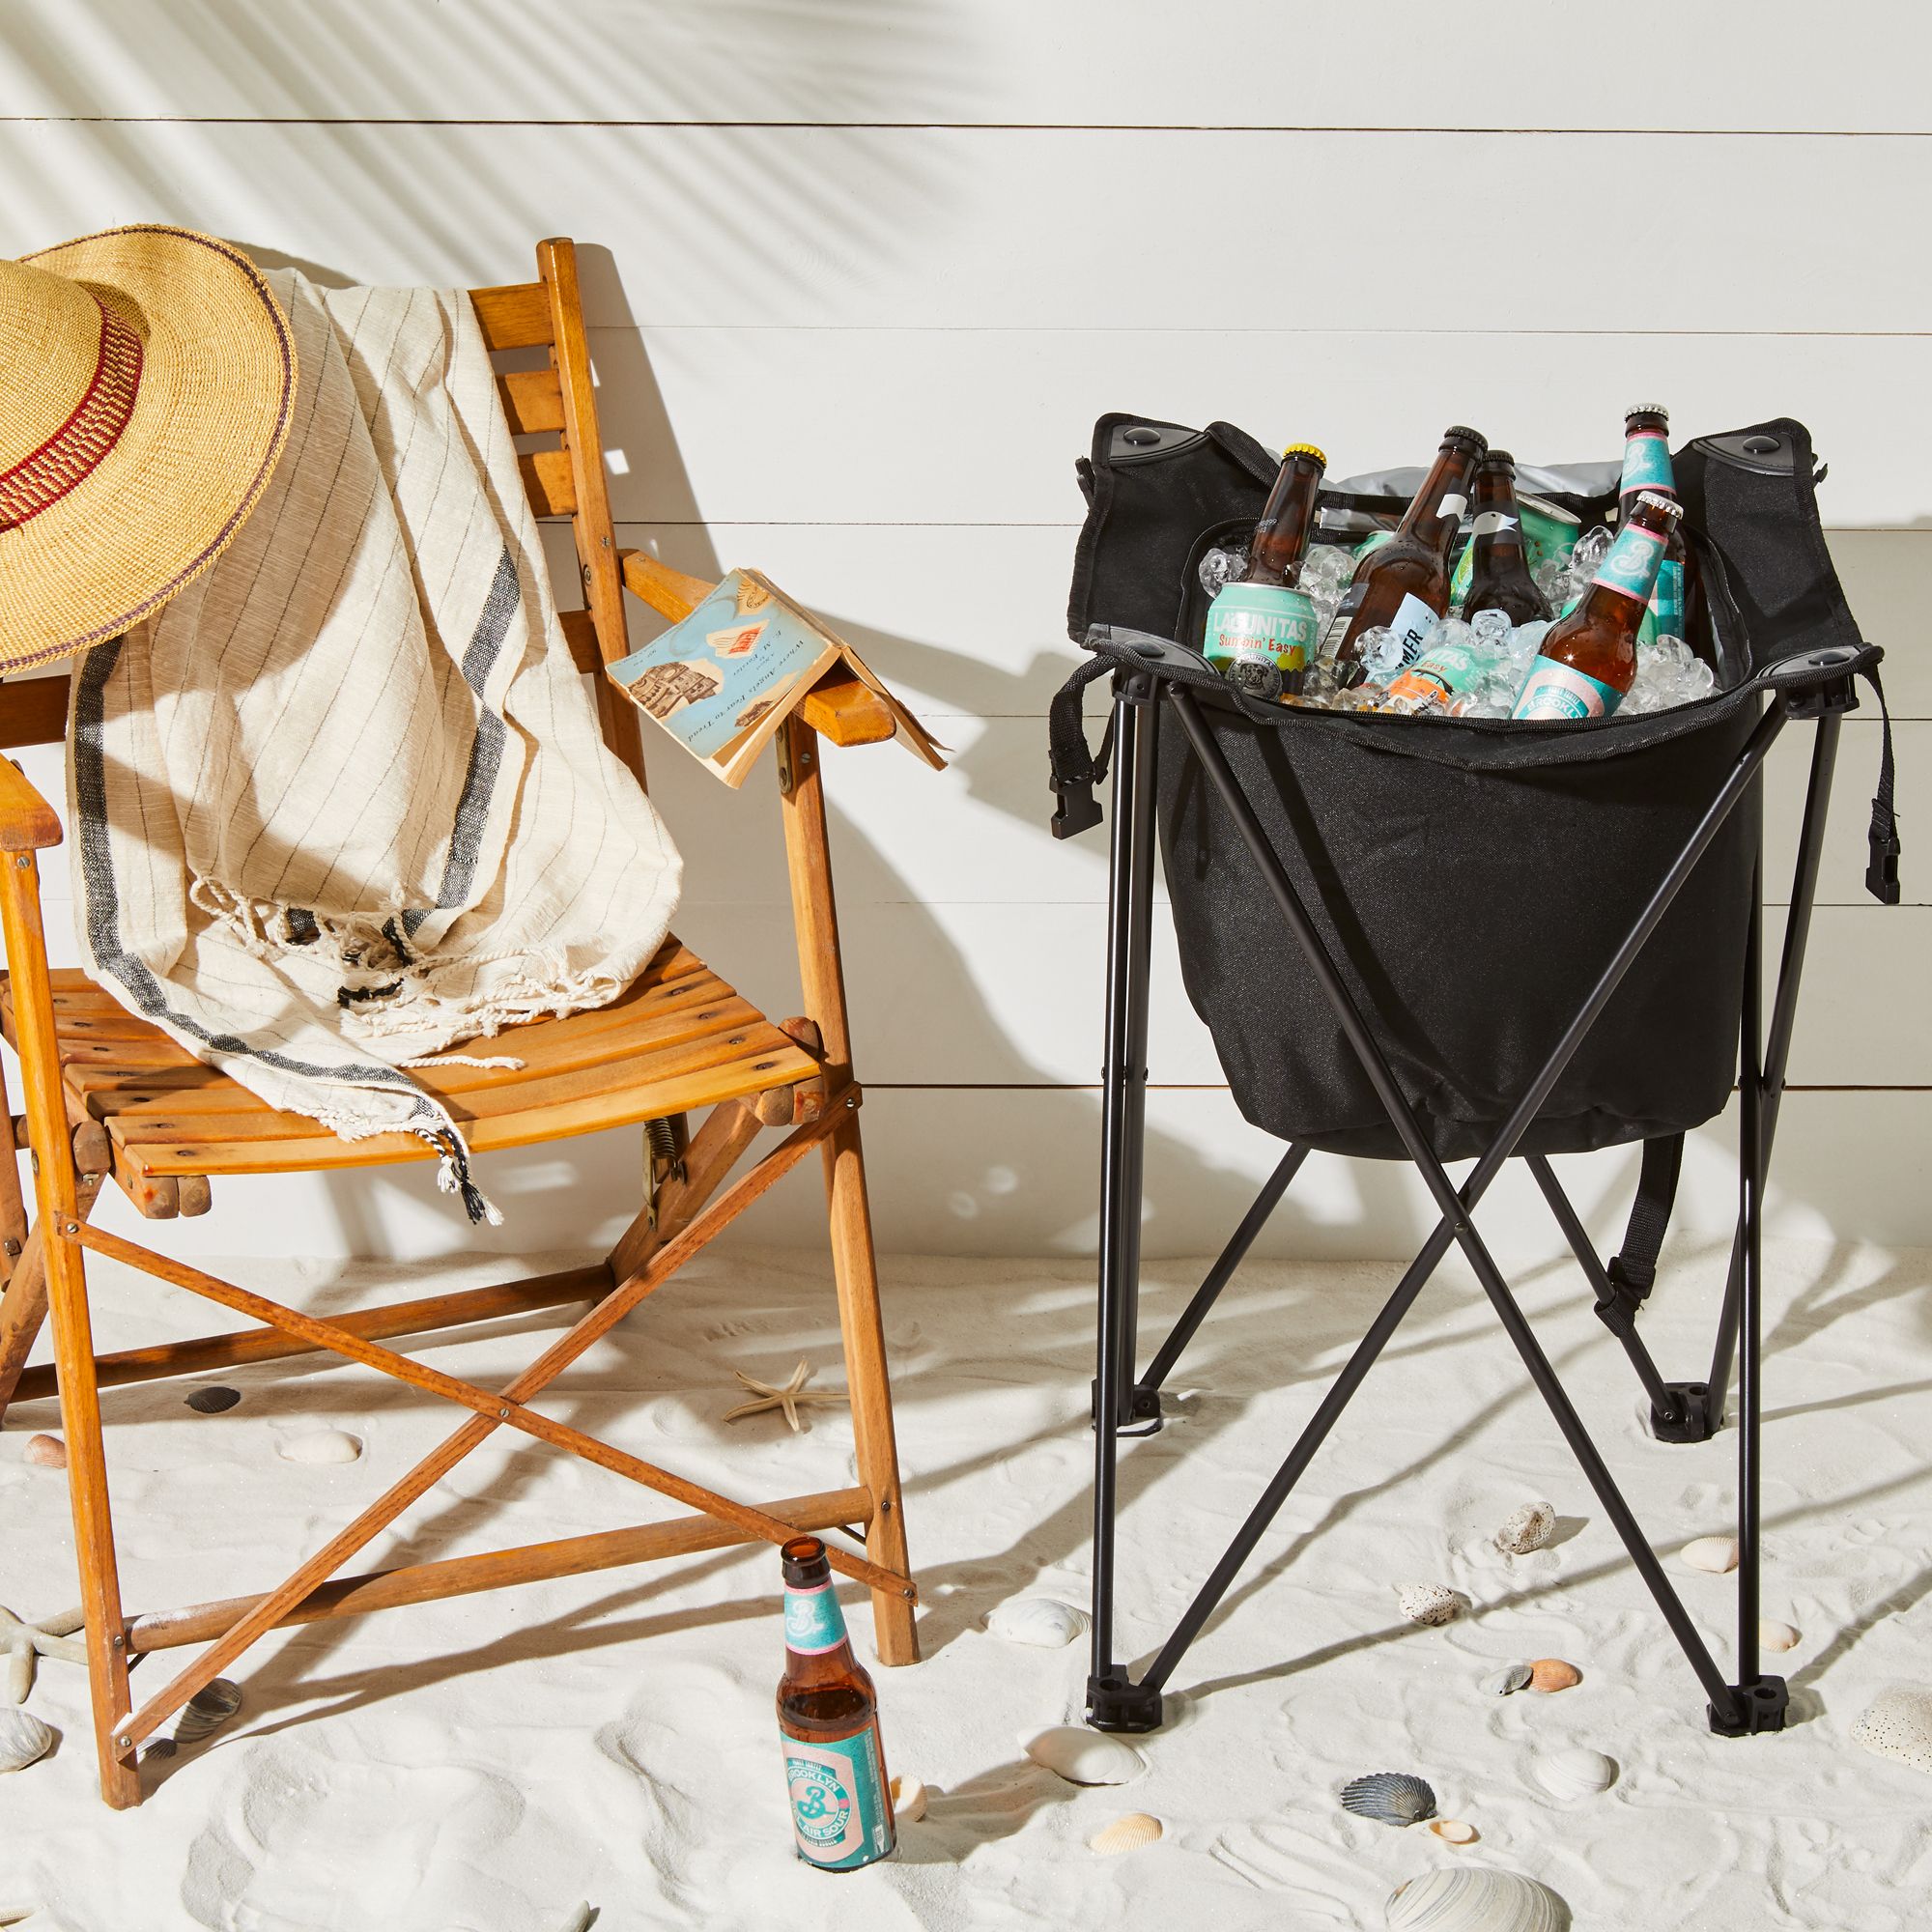
4. Deep Clean the 'Social' Gear (Coolers & Chairs)
Your cooler is the MVP of the summer, but it’s also a magnet for "cooler funk"—that lingering smell of spilled juice, bait, or melted ice water. Because most coolers are made of porous plastic, they absorb odors easily.
To remove mildew from coolers and eliminate stubborn smells, skip the harsh chemicals and reach for baking soda. Create a thick paste of baking soda and a small amount of water. Spread it over the interior, let it sit for 30 minutes, and then scrub with a firm brush. For the gasket—the rubber seal around the lid—use a toothbrush dipped in a mild bleach solution to kill any hidden mold spores.
For nylon lawn chairs and loungers:
- Scrub the frames: Use a car wax on metal frames to prevent rust, especially if you live near the ocean.
- Fabric Care: Use a power washer on a low setting to blast out dirt from the mesh.
- The Sun Hack: If your chairs have stubborn organic stains (like grass or berries), dampen the area and leave them in direct sunlight. UV rays act as a natural, mild bleaching agent for nylon fabrics.
5. Technical Apparel & Footwear Care
If you own high-end rain shells or hiking boots, you’ve likely noticed that water eventually stops "beading" on the surface and starts soaking in. This is a sign that the Durable Water Repellent (DWR) coating has failed. Many people assume the jacket is "broken," but it usually just needs a specialized deep clean.
Standard laundry powders are designed to be "hydrophilic" (water-attracting), which is the exact opposite of what you want for a waterproof jacket. Our tests show that using specialized technical detergents instead of standard powder soaps preserves the DWR finish for 3x more wash cycles.
When cleaning hiking boots:
- Remove the insoles: This is where 90% of the odor-causing bacteria live. Wash them separately or replace them annually.
- Avoid the "Heat Trap": Never dry boots next to a campfire or a heater. Extreme heat causes the adhesives in the sole to fail and makes leather brittle. Instead, stuff them with newspaper and let them dry at room temperature.
- Storage: Avoid moisture-trapping plastic bins for long-term boot storage. Use a breathable mesh bag or an open shelf to prevent dry rot.
Maintenance Checklist & Repair Tips
Before you pack everything away for the season, run through this quick "End of Summer" checklist to ensure your gear is ready for its next outing.
- Zipper Health: Rub a bit of beeswax or a dedicated zipper lubricant (like Zip-Tech) along the teeth of "sticky" zippers on tents and bags. It prevents corrosion and ensures smooth operation.
- Patching 'Puffy' Holes: If your down jacket or sleeping bag has a small tear, don't sew it. Use a piece of Tenacious Tape. It’s a permanent, peel-and-stick repair that survives the washing machine and won't create more holes with a needle.
- The 'Dry Before Store' Mandate: This is the most important rule. Even if gear looks dry, moisture can be trapped in the seams. Give everything an extra 24 hours of "air time" in a low-humidity environment before putting it into a storage bin.
FAQ
Q: Can I use a regular dryer sheet when drying my sleeping bag? A: No. Dryer sheets use a waxy coating to reduce static, which can gum up the down clusters or synthetic fibers, reducing the "loft" and warmth of your bag. Stick to clean tennis balls or dedicated wool dryer balls.
Q: My cooler still smells like fish even after scrubbing. What now? A: Place a piece of charcoal or a bowl of dry coffee grounds inside the cooler, close the lid, and leave it for 48 hours. Both materials are excellent at absorbing deeply embedded organic odors.
Q: Is it okay to store my tent in its original "stuff sack"? A: For short trips, yes. For long-term seasonal storage, no. Storing a tent tightly compressed can damage the waterproof coatings and create permanent creases in the fabric. Use a large, breathable cotton laundry bag instead.
Final Thought: Taking care of your gear is an act of sustainability. Every year we extend the life of a sleeping bag or a set of patio chairs is a year that equipment stays out of a landfill and money stays in your pocket. Treat your gear with respect this autumn, and it will return the favor next June.